


Learn how I created a DIY wood filler to restore my teak front porch railing, achieving a seamless and professional finish while saving money on store-bought products.
While sanding my front porch railing, I noticed the screw holes were quite significant. I wanted to make a custom wood filler because this was high-quality teak wood, and if treated properly, I could make it look like a million dollars with minimal effort. Creating your own wood filler is a great way to ensure the perfect match for your teak wood, blending seamlessly and enhancing the overall finish. With just a few simple steps, I had my very own wood filler ready to complete the railing restoration. Not only did this DIY wood filler save money, but it also allowed me to achieve a professional finish without the need for store-bought products. For anyone looking to tackle wood repair projects or refinishing tasks, this homemade wood filler recipe offers an effective solution that is both cost-efficient and easy to make. Here’s a step-by-step guide on how I did it, so you can achieve a flawless finish on your wood projects and make your teak wood look as good as new.
Materials
- Dust Separator
- Shop Vacuum
- Electric Sander
- Rotary Sander
- Sanding Discs (variety pack)
- Orbital Sander
- Wood Glue
- Mini Paint Tray
- Wooden Paint Stick
- Sander Adapter (needed for direct connection from sander to dust collector/vacuum)
Step 1: Preparation
Removing Unwanted Layer
I started by sanding the wood handrail with coarse to medium-grit sandpaper and used a shop vacuum to discard this layer of sawdust. The top layer is where the mold, dirt and debris live so we do not want to use this in the making of our wood filler.

Step 2: Sanding
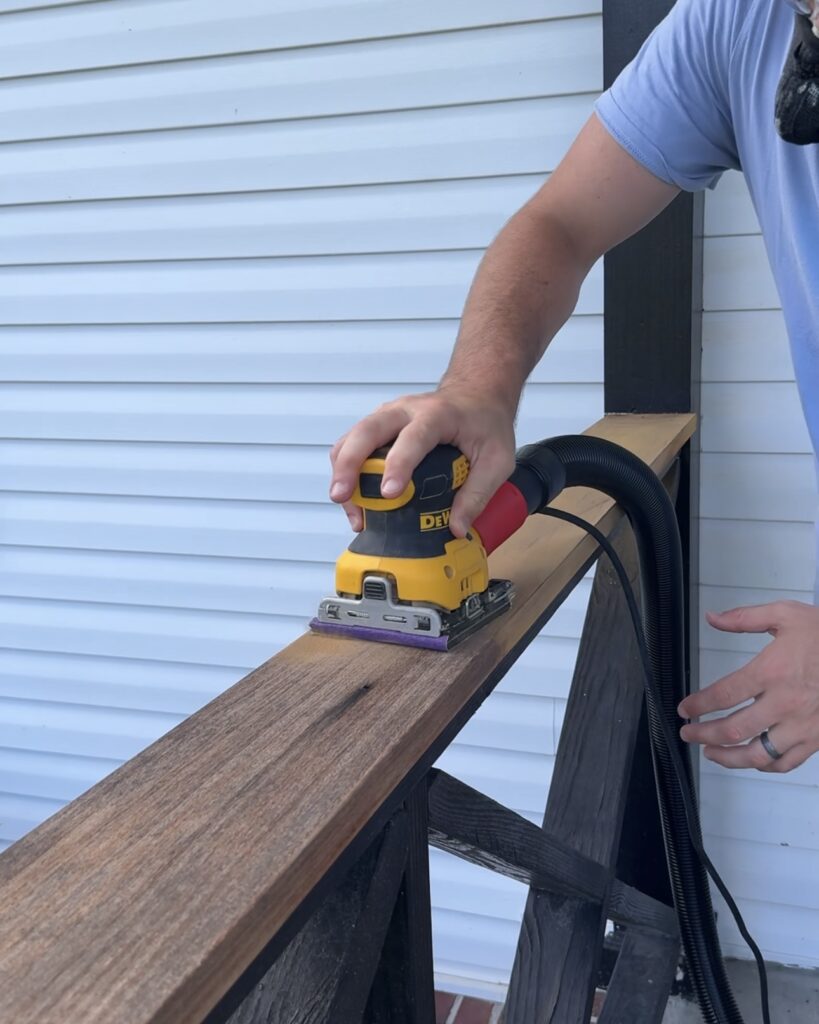
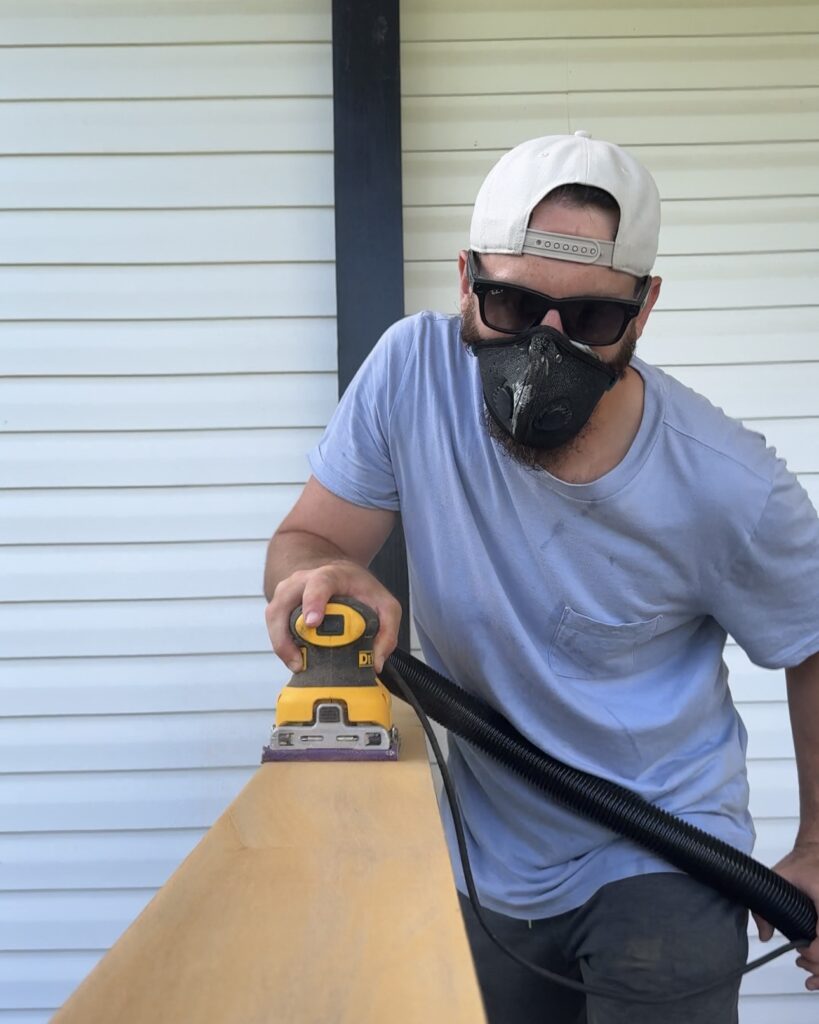
Collecting the Sawdust
Now you will have a clean slate to start your second round of sanding. Using medium-grit or fine-grit sandpaper, you’ll need to remove a fresh layer of wood that you’ll be keeping for your future wood filler. To ensure efficient sawdust collection, you have several options. I used an orbital sander equipped with an attachment that connects directly to a vacuum hose and into my dust collector. This method made the process clean and straightforward, though it’s not the only approach. If you don’t have the attachment I used, you can also collect the sanded dust directly into your shop vac. Just be sure to check for any existing debris in your vacuum tub to maintain optimal performance.


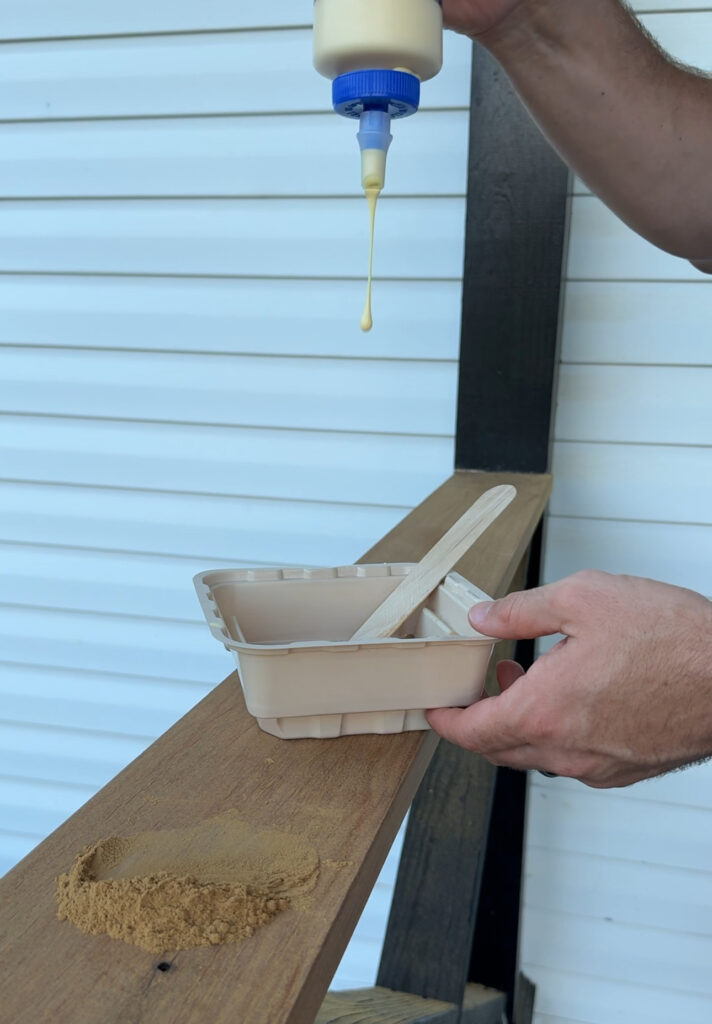
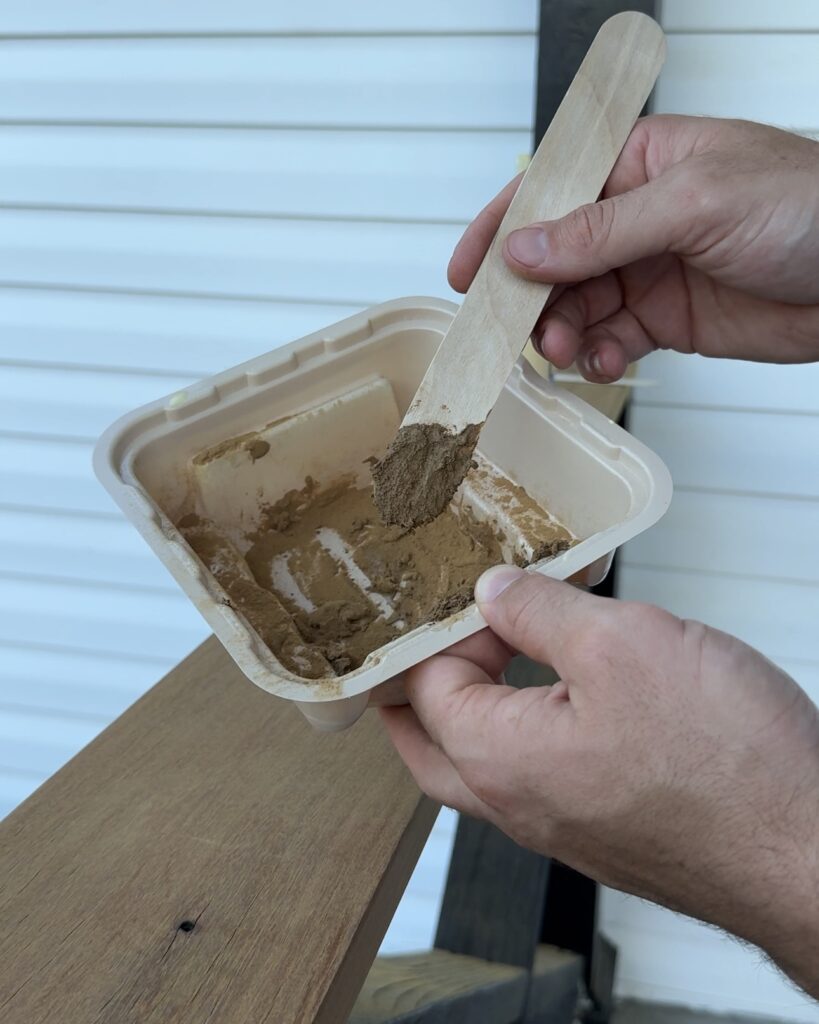
Step 3: Creating the Mix
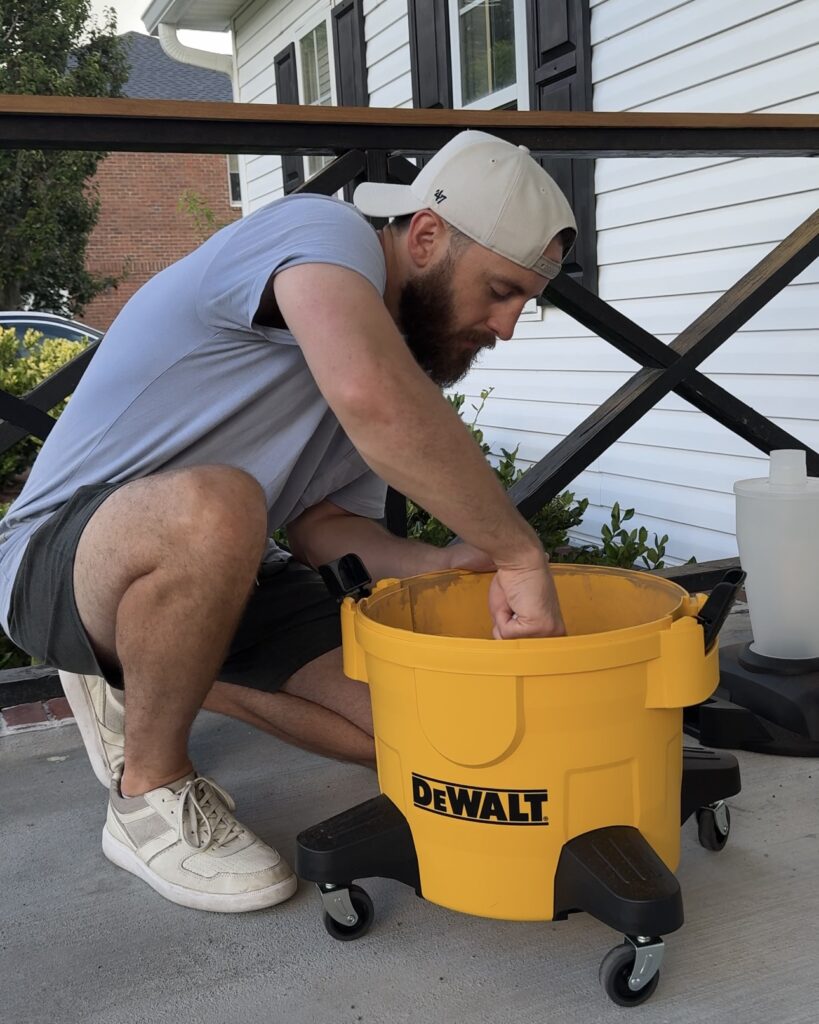
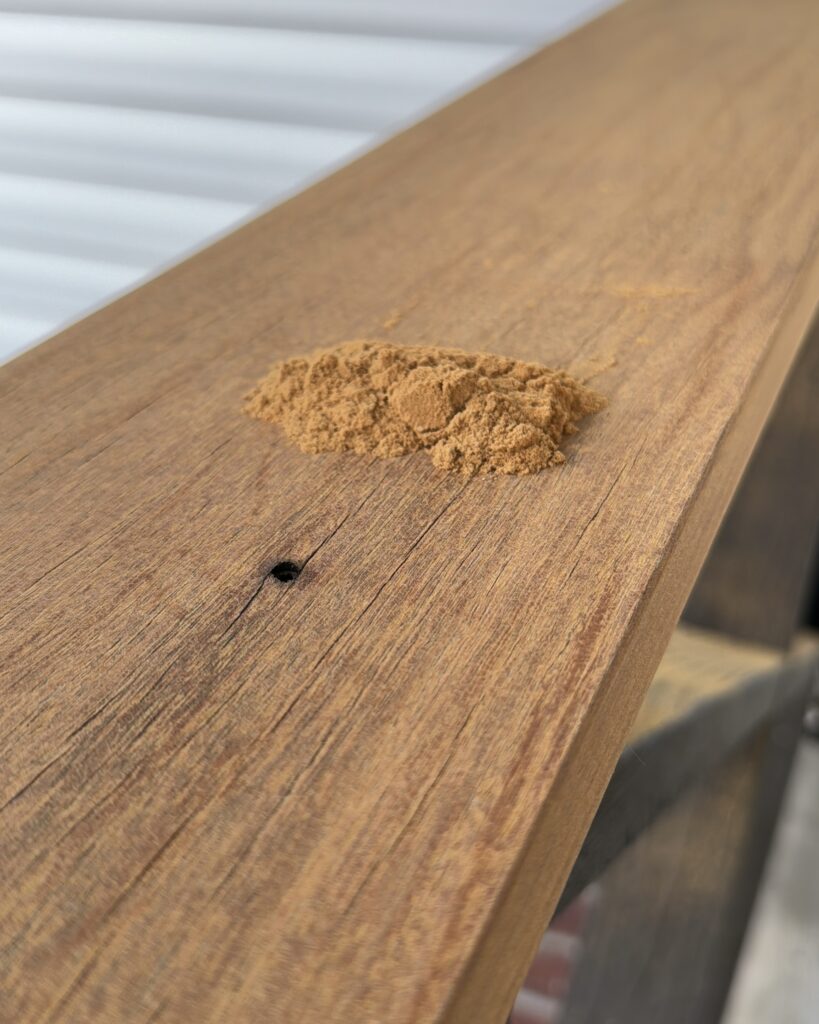
Sawdust and Glue
Once my sawdust was collected, it was now time to make the custom wood filler. I used a cheap plastic putty knife to remove the sawdust out of my dust collector and in a small paint tray I added 2 parts sawdust to 1 part wood glue. Once you have reached a dough like consistency, your wood filler is ready to be applied.
Save this easy DIY for whenever you want to give that seamless look to your woodworking projects! With minimal effort, the results speak for themselves.
Click the photo below to watch my Step-by-Step Tutorial Reel on Instagram!
Get visual, easy-to-follow instructions and tips for your next DIY project.


Comments will load here