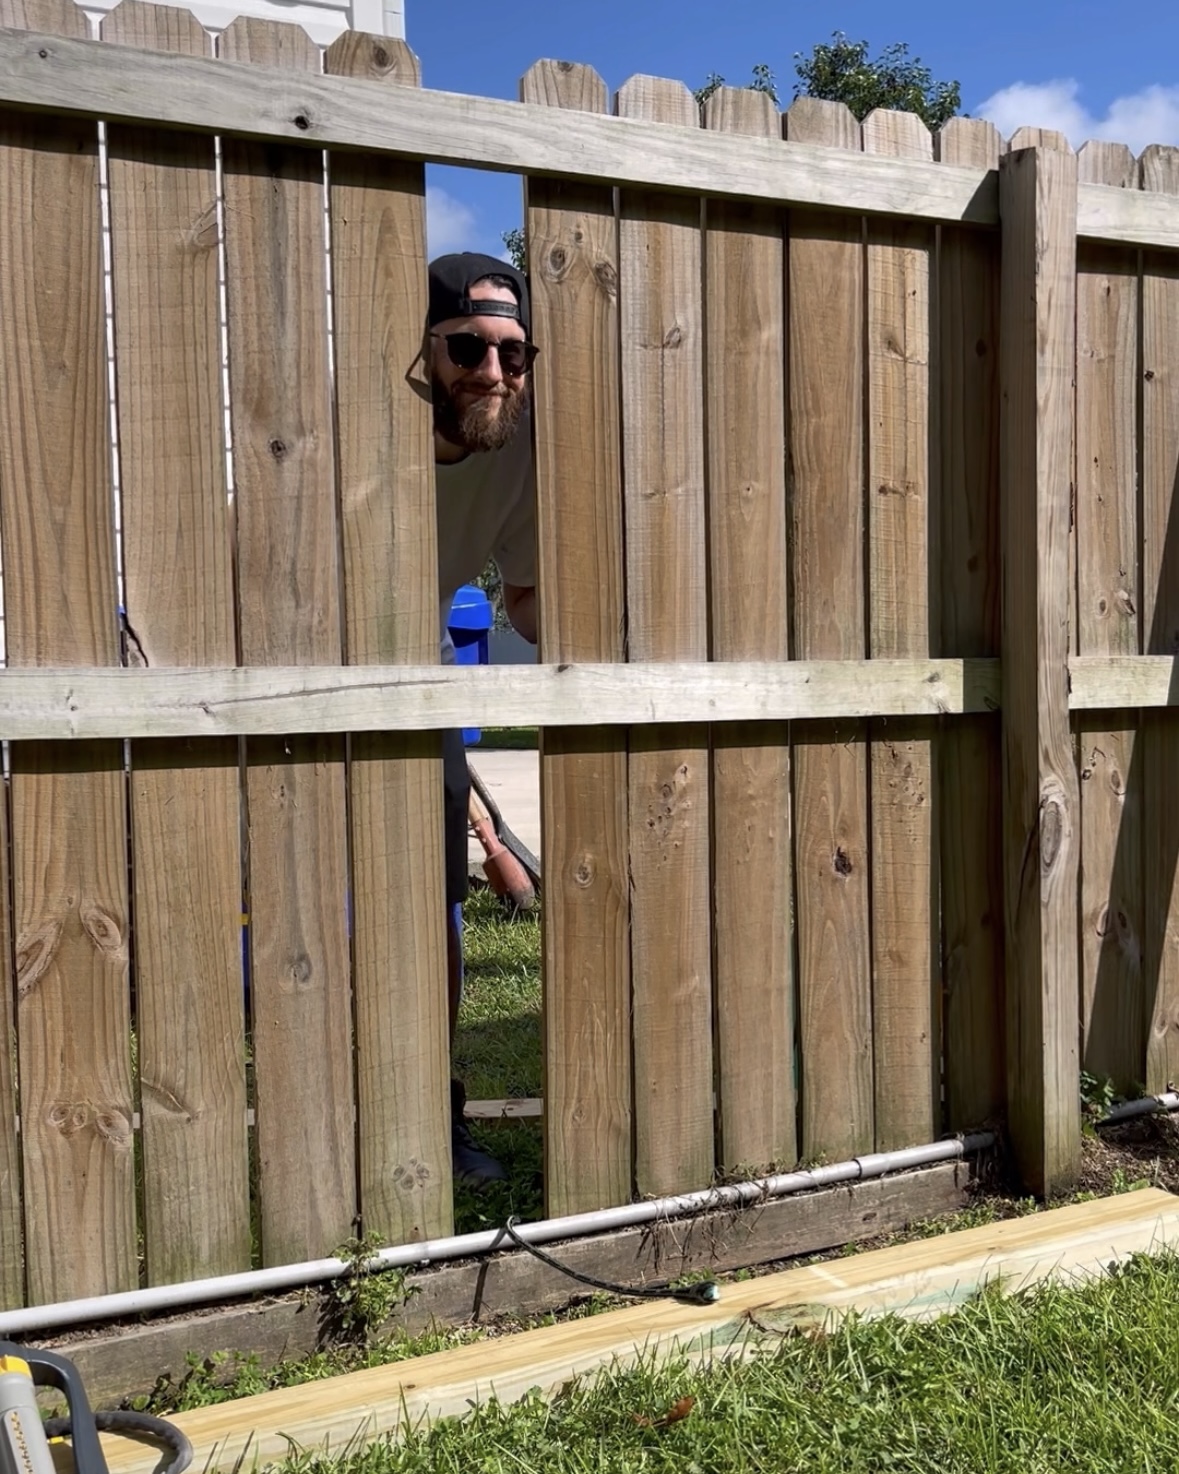

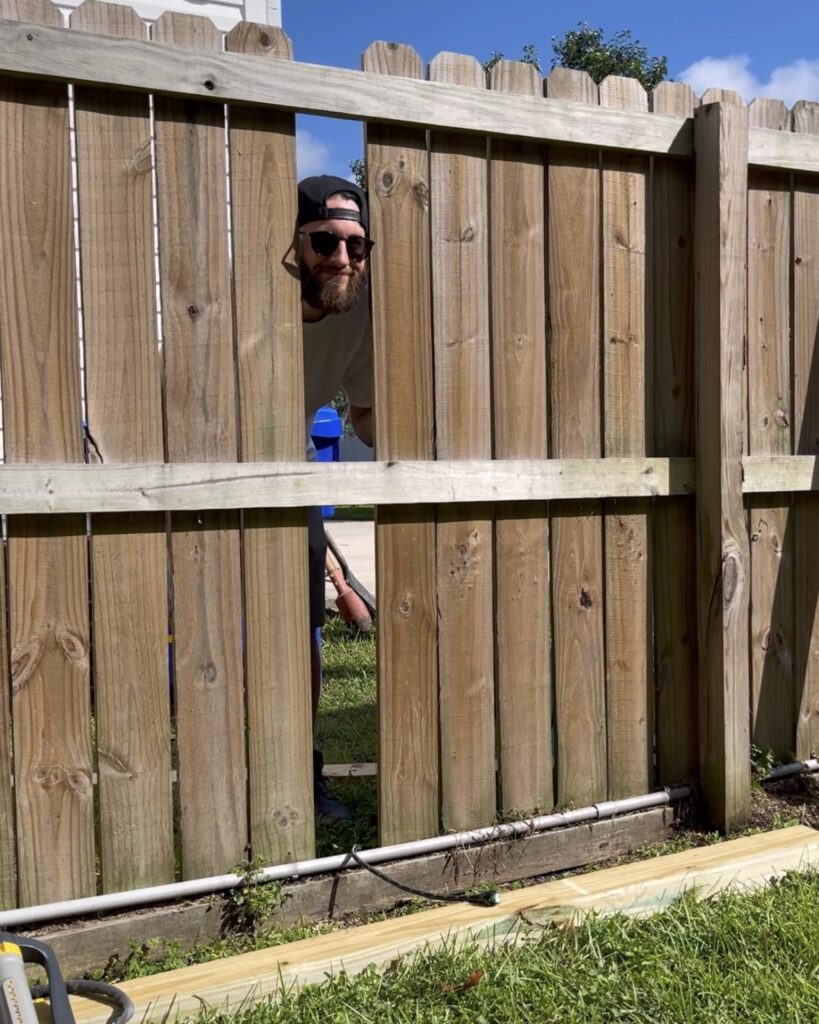
Join me as I transform my outdoor space! I relocated my wooden fence to create a storage nook for my pool equipment in five simple steps.
Materials:
- Concrete mix (dry)
- Power Drill
- Level
- Tape Measure
- Circular Saw
- Shovel
- Fertilizer
- Hose
- Dog Ear Fence Picket
- Pressure Treated Lumber
- Prime Pressure Treated Lumber
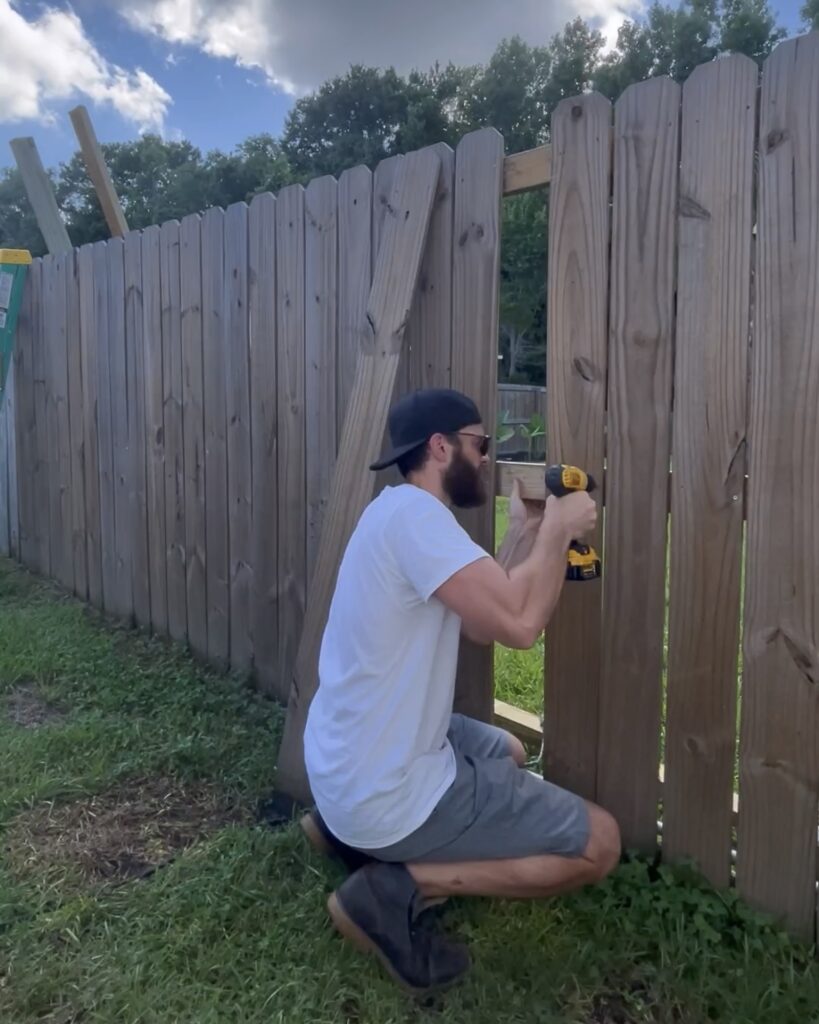
Step 1: Careful Disassembly
The first crucial step is to delicately remove the screws from your existing fence pickets. Taking the time to do this carefully will allow you to reuse these pickets later, minimizing waste and maximizing efficiency.
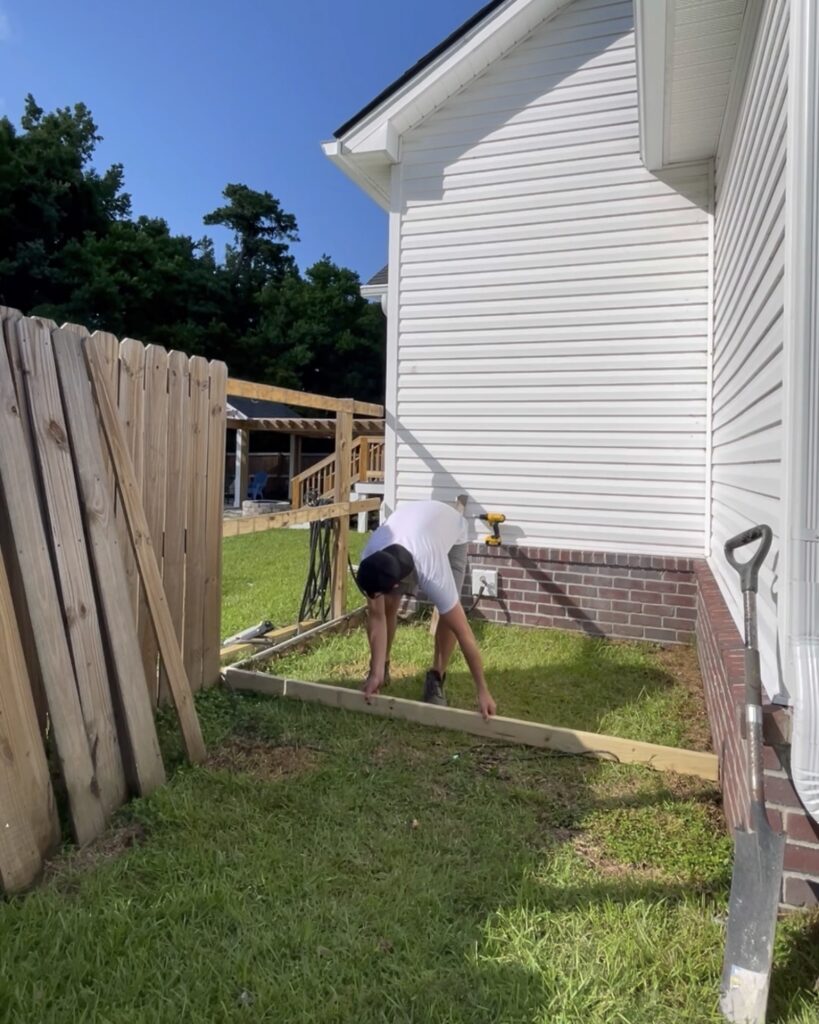
Step 2: Setting the Foundation
Lay down a 2×4 pressure-treated rail as a reference for each of your new 4×4 posts. This establishes a solid foundation for your fence and ensures uniformity in the placement of posts.
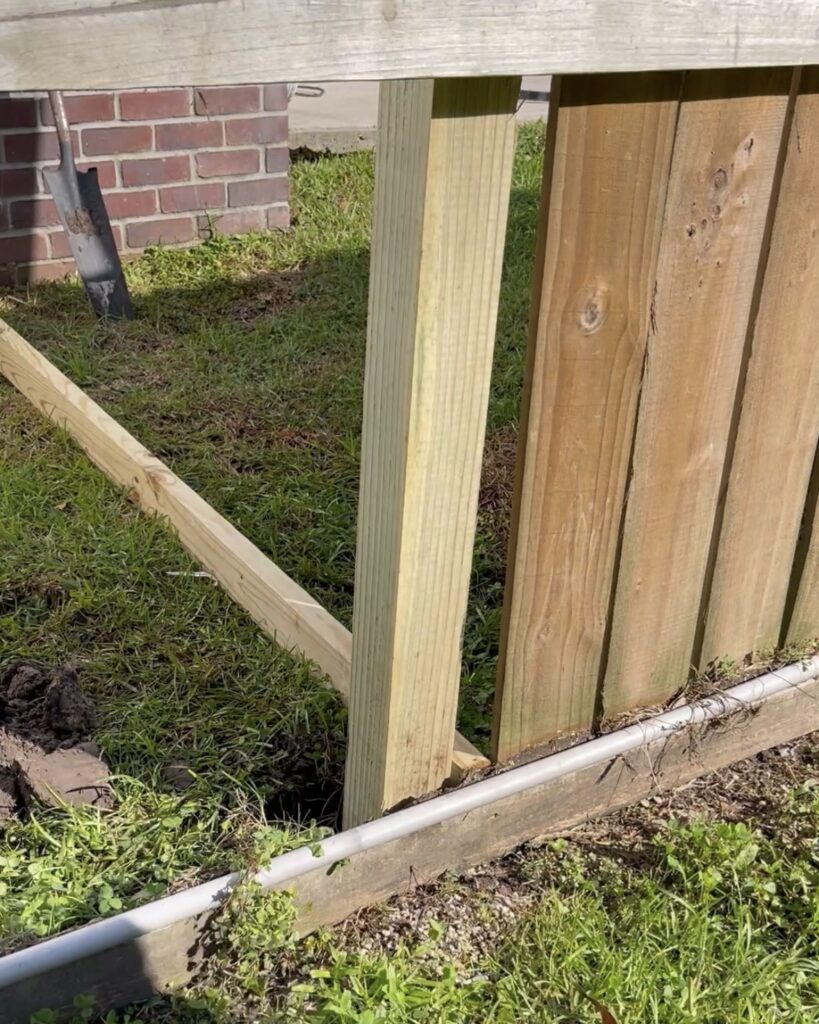

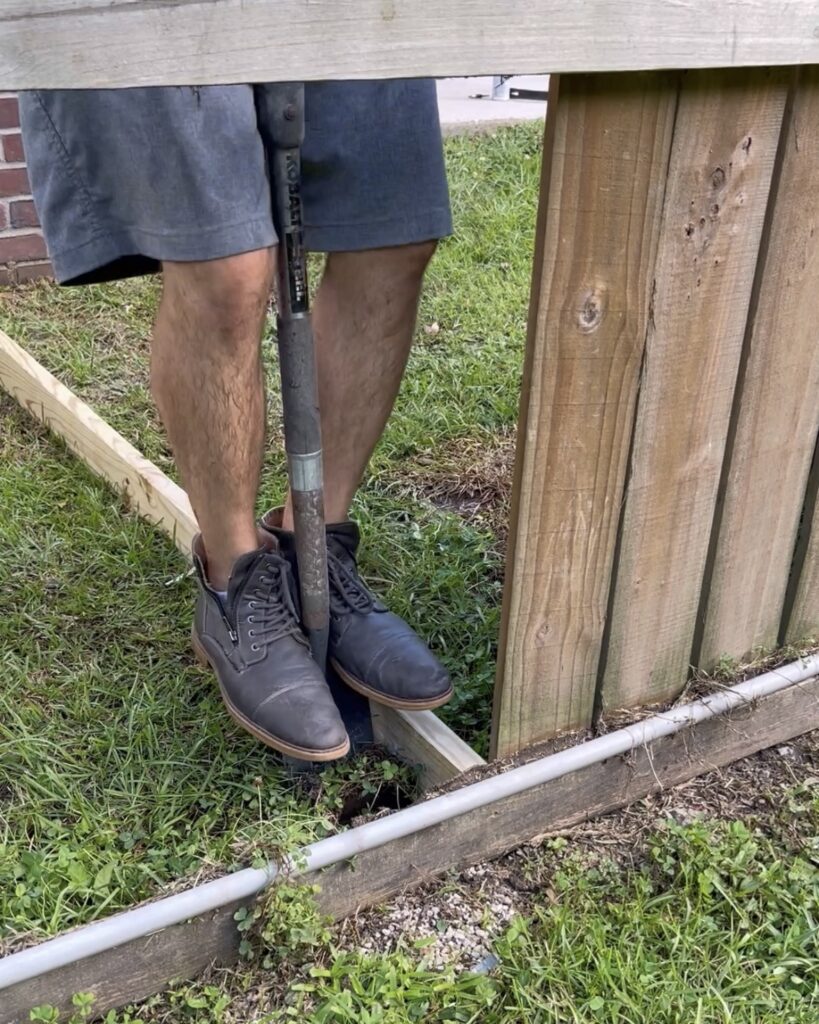
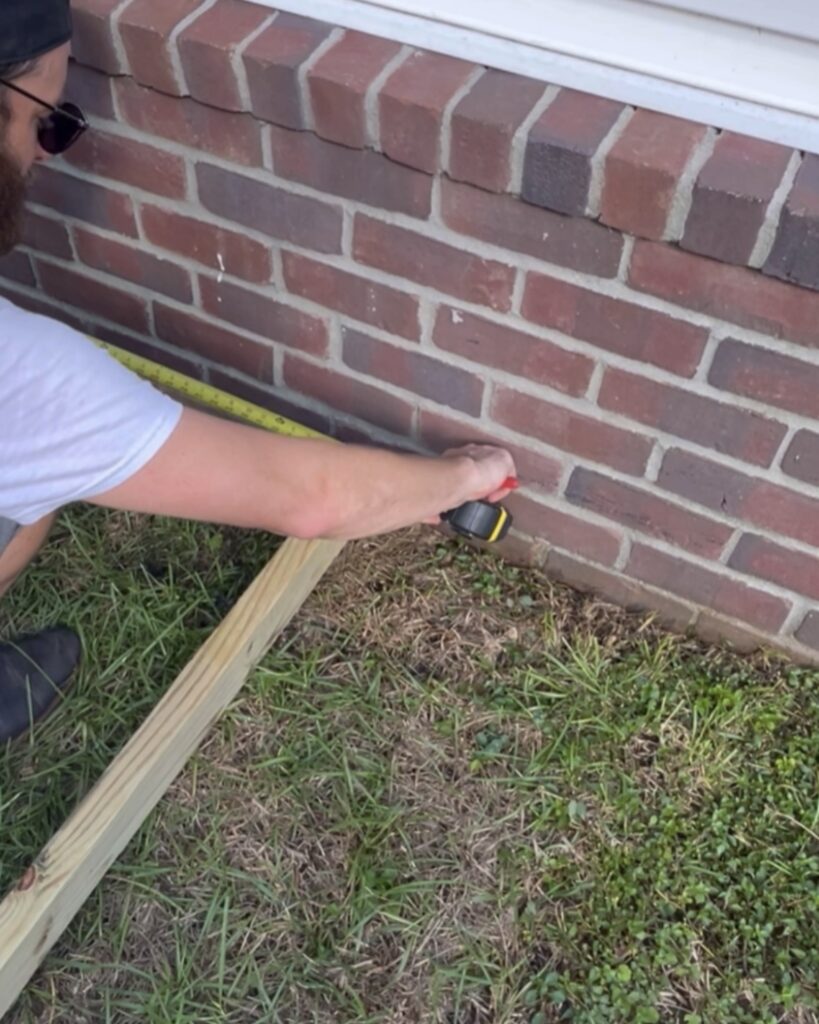
Step 3: Digging and Marking
Dig a hole approximately 2 feet deep, marking the top of your dry mix pour. To maintain stability, position the dry mix about 4 inches down from the top of the grade. This step is crucial for the long-term durability of your fence.
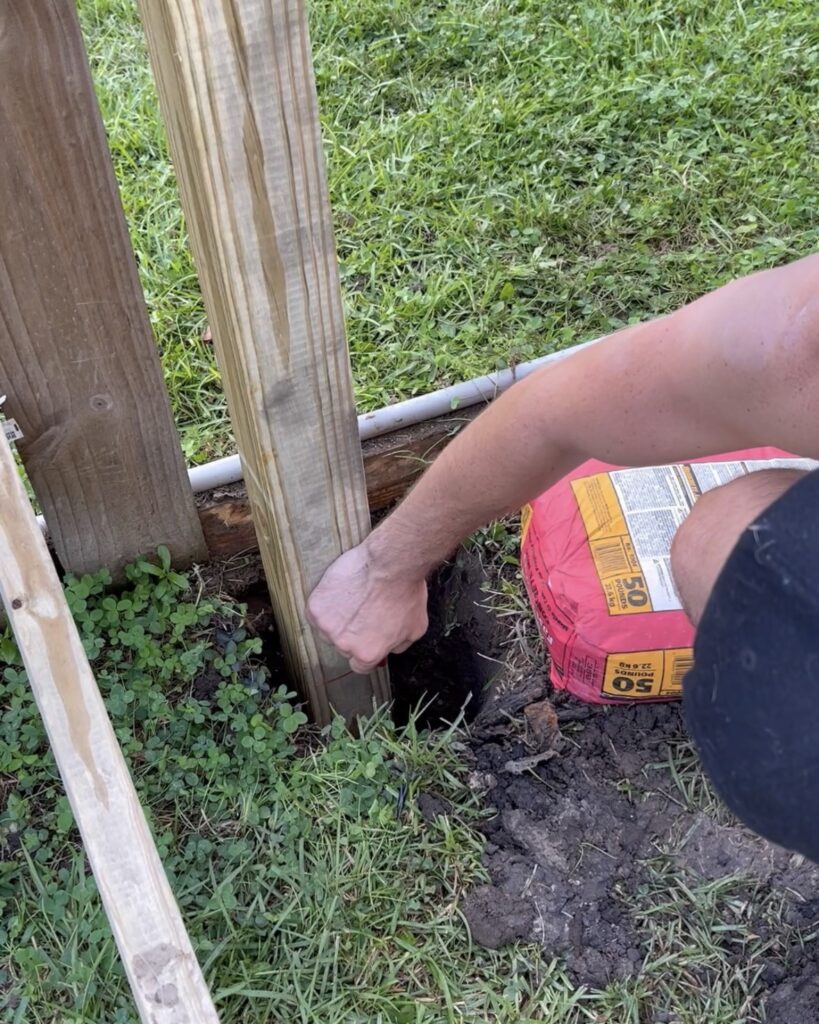
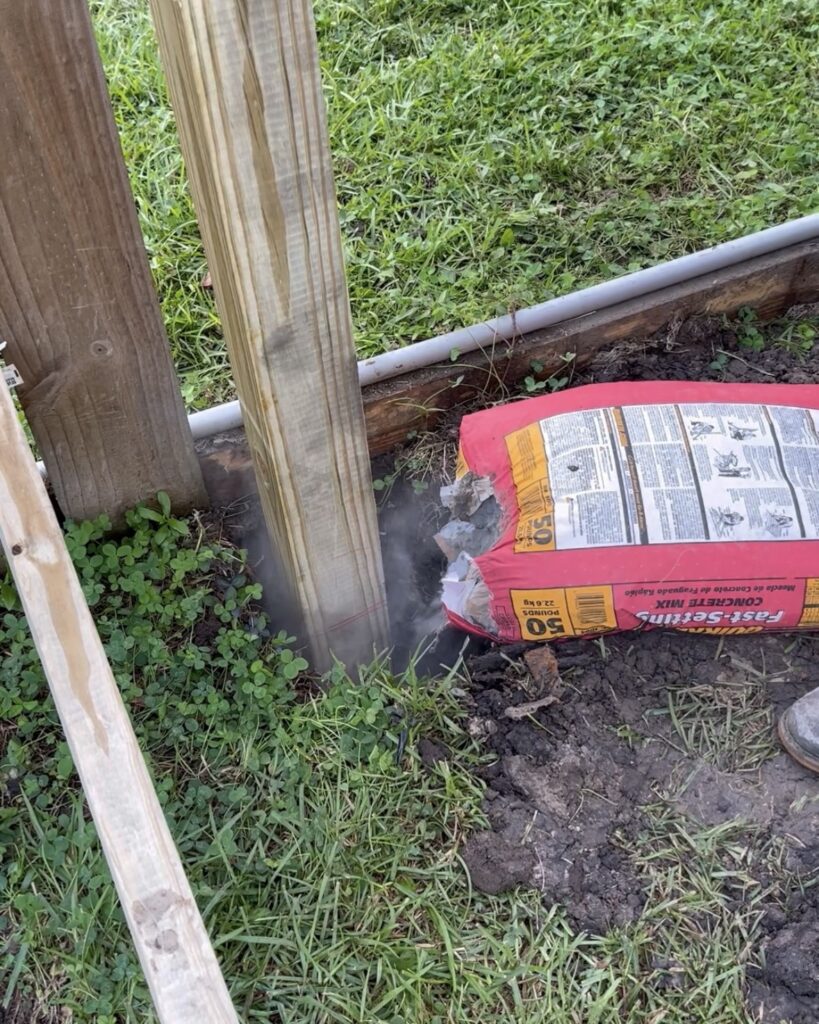
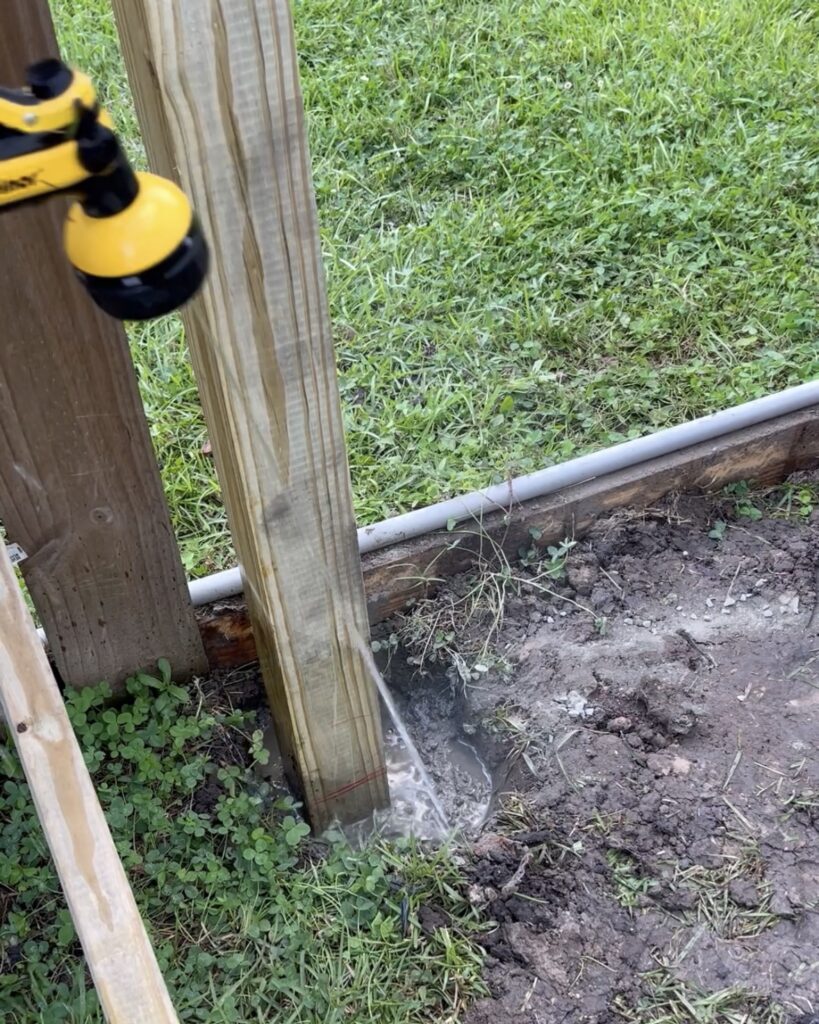
Step 4: Concrete and Cure
Douse the dry mix with approximately a gallon of water, creating a robust concrete foundation. Confirm that the post is plumb or level on both sides, and then patiently allow it to cure for about 45 minutes. This step is pivotal for the structural integrity of the entire fence.

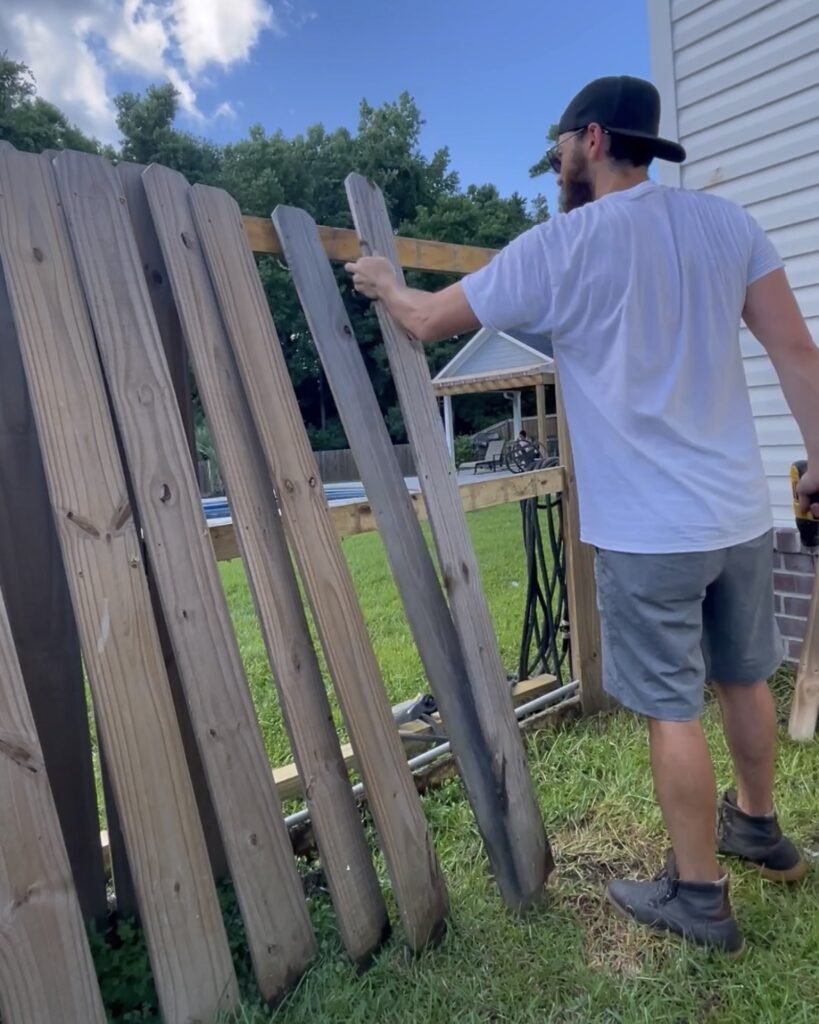
Step 5: Installing Horizontal Rails
Once the concrete is fully set, it’s time to proceed with the installation of the horizontal rails. These rails will provide the necessary support for each fence picket, ensuring a sturdy and long-lasting fence.
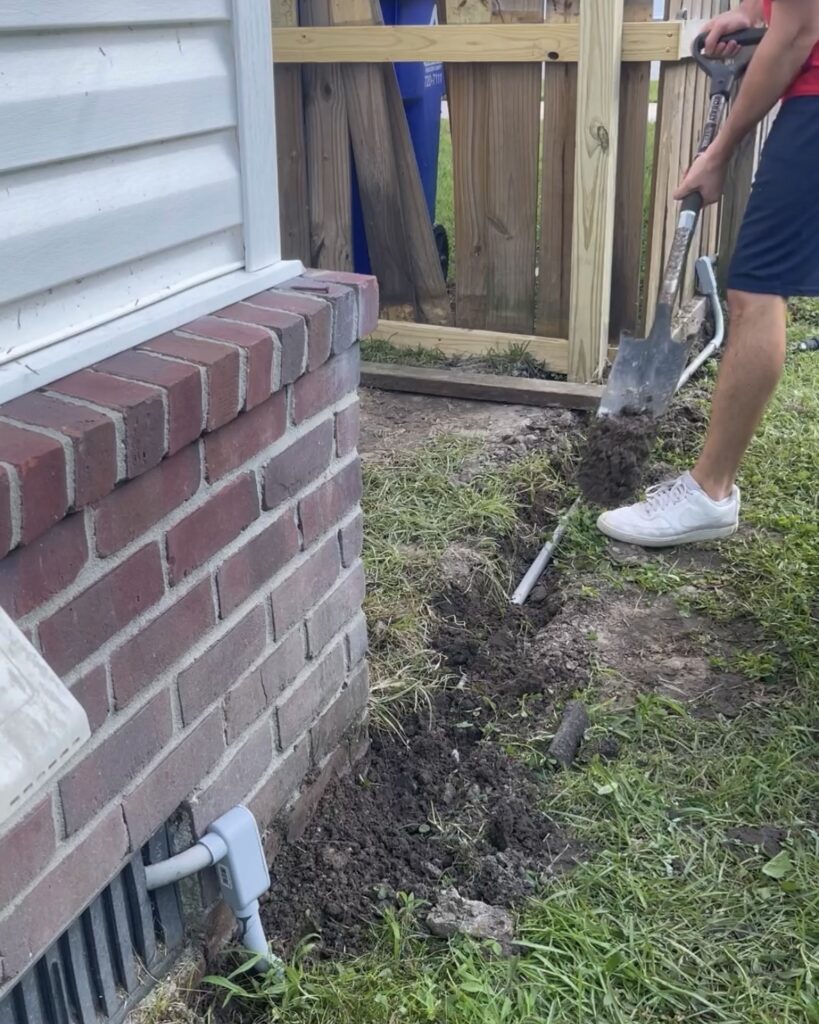
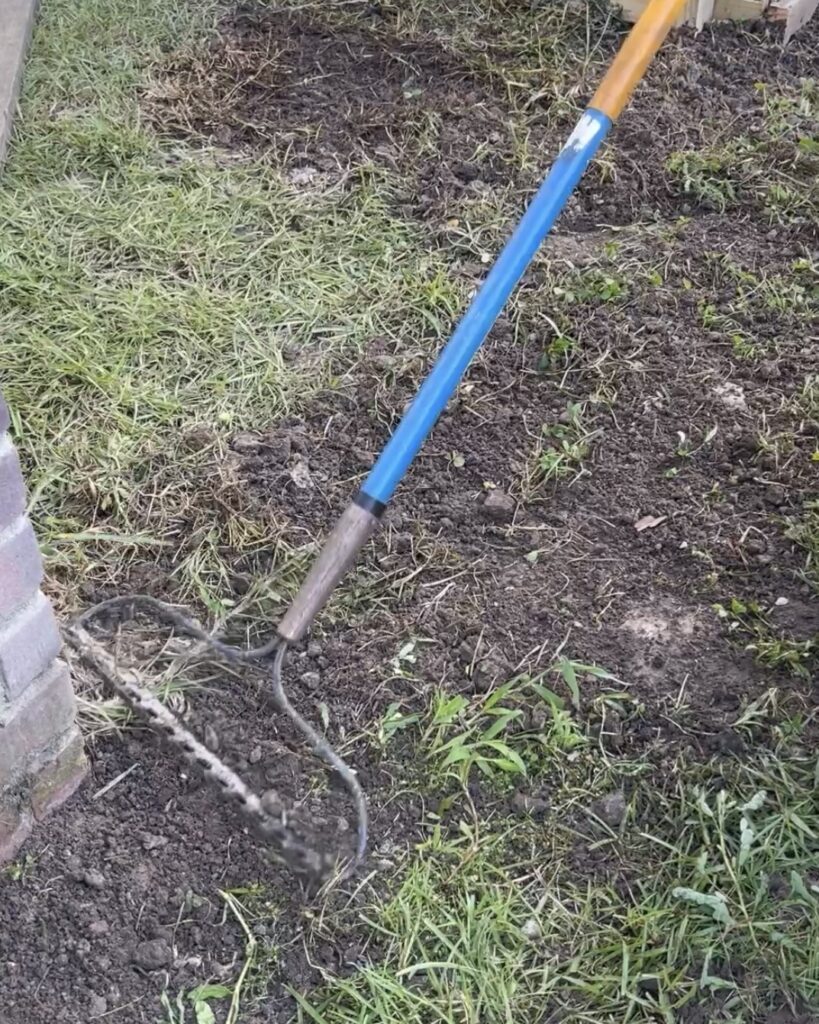
*I also had to set my existing conduit below ground and regrade, adding fertilizer to hide the evidence.
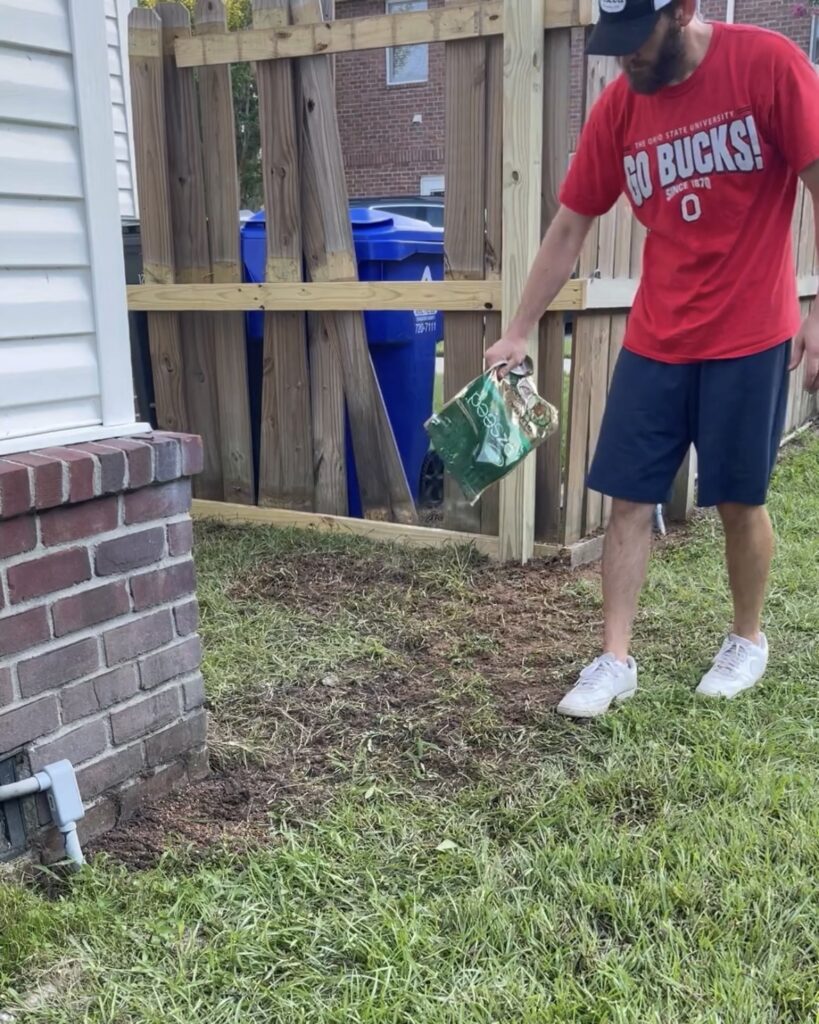
I transformed my outdoor space for under $100! Discover how I created extra storage for pool equipment and improved access to my hose bib.

Explore my collection of step-by-step tutorials in my other blogs! Find tips and tricks to help you tackle your next project with ease.

Comments will load here