

Join me as I design and build custom shelving and cabinetry for my dream home office, transforming my space with a minimalistic aesthetic.
I challenged myself to design and build custom shelving and cabinetry in my home office. I have never done electrical or really woodworking before because I’m strictly a designer but I’m out here giving it a shot.
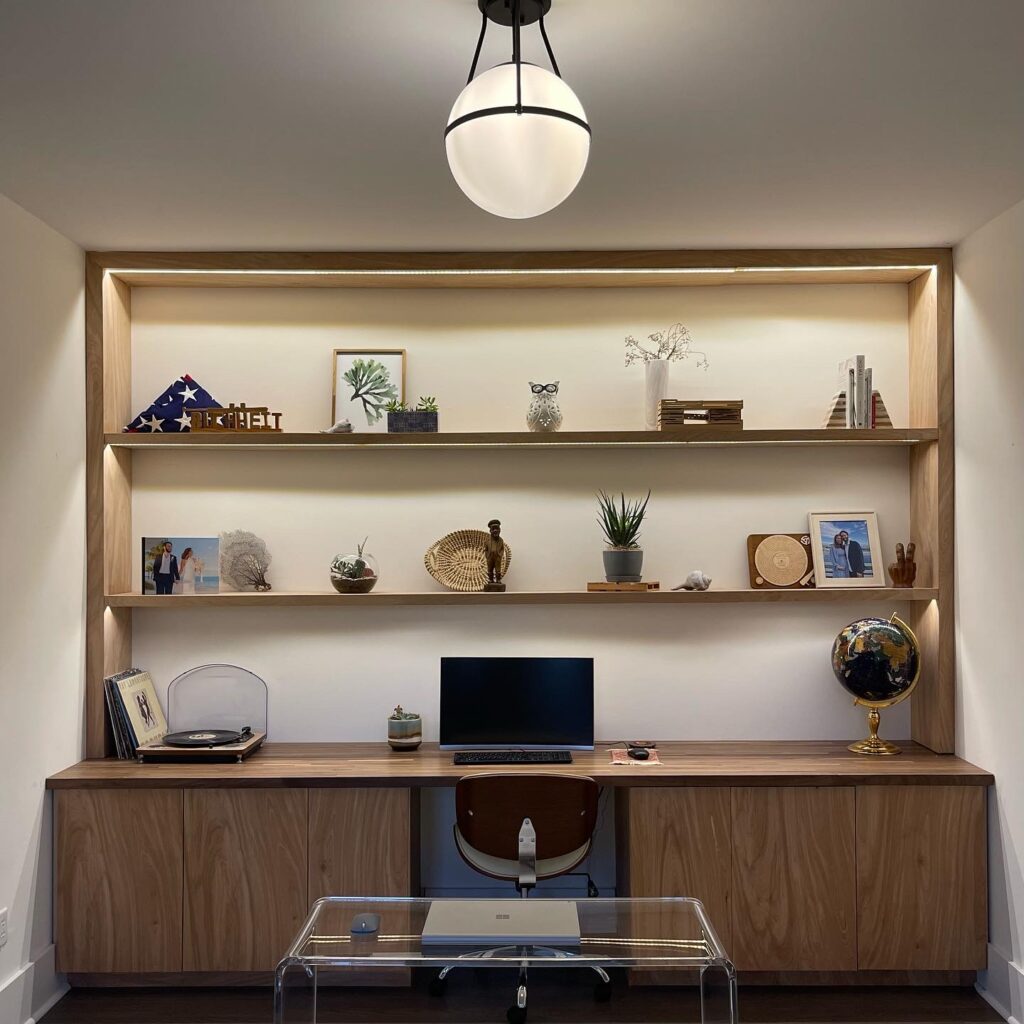
I started by designing the home office of my dreams. It was important for me to have a spot for my home decor, family photos, and office supplies. My design consists of large, clean, and minimalistic shelving, with all-over custom-built cabinetry.
I measured and planned every detail, from the placement of shelves to the finish of the wood. Each piece was crafted to fit perfectly. Despite some challenges, seeing my design come to life has been incredibly rewarding.
Materials:
- Soft Close Cabinet Hinges
- Countertop – not a commissionable link
- Butcher Countertop (dupe)
- Birch Plywood
- LED Light Tape
- Laser Level
- Drawer Slides
- Spackling
- Putty Knife
- Sanding Sponge
- L Brackets
- Wood Screws
- Liquid Nails Adhesive
- Wood Edge Banding
- Soft Close Cabinet Hinges
- LED Light Tape
- Laser Level
- Wood Flat Topcoat


Step 1: Design and Planning
Before Diving into Construction
I started by designing my ideal office space. I envisioned a clean, minimalistic environment with large, floating shelves and custom cabinetry. My goal was to create a workspace that is both aesthetically pleasing and highly functional. I wanted to incorporate storage for office supplies, display space for home decor and family photos, and an overall modern look.
I mapped out the layout of my shelves and cabinetry. I included measurements and placement for each element, ensuring that everything would fit seamlessly into the room. This design plan acted as my blueprint throughout the project.


Step 2: Clean Out and Base Preparation
Clear the Room
To start, I removed all existing furniture and rugs from the room. This cleared the space and provided a clean canvas for my new design. I also took the extra step of removing the base molding to accommodate the new cabinetry.
With the room cleared, I inspected the walls and floor for any imperfections and made necessary repairs. This included spackling holes, sanding, and cleaning the surfaces to ensure a smooth, ready-to-work-on environment.
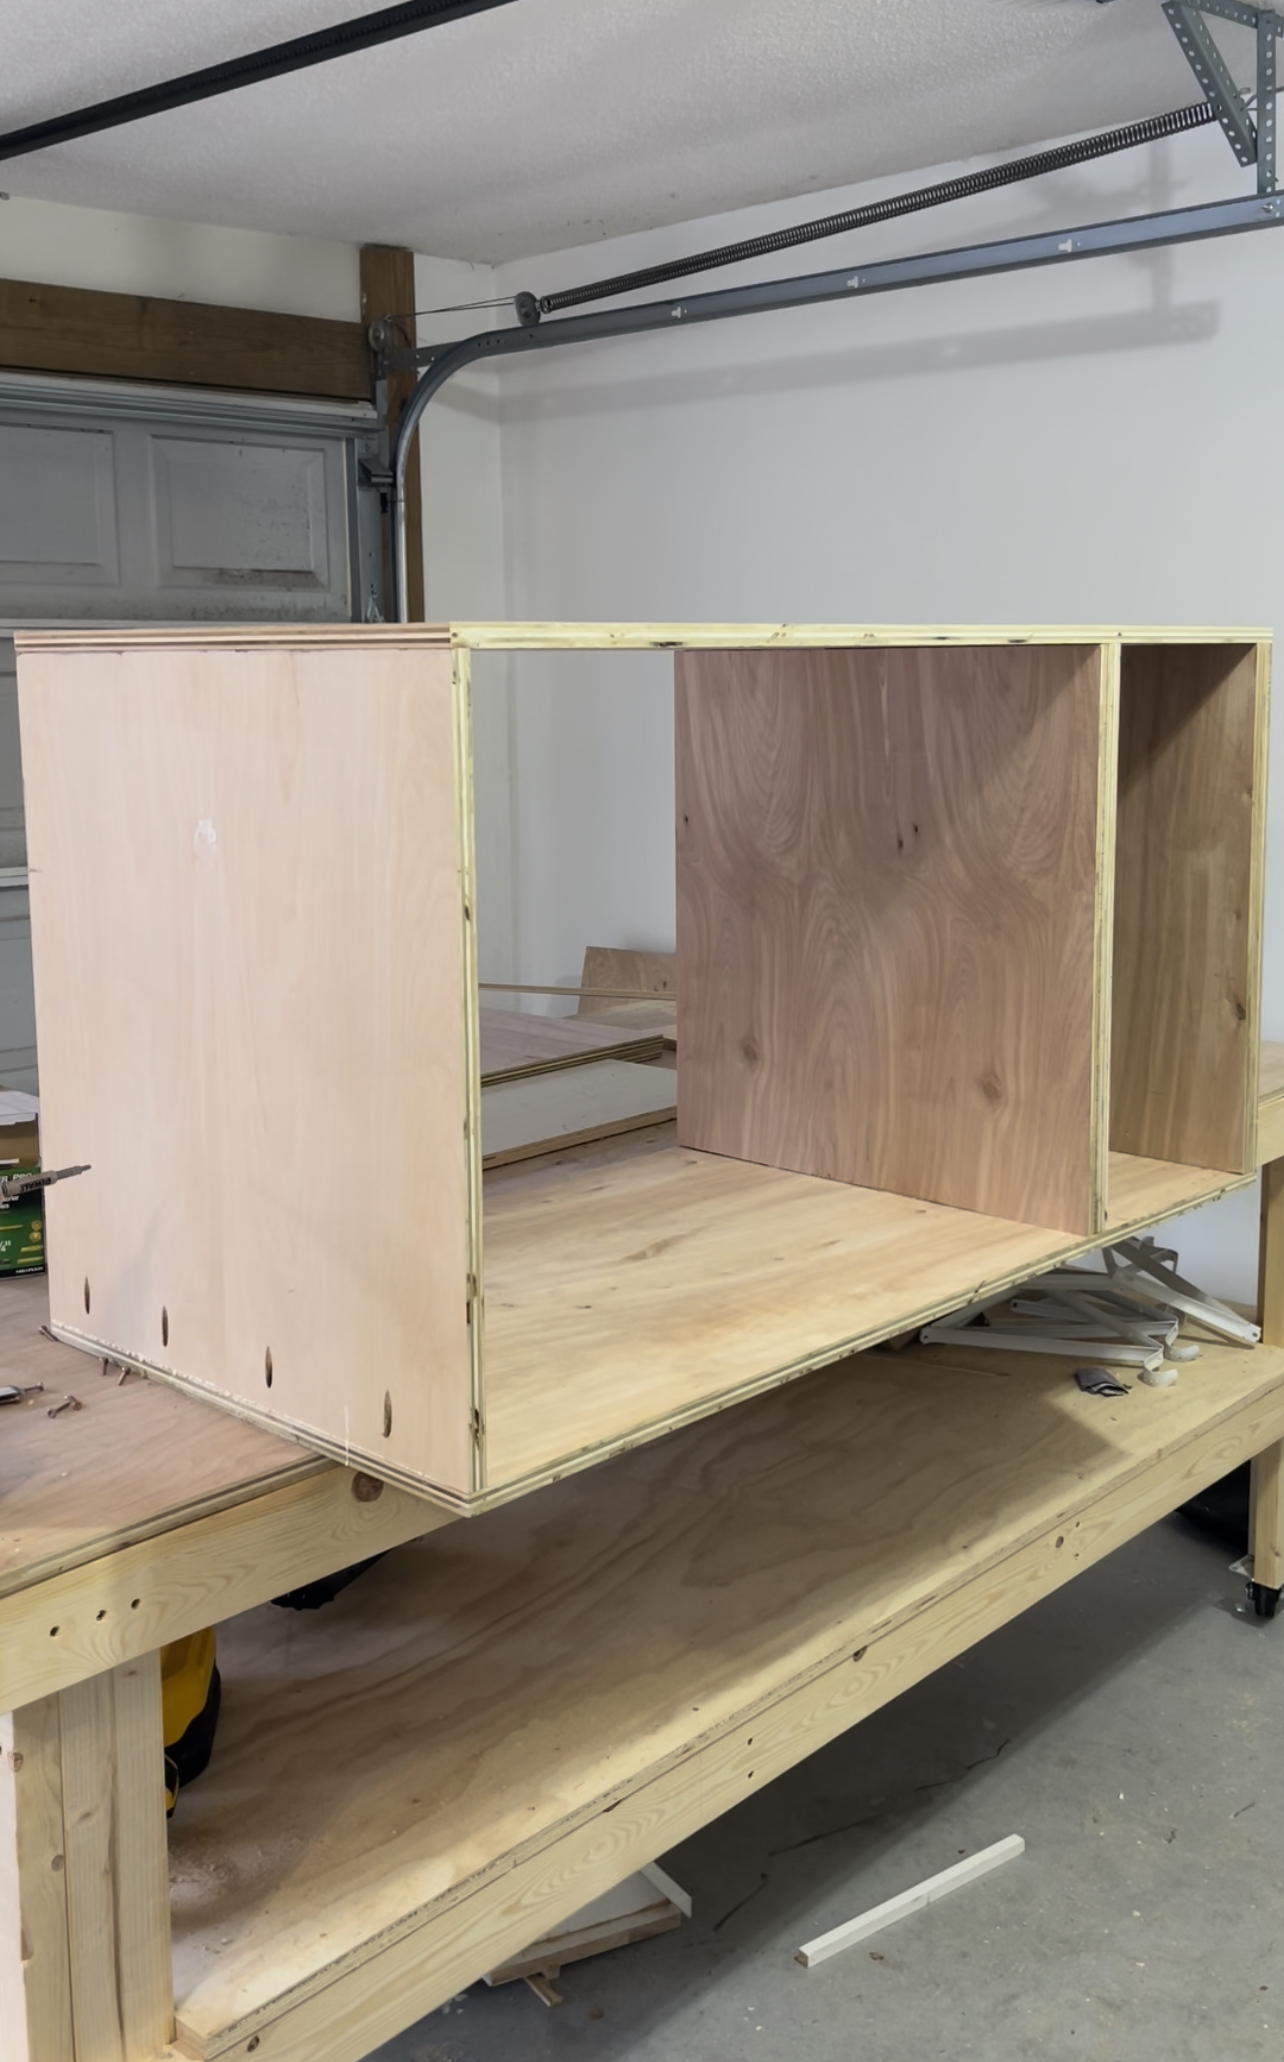

Step 3: Construct the Base Cabinetry
Precision is Key!
Using a laser level, I cut the wood to fit perfectly across the back wall of the room. Precision was key to ensure that the horizontal shelves would be level and secure.
Mounting the wood to the wall involved using L brackets and wood screws to secure it firmly. This created a floating effect, enhancing the modern aesthetic. I then installed soft-closing drawers and doors to the cabinetry, ensuring smooth and quiet operation.
To complete the base cabinetry, I added perimeter framing. This not only reinforced the structure but also provided a mount for LED light tape, adding a sleek and functional touch to the shelving.


Step 4: Adding a Countertop
And Applying a Topcoat
After measuring the space, I headed to Floor and Decor to pick up the walnut wood countertop. I carefully placed it onto the prepared surface, checking that it fits well and aligns with my measurements. I then secured the countertop using screws, making sure it’s stable and firmly in place. After that, I applied a wood flat topcoat and let dry.


Step 5: Add Shelving
With a Base in Place
I focused on installing floating shelves. These were mounted using L brackets and secured with wood screws. The shelves were positioned to ensure that they were level and properly aligned.
To give the shelves a polished look, I applied wood edge banding. This step involved carefully adhering the banding to the edges of the shelves, which helped to create a clean, finished appearance.


Step 6: Install Lighting
With LED Light Tape
One of the final touches was adding LED light tape. I installed it along the perimeter framing of the shelving. This provided both functional lighting for the workspace and an aesthetically pleasing glow that highlighted the clean lines of the design.

Step 7: Finishing Touches
Furnishing and Decor
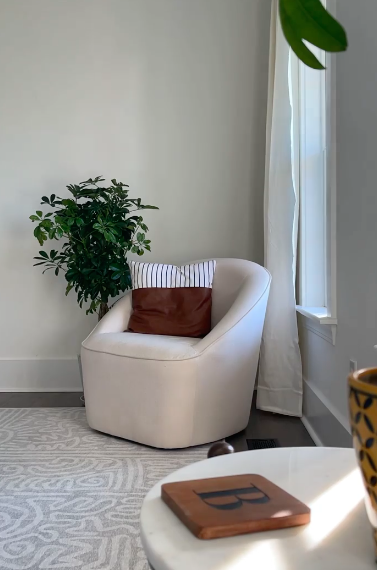
With the major construction complete, I turned my attention to decorating the office. I added long white curtain sets for a touch of elegance, paired with a sleek leather office chair for comfort and style. A fun, patterned rug from Ruggable added warmth and personality to the space. This final step helped to complete the transformation from a bare room to a fully functional and stylish office.
Building a DIY modern home office was both a challenging and rewarding experience. From designing the layout to installing shelving and lighting, each step was a learning opportunity. The end result is a space that is not only visually appealing but also perfectly suited to my needs. If you’re considering a similar project, I hope this guide provides the inspiration and practical advice you need to create your own dream workspace.


Discover how I furnished my modern home office with style and functionality.
Check out my detailed process and design tips for inspiration on creating your own chic workspace!

Comments will load here