


Learn how installing a Craftsman wall-mounted compressor in my garage transformed the space by saving floor area and enhancing accessibility for various maintenance tasks.
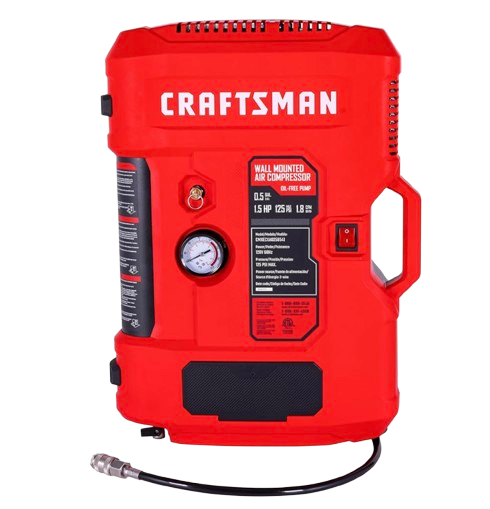
Adding this wall-mounted compressor in my garage was a smart way to save space and enhance accessibility. This setup not only frees up floor space but also keeps the compressor within easy reach, making tasks more efficient. I will be using this compressor for filling up tires, powering tools, and handling various maintenance tasks.
Materials:
Step 1: Choose the Location
Find a Stud or Wall Anchors
Select a location on your garage wall that is close to an electrical outlet and provides ample space around the compressor for ventilation and ease of use. Make sure the wall can support the weight of the compressor. It’s best to mount it on a stud or use wall anchors if necessary. I chose to place mine in between my garage doors to make it easy to use both inside and out of the garage.
Step 2: Drill the Holes
Using a Level to Guide You
Hold the compressor’s mounting bracket against the wall. Use a level to ensure it’s straight. Mark the drilling points for the screws or anchors with a pencil. Use a drill to add drill holes into the wall at the marked points. If you’re using wall anchors, insert them into the drilled holes.
Step 3: Mount the Compressor
Easy to do with a Screwdriver
Position the mounting bracket against the wall and align it with the drilled holes or anchors. Use a screwdriver to insert and tighten the screws into the holes or anchors. Carefully lift the compressor and hang it on the mounted bracket. Ensure it is securely attached and properly aligned. Ensure there are no obstructions around the compressor and that it’s securely mounted.
Check out the step-by-step process of this latest DIY project on my Instagram page!
Follow along for tips, tricks, and inspiration to create your own masterpiece.

Comments will load here