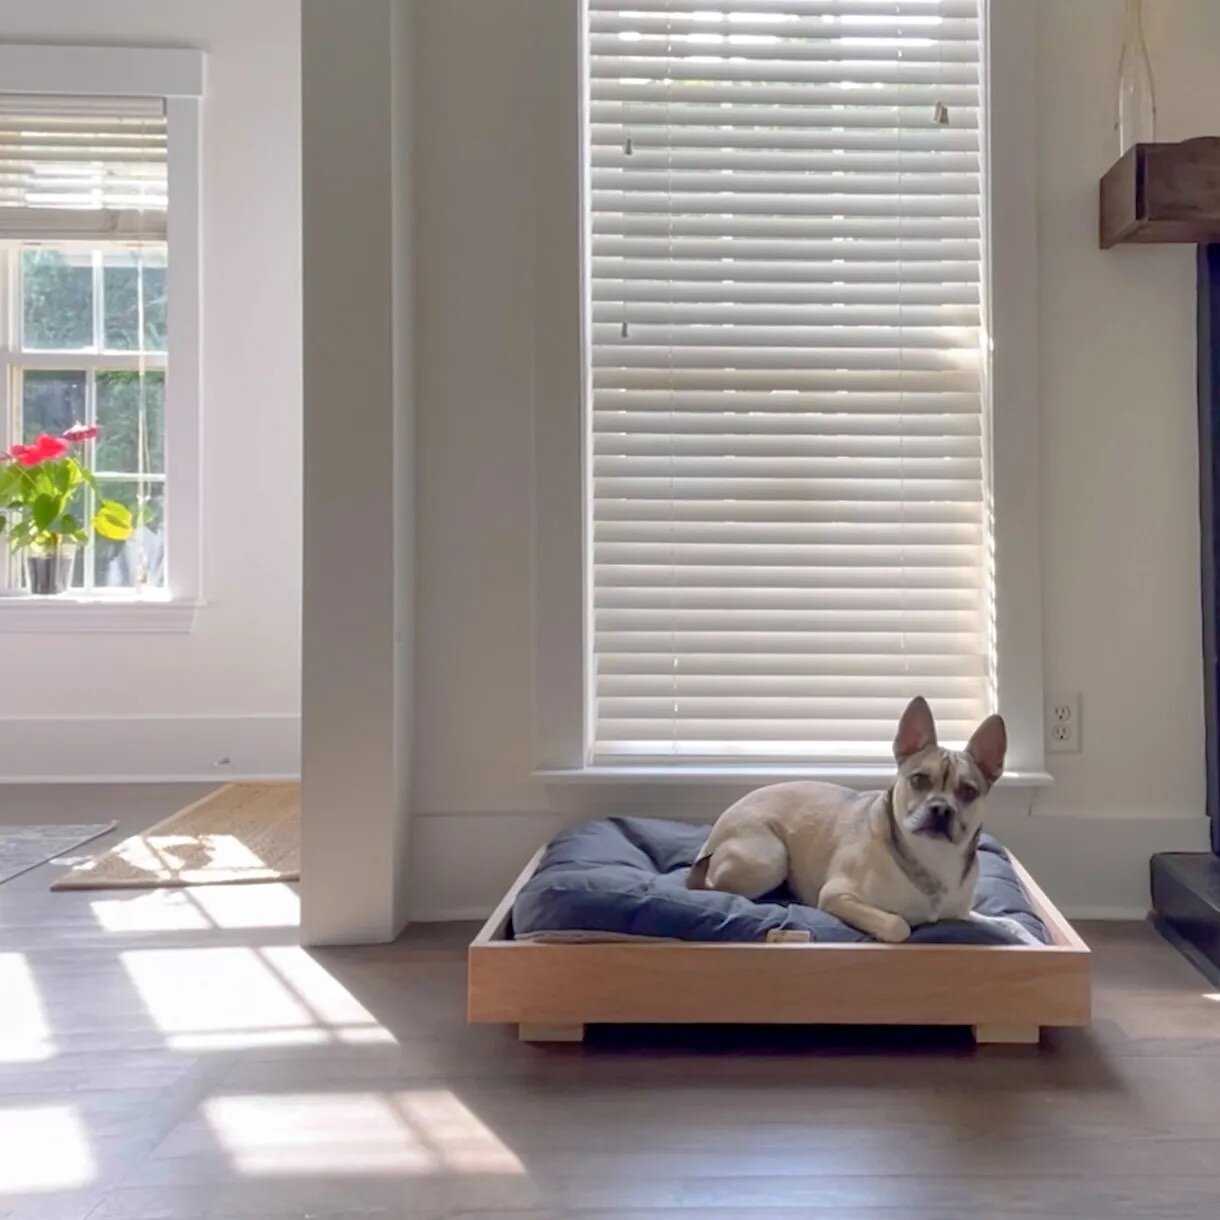

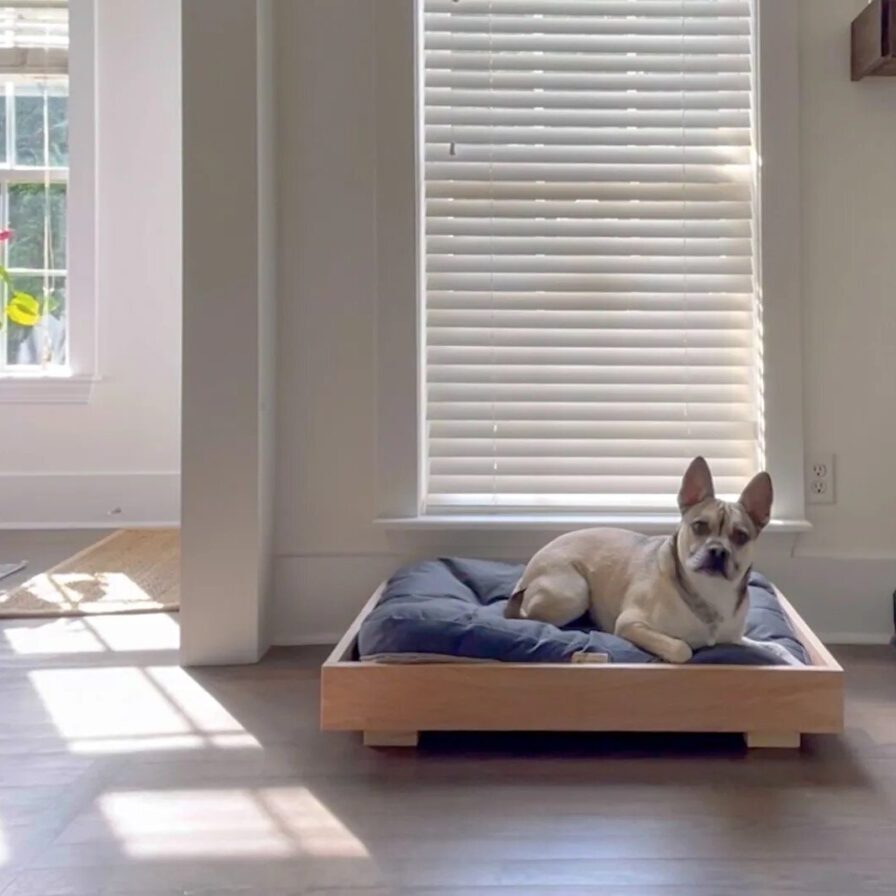
Transform leftover plywood and scraps into a modern dog bed! Join me in this DIY project for a stylish and functional addition to your pet’s space.
Materials:
- 4’ x 8’ Plywood
- 2’ x 4’ x 2’ Wood Stud
- Table Saw
- Edge Banding
- Wood Stain
- Wood Glue
- 9 in Level
- Rubber Mallet
Step 1: Measurements
Gather your scrap wood and choose the ideal size for your DIY dog bed. Measure dimensions and wall height based on your dog’s size for a perfect fit.
Step 2: Woodwork
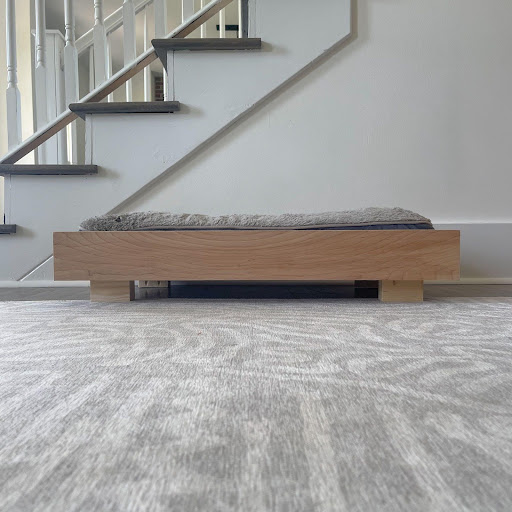
Start cutting the wood based on your measurements. Make sure the base is built even so the foundation is strong and the plywood is firmly supported by the 2×4 wood studs. Also, any extra wood from 2×4’s can be used and cut evenly to serve as legs if you want a lifted look to give some edge to your dog’s new comfort spot. I cut four inch high strips which will act as each wall of the dog bed. Next, I rolled out Big Mama to cut each wall down to proper length and it was back to the table saw to cut a groove along each of my walls. Therefore, I can easily slide the base of my dog bed into the groove for some nice and tight joinery. I put a light spread of wood glue at the groove and then took my base and with a little tappy tappy with a rubber mallet the frame for the dog bed is complete. Moving on to create simple low profile feet, I cut two by fours to matching height, added pocket holes with my kreg jig set, and proceeded to lightly sand each piece. I laid out each of the feet for a test fit, confirmed we’re looking good, and tapped it off with some wood glue.
Step 3: Sand and Stain
Sand down your newly built foundation to ensure a smooth finish and prevent splinters that could harm you or your pet.
Stain is optional, I used a natural top coat of stain to coincide with the rest of my coastal wood feels in my house.
Step 4: Cushion
Enhance your dog’s comfort with a stylish cushion for their bed, available in so many colors that beautifully complement your home decor for a cozy and inviting touch.
Explore my other blogs for a variety of detailed Step-by-Step Tutorials to help you with your next project or DIY!

Comments will load here