
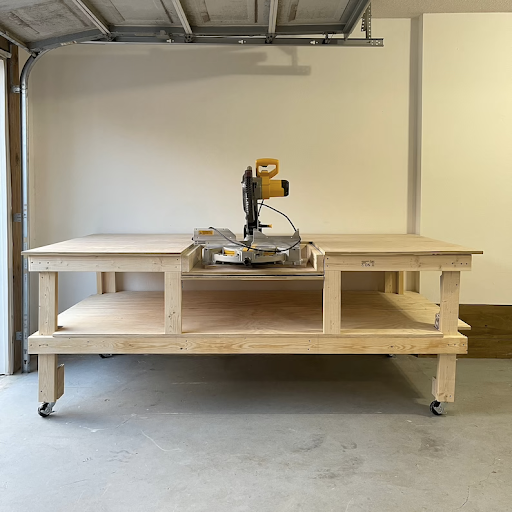
Introducing ‘Big Momma 2.0‘—a sturdy, mobile workbench that transforms my garage into a workshop! I’m thrilled to have completed this, giving me the comfort and freedom to tackle future DIY projects.
Materials:
- 3/4″ birch plywood sheets
- 2×4 wood studs
- Miter Saw
- Table Saw
- Cordless Drill
- Screws (2 1/2″ and 1 1/4″)
- Level
- Clamps
- Caster wheels (optional for mobility)
- Wood glue (optional)
- Measuring tape
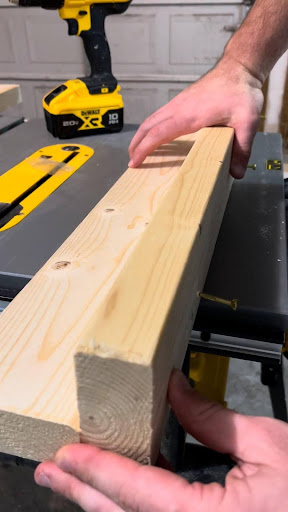
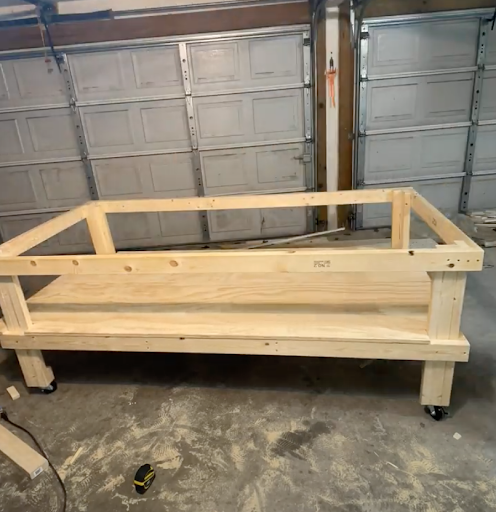
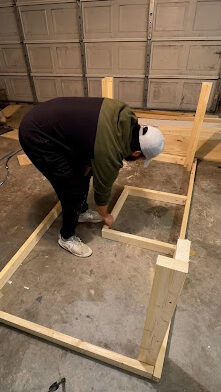
Step 1: Frame
Time to get building! Cut the 2×4 wood studs into four legs (usually around 3 feet high) and several cross supports. Assemble the frame by attaching the legs to the top and bottom of the long sides and the shorter cross supports. You can use screws and, if you want extra stability, wood glue.
Step 2: Extra Storage (Optional)
If you’re all about that storage life, create framing for your lower shelf using an extra set of perimeter framing members and cut two interior bridging members as well. More storage = more creativity.
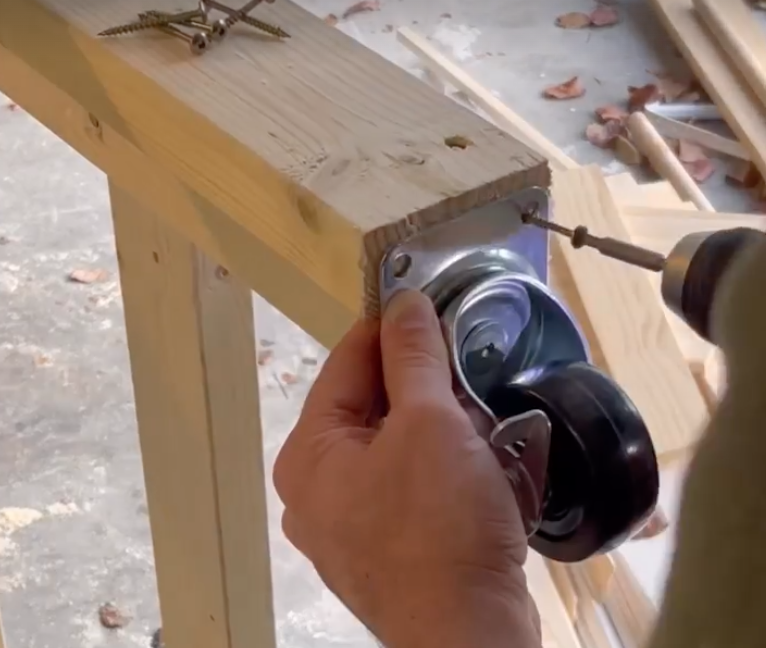
Step 5: On a Roll (Optional)
Boost your workbench’s mobility by adding caster wheels. Turn it into a versatile rover, ready to move wherever your creative projects lead you.
Step 5: Install Shelf
Measure the length and width of the space where you want to place the shelf on your mobile workbench. Then, using a table saw, carefully cut along the lines you marked on the plywood. Once your shelf fits correctly, you can attach it to the workbench frame. You can use screws or brackets to secure it in place.
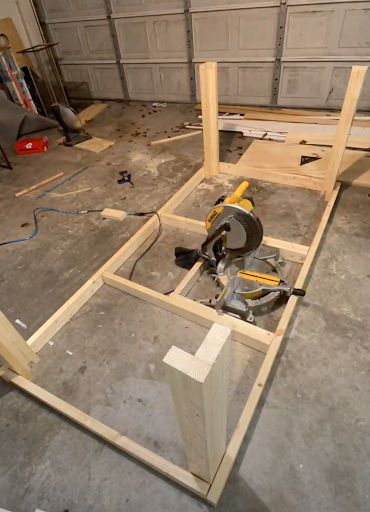
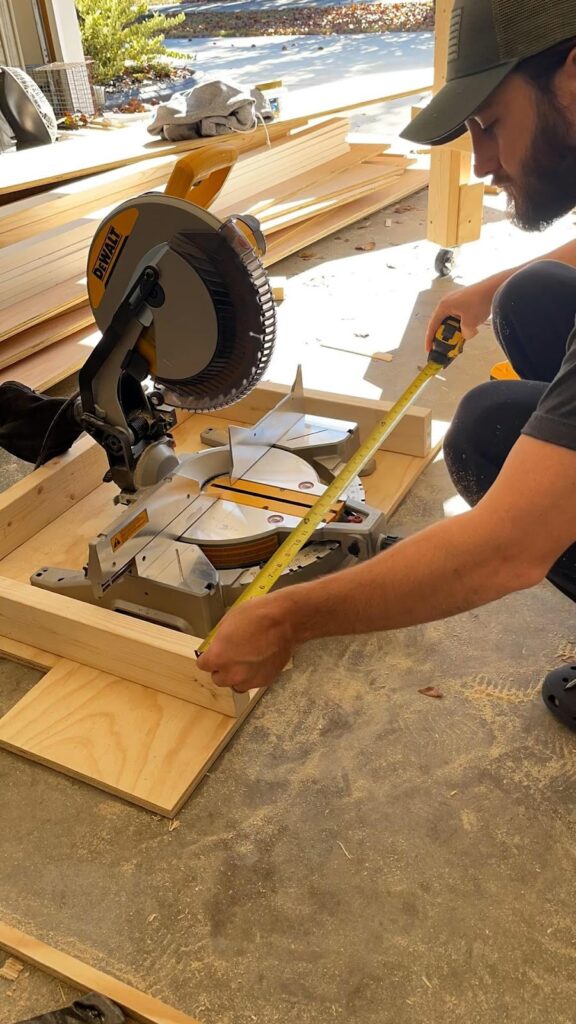
Step 6: Interior Framing for Miter Saw
To create interior framing for your miter saw station, cut additional 2×4 wood studs and create a rectangular frame that fits beneath the plywood surface, just under where your miter saw will sit. This will provide extra support for your saw and work surface. Secure it with screws.
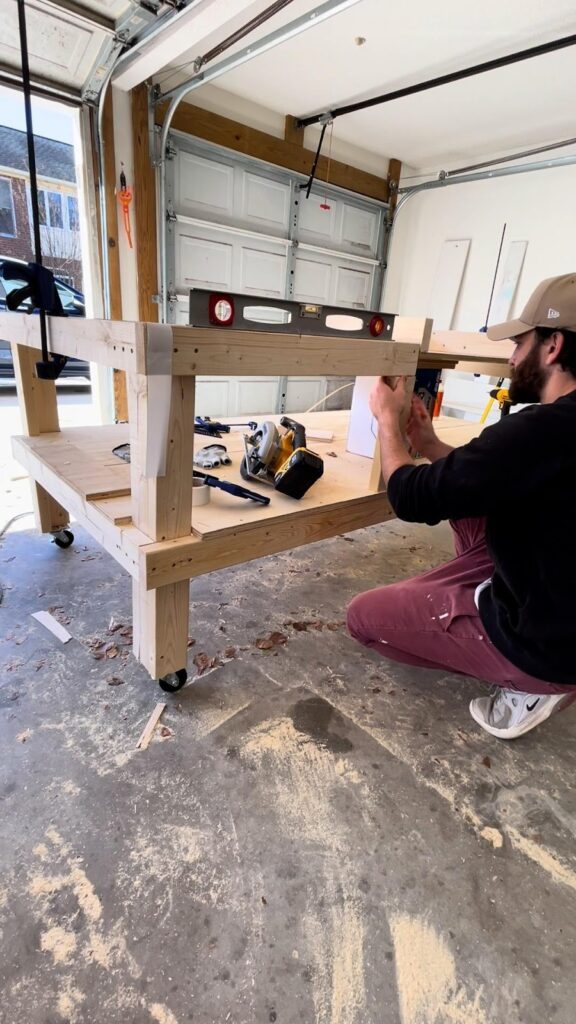
Step 7: Vertical Supports
Now, let’s add vertical supports to the miter saw station. Cut additional 2×4 wood studs to the desired height, and attach them to the sides of the miter saw station. These supports will add stability and help secure the miter saw.
Step 8: Plywood Top Placement
Lay your birch plywood top on the frame. Make sure it’s perfectly centered. Once you’re happy with the placement, use your screws to secure it. This plywood is your canvas, and you’ll be creating on it, so make sure it’s snug.
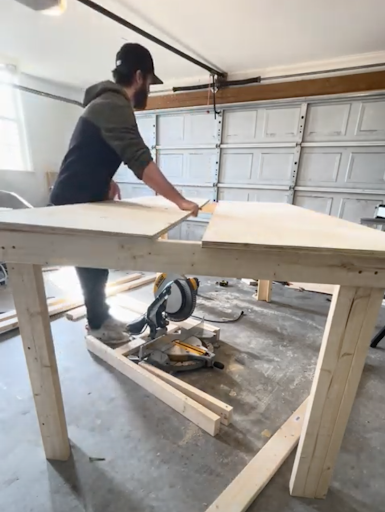
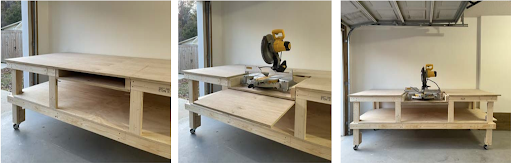
Step 9: Recessed Top
Use the table saw to cut the plywood to act as a base for your recessed top. Cut the 2×4 wood studs to the desired lengths to form a rectangular frame. This frame will sit within the tabletop and create the recessed area. Attach the pieces together using screws and make sure the frame is square and level.
Step 10: Attach the Birch Plywood Top
Position the large birch plywood piece on top of the frame, covering the sides and forming the tabletop. Secure it to the frame using screws. Make sure it’s level with the surrounding surface.
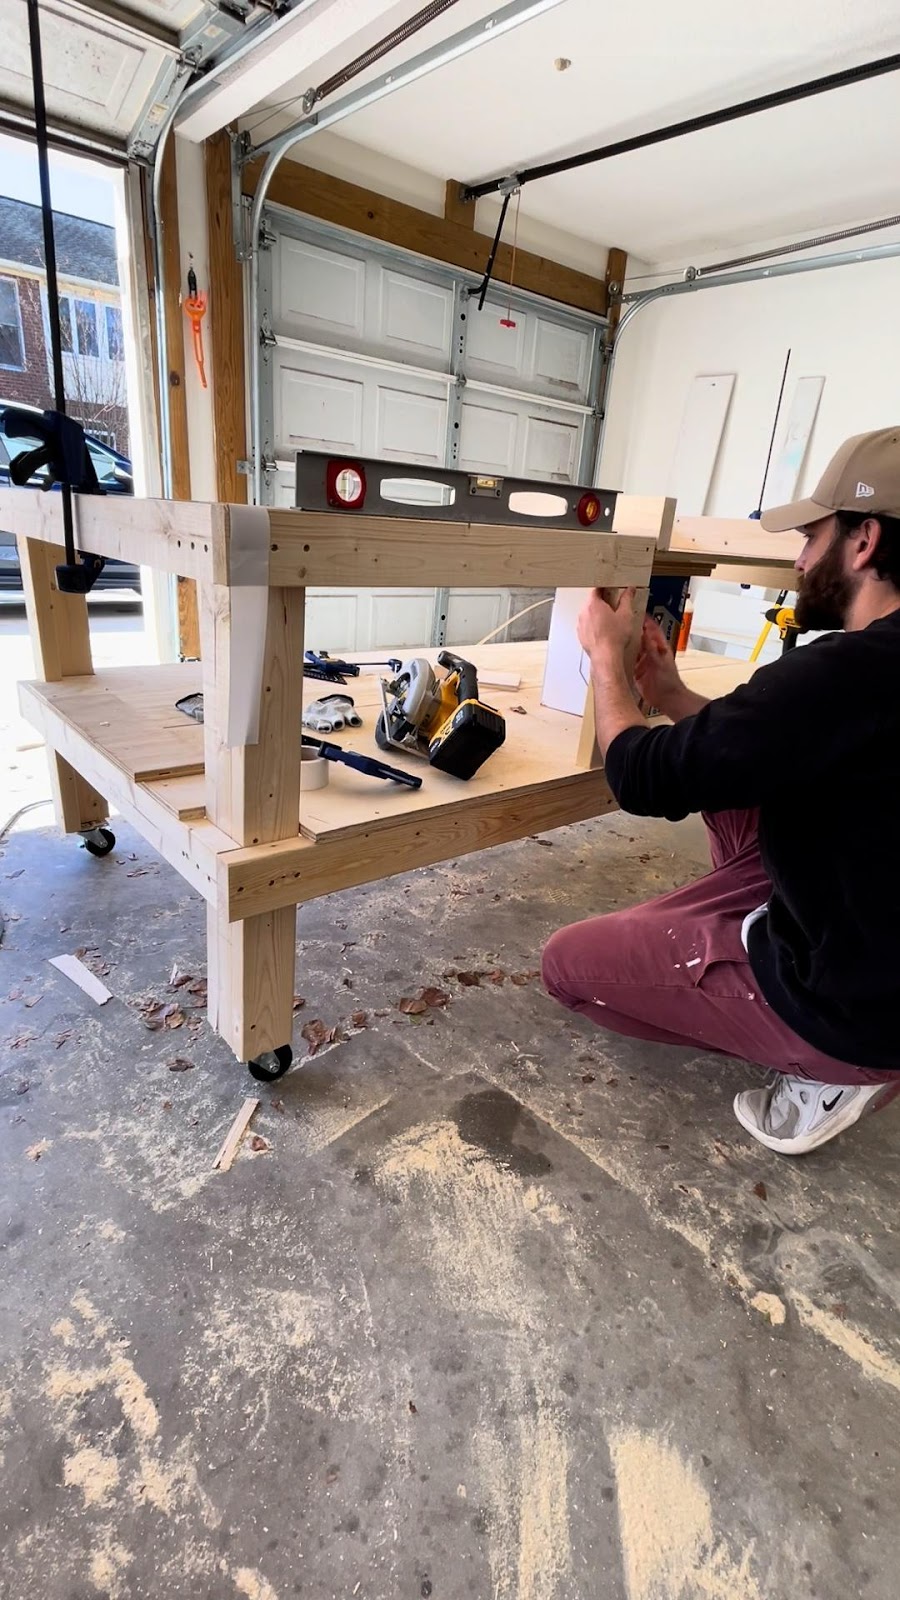
Step 11: Add Metal Brackets for Support
Enhance the stability of your miter saw station with metal brackets. Attach these brackets underneath the cut-out worktop to provide solid support for your miter saw. Ensure that the brackets are securely fastened with screws to reinforce the stability of your setup. This added support will help prevent any wobbling or movement, ensuring a safer and more precise cutting experience.
And there you have it! You’ve built your very own mobile workbench that’s ready to tackle any project with you. Time to roll up your sleeves and get creative!
Explore my other blogs for more detailed Step-By-Step Tutorials! From DIY projects to handy tips, find clear and practical guides to help you tackle your next creative task.

Comments will load here