

Explore my tips for backyard maintenance, including gardening techniques, deep cleaning, and an easy wood deck revamp to elevate your outdoor space.
As a designer, every project for me starts with a plan and a design. Luckily, my local Home Depot is always my one stop shop for the various materials, products and finishes I use for all of my home projects. When seeking that high end design look at budget friendly prices, The Home Depot checks every box.
Living down in Charleston, South Carolina, the importance of quality outdoor living is equally as important as the indoor. We get to utilize our spaces for all four seasons which means I must do a killer job designing for multi-functional, adaptable use. It’s easy to look around your yard and get lost in the same old furniture you’ve had forever and just accept that that green color on your siding gives it “character” but I am here to tell you that you can bring your current outdoor space from zero to hero with the help of the Home Depot.
Materials:
- Wood Stain
- Weed Eater
- Edger
- Garden Gloves
- Leaf Bags
- Rake
- Mulch
- Hose Nozzle
- Disc Sander
- Palm Sander
- 3/8” Nap Roller
- Pressure Washer
- Washing Liquid
Step 1: Spruce up your Garden Bed
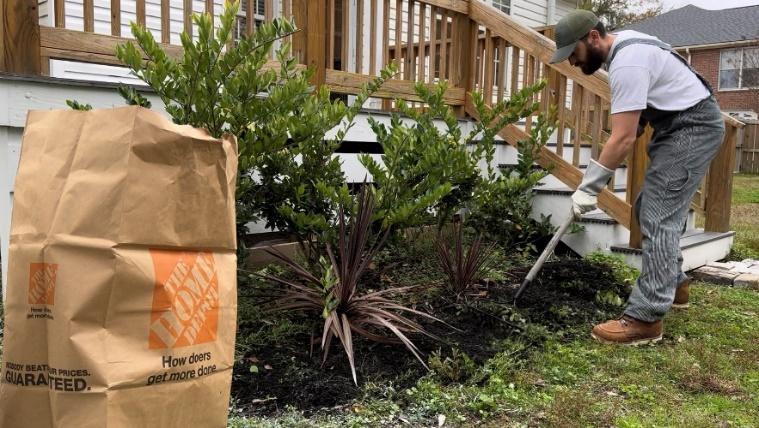
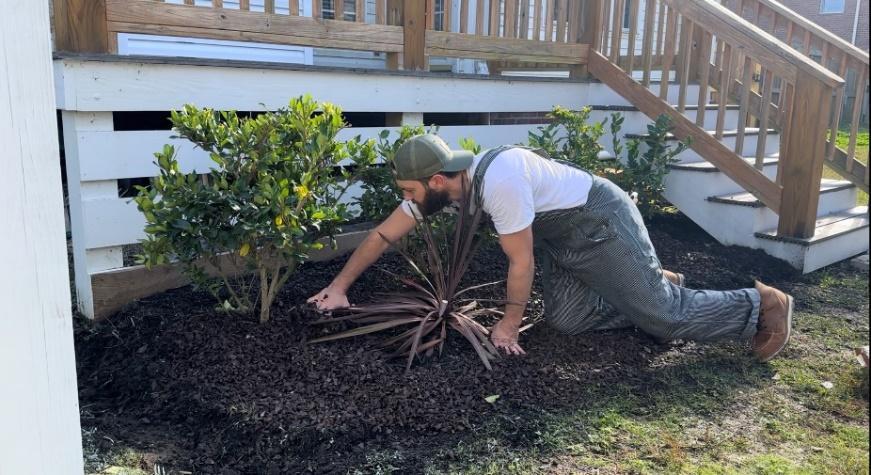
Starting out with this overgrown garden bed, I am going to be pulling weeds, defining the edge, raking, trimming and adding mulch. I start with the removal of the weeds for two reasons. One, I hate weeding and two, it lets me see what I am working with. Once weeding is complete, it’s time to gently rake the existing soil to loosen it while avoiding any plant roots. Make sure you have your HD leaf bags to collect all weeds, excess dirt and trimmings. Now it’s time to prune the bushes as pretty as possible which is not always easy, but we do our best. Once the trimming is done and everything is cleaned up, take your edger and define the edge of the bed. Once you’re happy, further define and deepen the line with a shovel. This will make the mulching process easier. On homedepot.com, I used the square foot calculator to figure out how many bags of Vigoro mulch I was going to need for this area. I highly recommend using this feature because it’s not only easy but it saves me trips back to the store, so it’s a yes for me! Generously spread the mulch all over the bed right up until your lawn line for a finished look. Spray the plants with your Melnor hose nozzle to top it off and you have a beautiful garden, party ready!
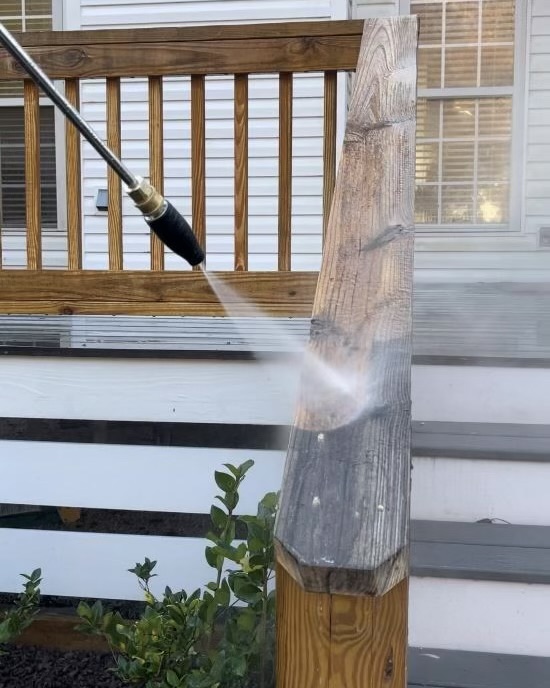
Step 2: Deep Cleaning
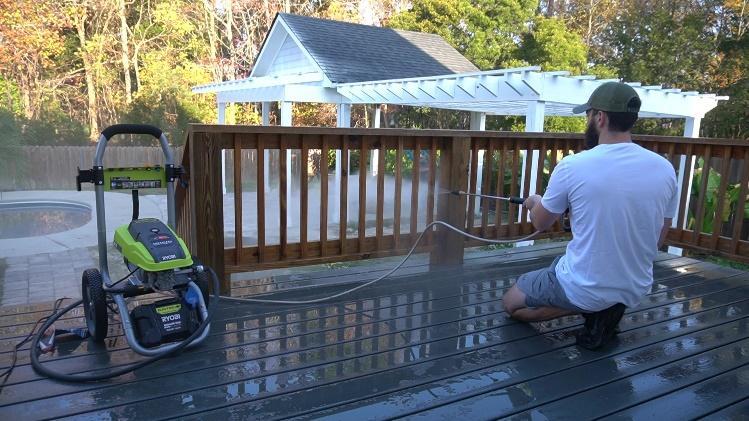
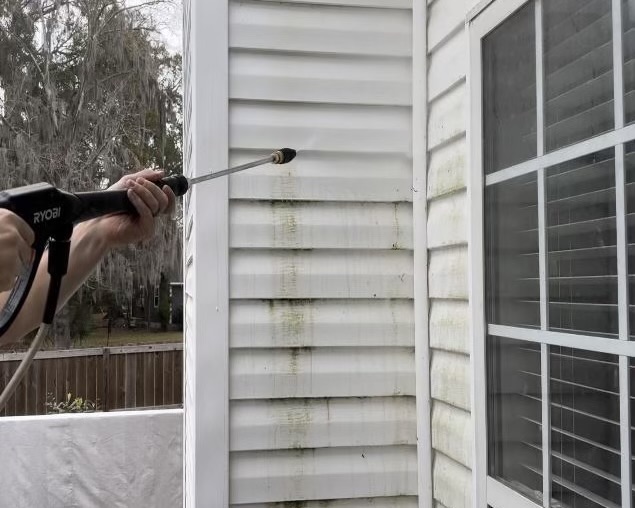
Arguably, pressure washing is the most satisfying DIY project you can do at home. Pressure washing exposes dirt you didn’t even know existed and once you start, there is no turning back! In my opinion, you need to pressure wash your house at least once a year to keep the siding in good shape and to keep your neighbors from talking about you. Clearly, or should I say, greenly, it is time for me to pressure wash! I am using the RYOBI 2300 PSI 1.2 GPM High Performance Electric Pressure Washer to take care of the mildew and dirt covering the back of my house and my entire deck, railings and all. This is one heavy duty machine that will take care of any amount of dirt with ease but is less harsh than a power washer, making it the better, safer choice for a residential cleaning. For the best results, keep the nozzle about 6” – 12” away from whatever you’re spraying and start from the top of the surface and work your way down. This method helped remove all that gross windowsill pollen and the green marks that the tree frogs leave after hanging out all night and we are just getting started. The amount of dirt build up on my deck was shocking once I started spraying! The before and after are almost embarrassing but that’s how I know I did a good job, so I’ll share them with y’all! Words of wisdom for pressure washing… you’ll know when you’re done and even when you’re done, it’s so addicting you might keep going!
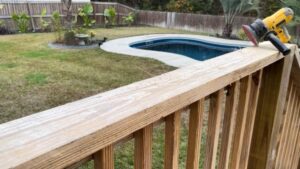
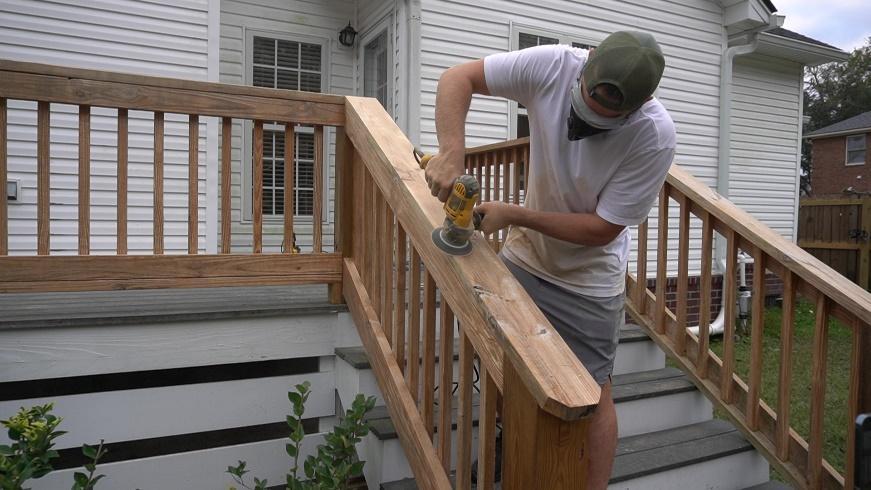
Step 3: Wood Deck Revamp
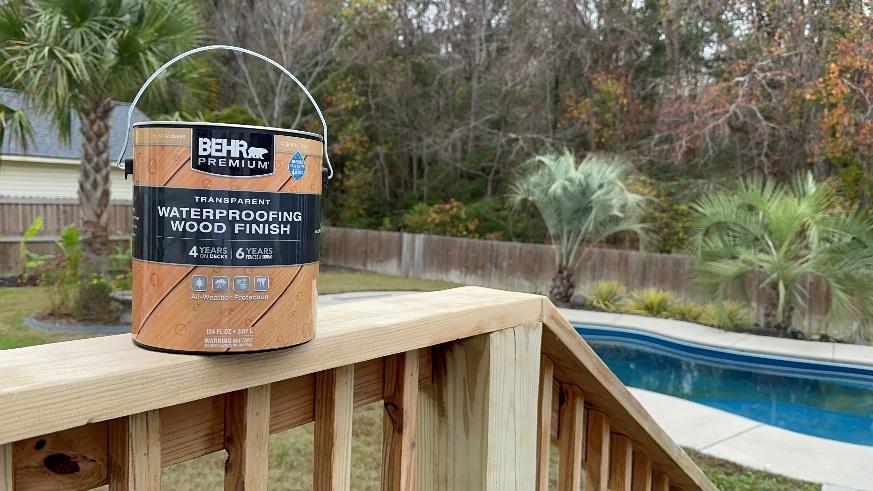
Once the wood is pressure washed, it not only looks like actual wood again but also becomes full of splinters that are just begging to be sanded. So, that is exactly what we are going to do! Wood is great, beautiful, stylish and affordable but with all of that comes maintenance. I will say, if you do a really good job sanding and sealing, the deck will look great for a few years. My few years are definitely up, so here we go. I started with an orbital sander and focused on the top rail. I find small victories is the best way to get through a tedious project like this so one section at a time helps. Once the entire deck is sanded, we are ready to start applying the seal. I will be using BEHR Premium Clear Transparent Waterproofing Exterior Wood Finish. They recommend using a 3/8” nap roller so that is what we will use to generously apply the seal. I went with a clear finish because I am going for a coastal vibe in my backyard so the more natural the wood, the better. But, BEHR also offers a huge variety of stain colors so the options of finishes are endless. Once your first coat of seal is applied, wait two hours and apply one more and watch your deck instantly pop!
Browse my other blogs for Step-By-Step Tutorials!
Find detailed guides and practical advice on various DIY projects to help you achieve your goals.

Comments will load here