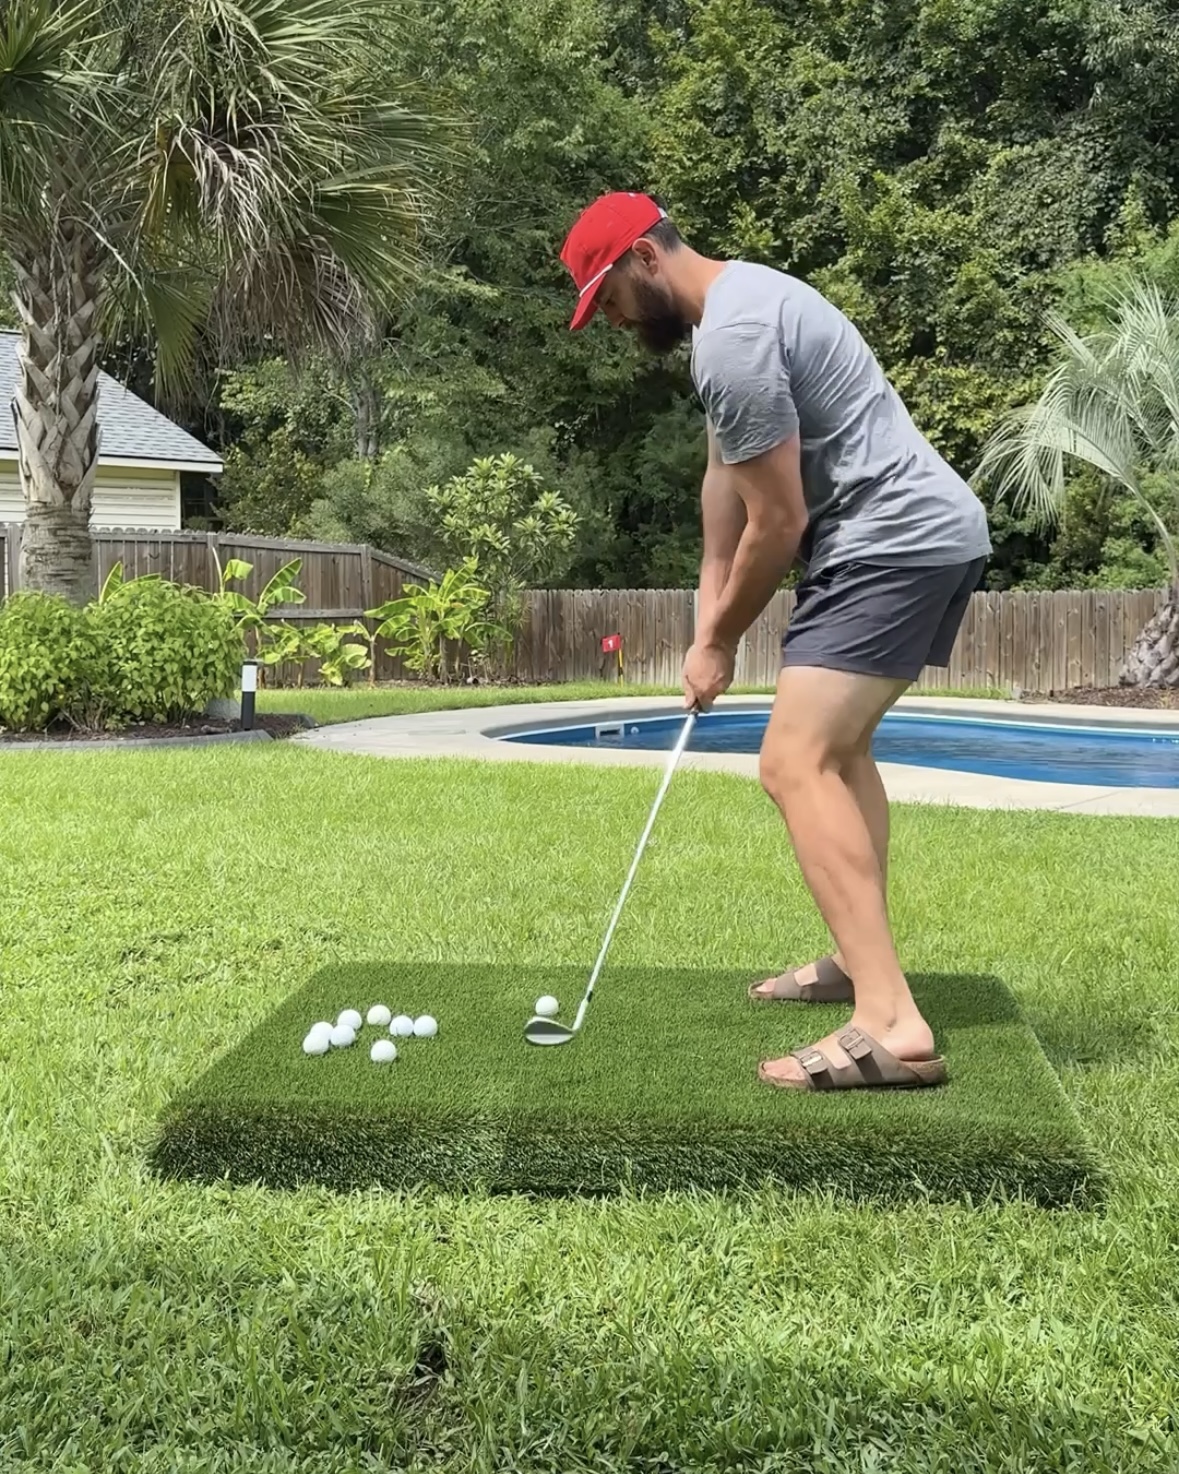

Build Your Own Hitting Spot at Home
If you’ve been tearing up your lawn every time you practice your swing or you just want the convenience of a personal practice area, a DIY golf tee box is the perfect solution. It’s simple, affordable, and makes practicing at home a lot more fun.
Materials
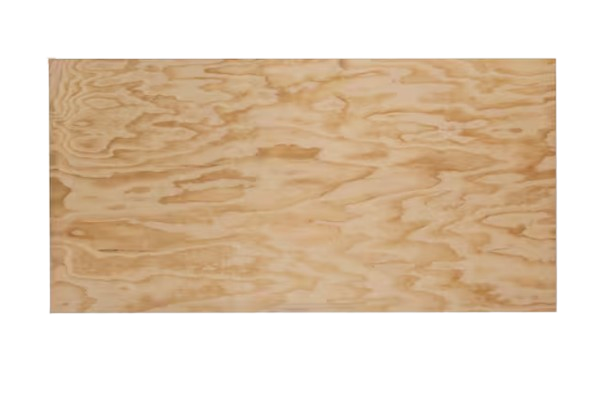
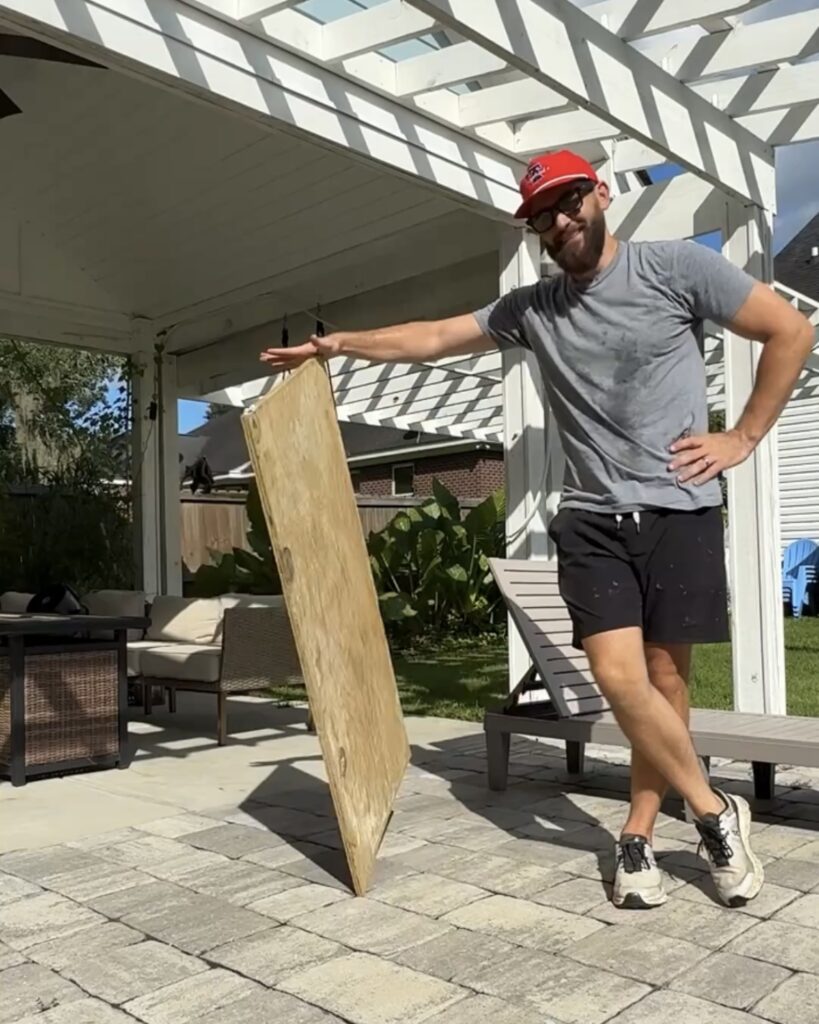
A plywood sheet is the foundation of your tee box build, providing a flat and sturdy base that ties everything together. It’s lightweight enough to handle easily but strong enough to support the frame, padding, and turf on top. Because it cuts cleanly with a cordless circular saw, you can size it exactly to match your frame dimensions. The sheet also helps distribute weight evenly, preventing the tee box from sinking or shifting on uneven ground. When paired with construction adhesive and screws, the plywood becomes a reliable surface that ensures long-term durability.
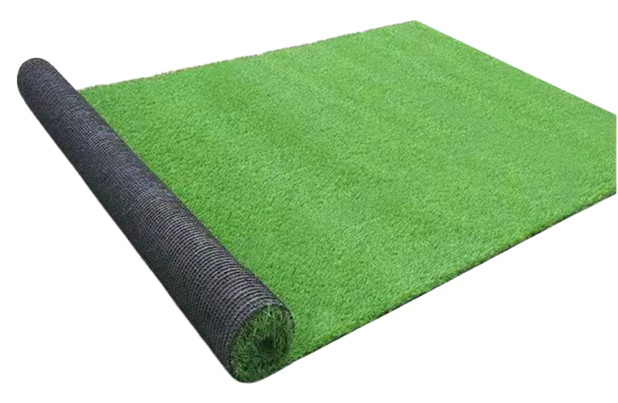
Artificial turf is what gives your DIY tee box its realistic look and feel, making it an essential finishing layer. High-quality turf provides a smooth hitting surface that mimics grass, letting you practice with confidence without damaging your lawn. It should be cut with a slight overhang to stretch tightly across the frame, ensuring a wrinkle-free finish. When secured with construction adhesive and screws or washers, the turf will stay firmly in place through repeated swings. This material not only looks professional but also adds comfort and consistency to your practice sessions.
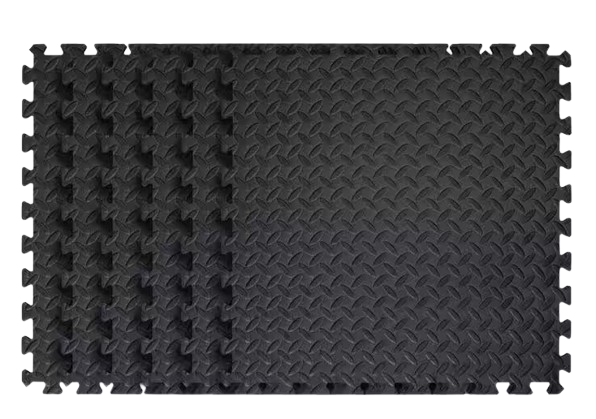
Foam padding plays a critical role in absorbing shock and protecting both your tee box and your body during use. Without padding, every swing would transfer force directly into the plywood and frame, creating a harsh impact that could cause wear over time. By cutting it to fit snugly inside the box, you create a cushioned surface that makes hitting feel much closer to practicing on real grass. A few dabs of construction adhesive along the edges keep the foam from sliding out of place during use. This simple addition extends the life of your tee box while making your practice safer and more enjoyable.
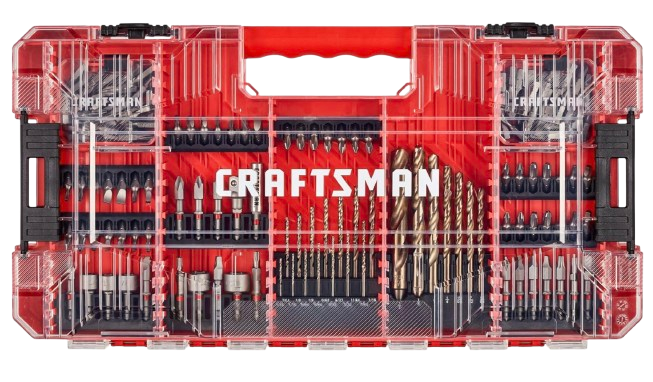
A drill bit set ensures you can make precise, clean pilot holes before driving in screws, which is key to building a strong tee box. Different bits let you match the size of your screws, reducing the risk of splitting the wood or stripping the hardware. Using pilot holes also helps align the frame properly, so your corners stay square and secure. A good set will work for both wood and metal, giving you flexibility for other DIY projects. It’s a small investment that makes the assembly process smoother and the final build much sturdier.
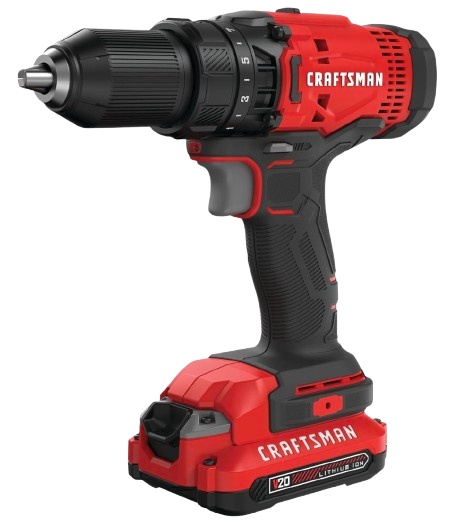
The cordless drill is the workhorse of this project, making assembly faster and easier. With it, you can drill pilot holes and drive screws without needing multiple tools, saving both time and effort. The portability of a cordless drill means you can work anywhere, whether in your garage, backyard, or patio. When paired with the right drill bit set, it helps ensure the frame and plywood base are tightly secured. This tool is essential for achieving the strong, stable construction that keeps your tee box reliable over time.
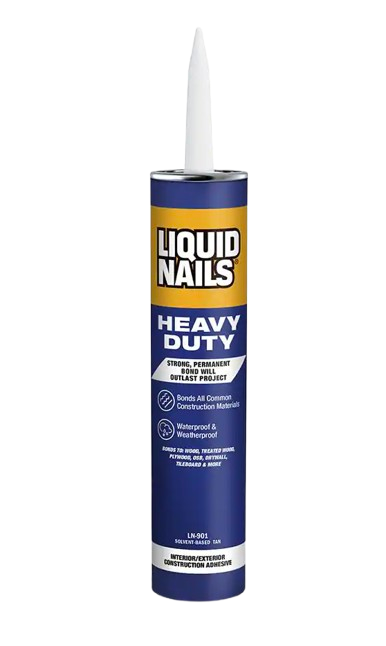
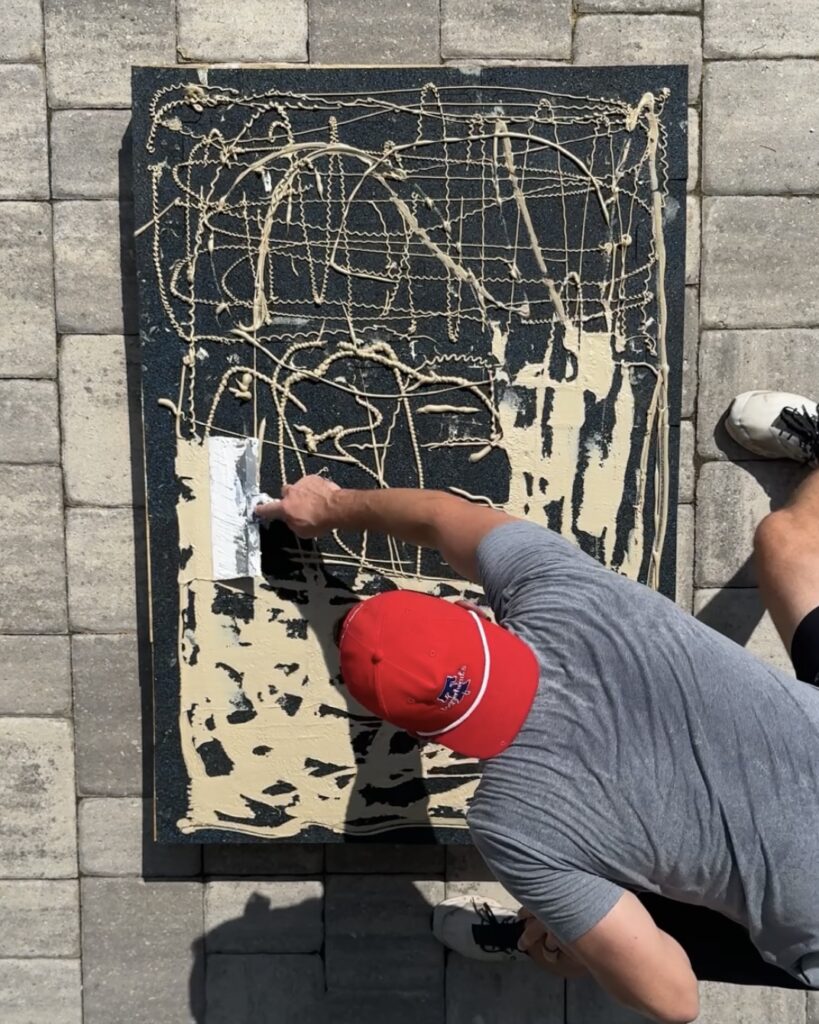
Construction adhesive provides extra strength and stability to your build by bonding materials together in addition to screws. It’s especially useful when attaching the plywood to the frame and securing the turf or foam padding in place. Applied with a caulk gun, it creates a long-lasting hold that resists shifting or peeling even under repeated use. Unlike nails, adhesive doesn’t loosen over time, making it perfect for high-impact DIY projects like a tee box. This material ensures your finished project is not only sturdy but also built to last.
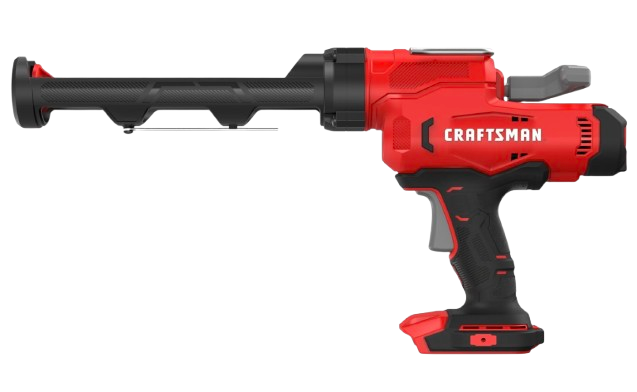
A caulk gun is the applicator that makes it possible to use construction adhesive cleanly and efficiently. By squeezing the trigger, you can apply an even bead of adhesive along edges and seams without wasting material. This tool ensures better control, helping you secure the plywood, foam padding, and turf with precision. It’s especially helpful for keeping adhesive where you need it — preventing messes that can interfere with the turf’s finish. A reliable caulk gun helps streamline the build and guarantees a professional-looking result.
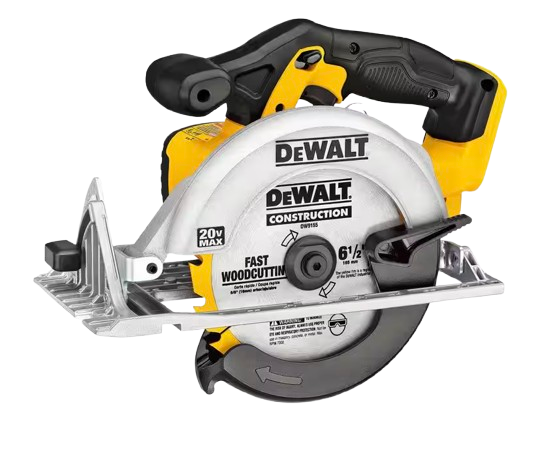
A cordless circular saw is the cutting tool you’ll rely on to size your plywood sheet and 2x4s accurately. Its portability makes it convenient for backyard projects, allowing you to cut materials on-site without worrying about extension cords. With a steady hand and proper measurement, the saw delivers straight cuts that help your frame stay square and aligned. This accuracy is crucial because uneven cuts can throw off the whole build. For a project like a tee box, a cordless circular saw saves time while ensuring the frame and base fit together seamlessly.
Step-by-Step Instructions
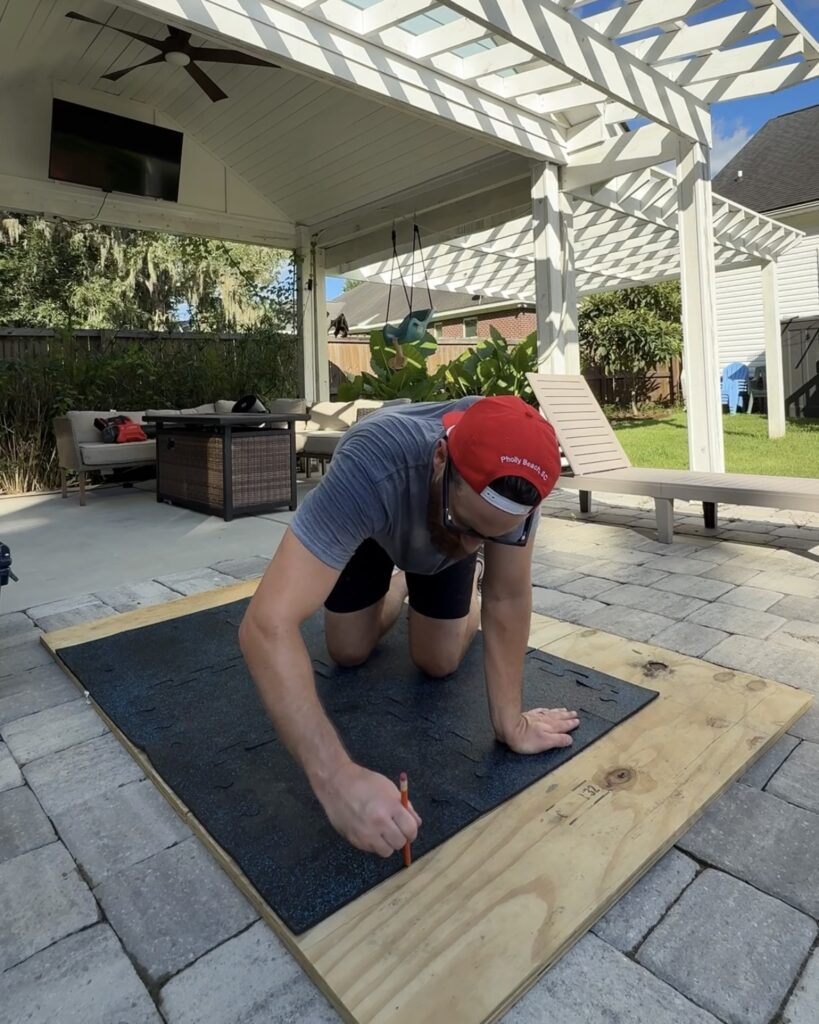
Step 1: Plan Your Size
Before you start cutting, decide on the overall size of your tee box. A standard option is about 4 ft by 5 ft, which gives you enough room for a full swing without taking up too much backyard space. Measure out the area and visualize where the tee box will go to ensure it fits your setup. Having the size planned ahead of time will also help you cut your plywood sheet and 2x4s to the correct dimensions with your cordless circular saw. Taking a few extra minutes here makes the build smoother and ensures you don’t waste materials.
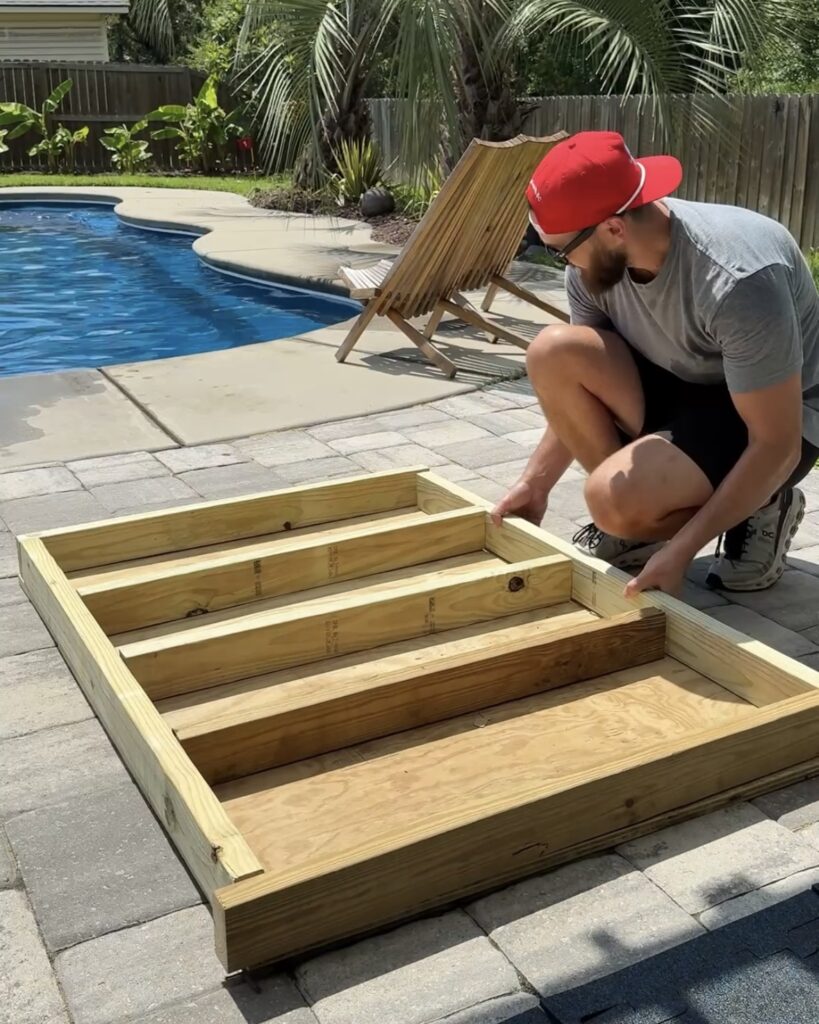
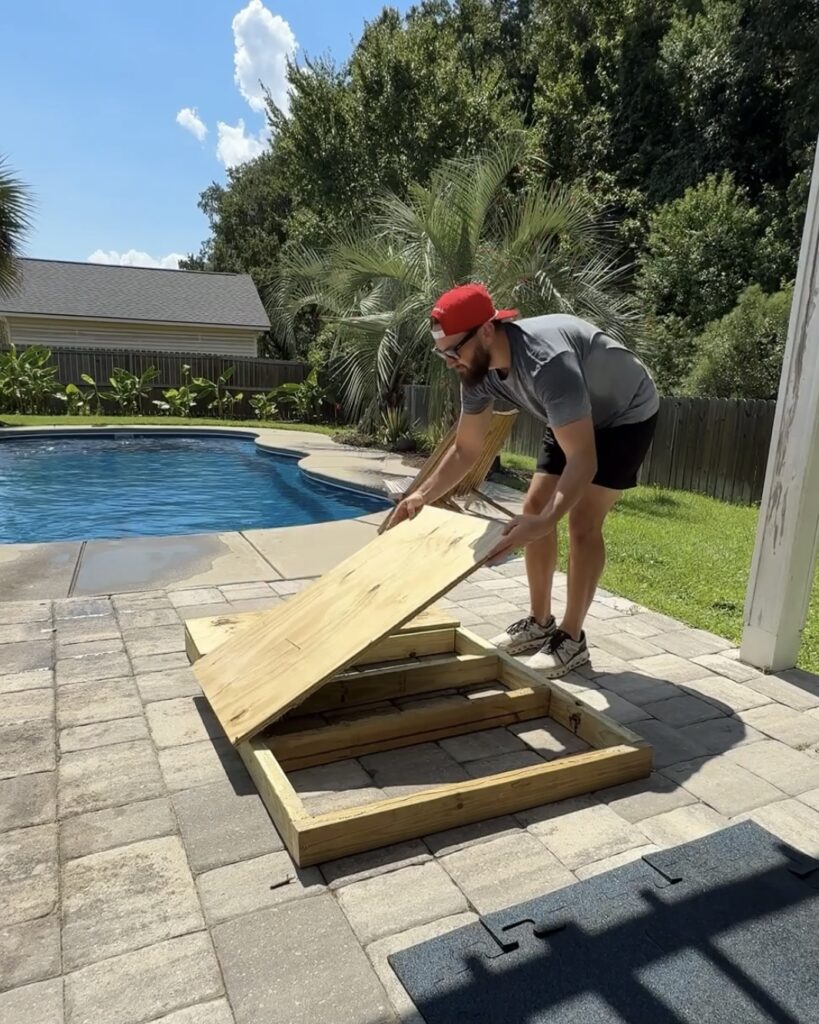
Step 2: Build the Frame
Using your circular saw, cut the 2x4s (or 2x6s if you want a sturdier build) to the planned size. Lay them out on a flat surface and assemble a rectangle frame, making sure the corners are square. Secure the frame using your cordless drill and screws, guided by a drill bit set for clean pilot holes. For added stability, attach the cut plywood sheet to the bottom of the frame with both screws and a bead of construction adhesive applied using a caulk gun. This creates a solid base that won’t shift when you swing.
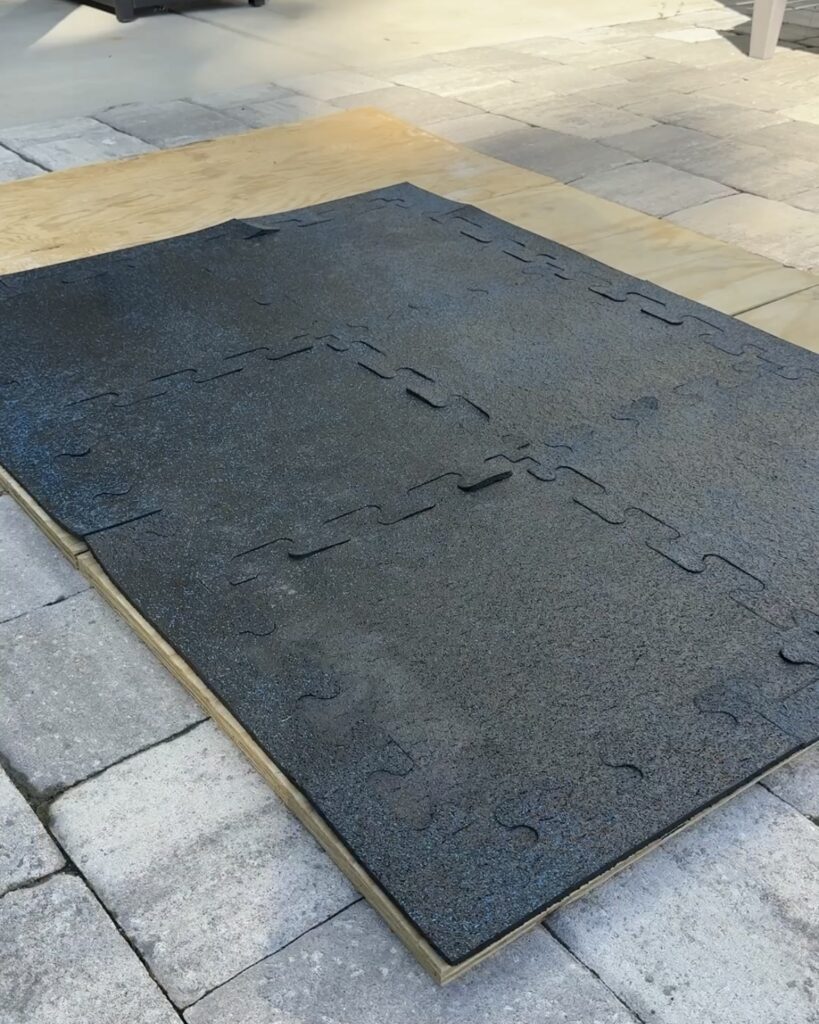
Step 3: Lay Down Foam Padding
Once the frame and base are secure, cut your foam padding to fit snugly inside the box. The padding is key because it absorbs shock when you take a swing, helping protect both your frame and your joints. Place it evenly across the surface so the turf sits smoothly on top. To prevent shifting, use dabs of construction adhesive along the edges to hold the foam in place. This layer makes a huge difference in giving your DIY tee box a realistic feel.
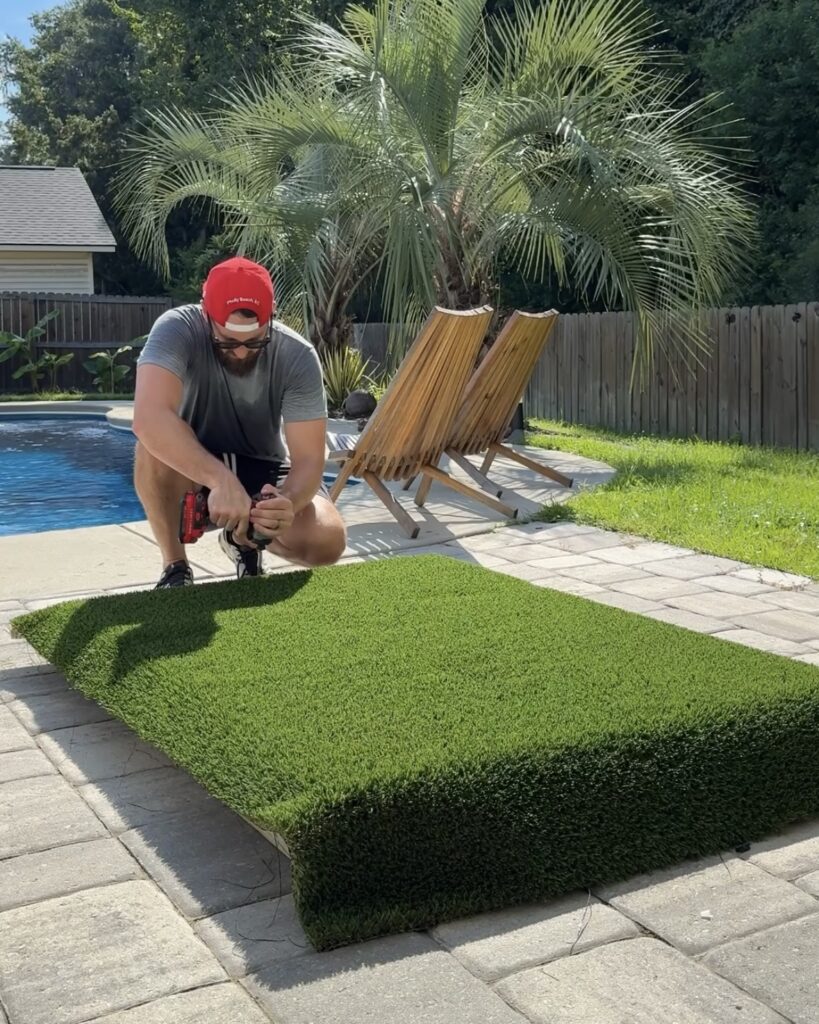
Step 4: Install the Turf
Roll your artificial turf over the frame and padding, leaving a few extra inches hanging over each side. This overhang makes it easier to stretch the turf tightly and trim it later for clean edges. Use a combination of construction adhesive and your drill with screws (plus washers, if needed) to secure the turf in place. A bead of adhesive along the edges, applied with your caulk gun, will keep it flat and prevent peeling. Make sure the turf is pulled tight to avoid wrinkles, as a flat surface is crucial for consistent swings.
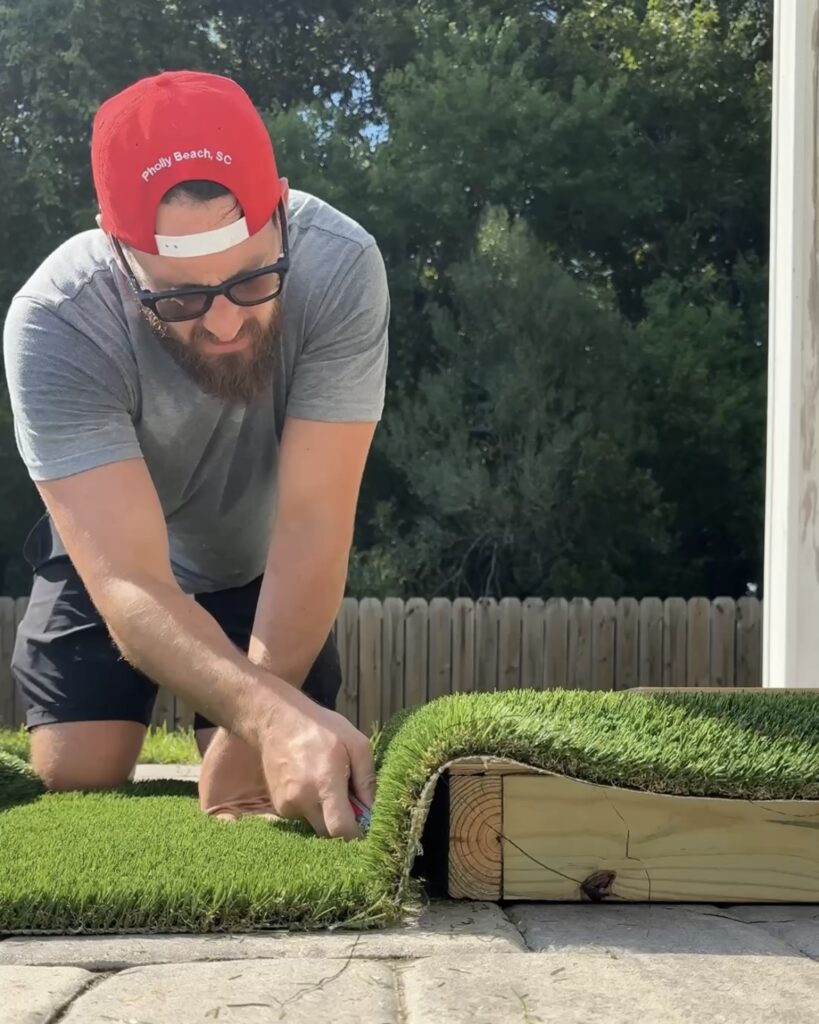

Step 5: Finishing Touches
Trim off any excess turf using a sharp utility knife for a clean, polished look. If you’d like, you can drill a small hole through the turf and plywood to insert a removable tee holder, giving you a designated hitting spot. Once finished, place your tee box in the backyard, garage, or patio — anywhere you want a personal practice space. Because it’s portable, you can move it around to protect your lawn from repeated divots. With a sturdy build held together by adhesive, screws, and padding, this tee box will be ready for countless swings.
Why This Works
A DIY tee box is the perfect way to practice at home without destroying your lawn. By combining a strong frame, plywood base, foam padding, and artificial turf, you get a surface that feels close to real grass. The construction adhesive and screws ensure durability, while the padding adds comfort and realism. It’s a cost-effective alternative to frequent trips to the driving range and saves you time if you’re juggling a busy schedule. With just a few tools and some weekend effort, you’ll have a reliable setup that lasts season after season.

Comments will load here