

A Simple DIY Upgrade for Your Gutters
Looking for a simple way to boost your home’s curb appeal and make rainy days a little more beautiful? A rain chain is an easy swap for your traditional downspout and when paired with a planter base, it doubles as a functional and decorative garden feature.
In this project, I installed a rain chain and created a custom drainage setup using an outdoor planter, river rocks, and mulch to blend it all into our landscaping. Here’s a step-by-step guide so you can do it too.
What You’ll Need:
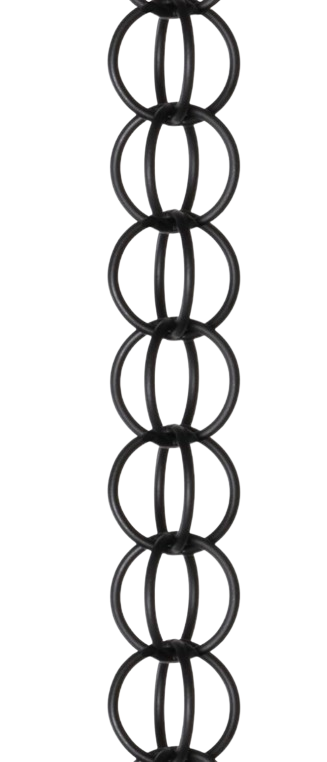
A rain chain is the centerpiece of this upgrade, replacing your traditional downspout with a decorative chain that guides rainwater downward in a visually pleasing way. As the water travels from cup to cup or link to link, it creates a soothing, trickling sound that adds charm to rainy days. They come in a variety of styles and finishes. Beyond looks, rain chains still serve the same function as downspouts; directing water away from your foundation. This small change instantly boosts curb appeal and makes your gutter system feel like part of your landscaping design.
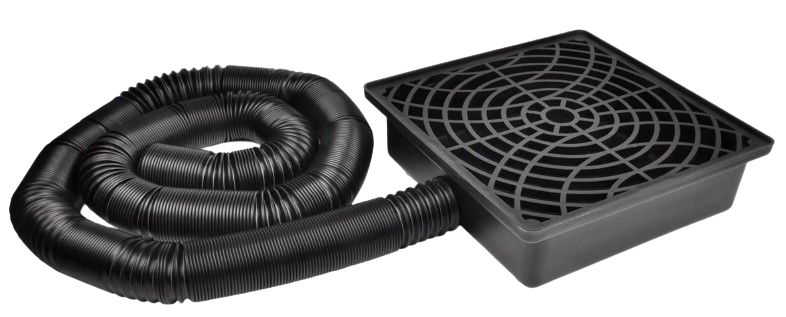
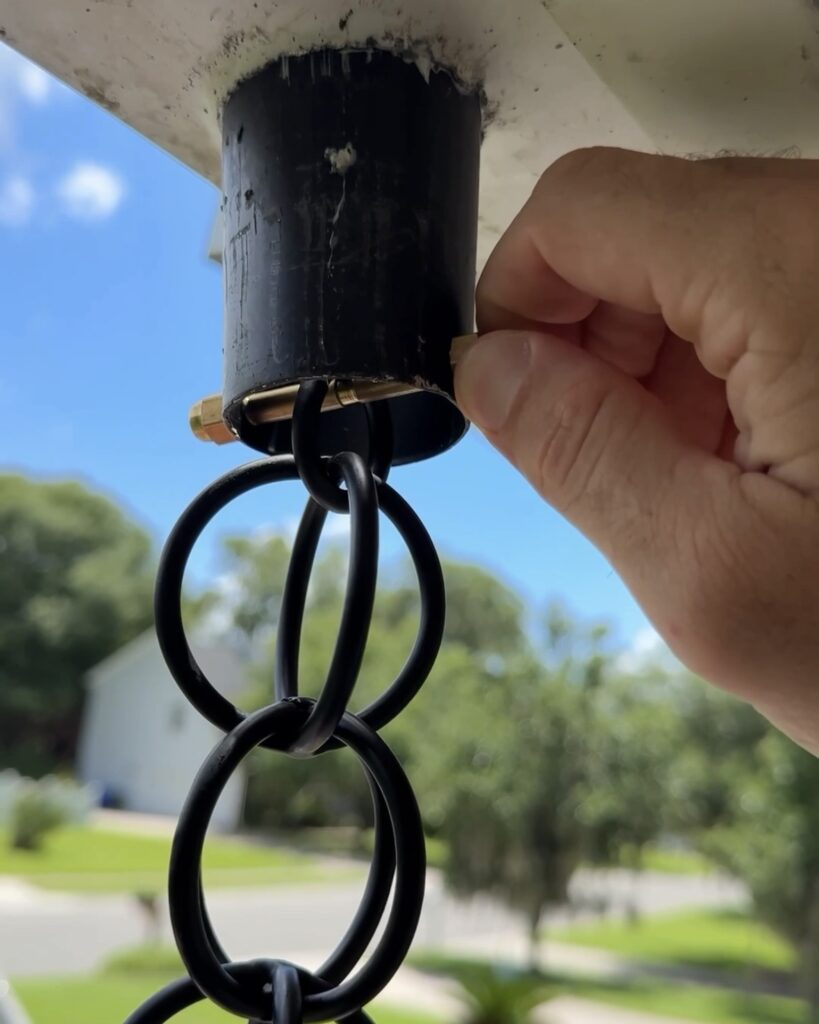
The gutter downspout extender helps connect the bottom of your existing gutter system to the rain chain. It’s a practical piece that ensures rainwater is funneled directly onto the chain without splashing or spilling off course. Some extenders are flexible, allowing you to position the rain chain exactly where you want it to fall. This piece also helps prevent water damage by keeping the flow controlled from the very start. Without a proper extender, you might have gaps where water escapes before reaching the chain.
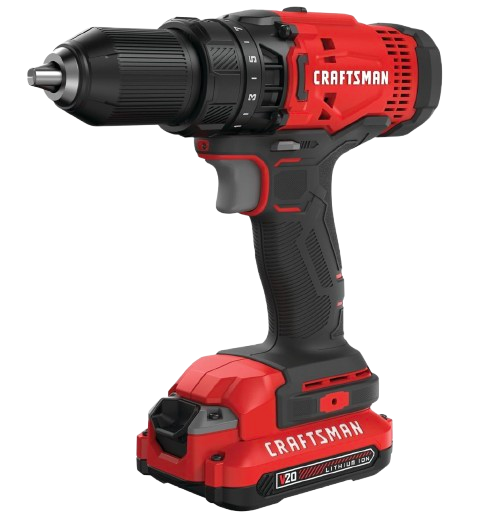
A cordless drill makes installation easier and faster, especially when working up on a ladder. You’ll use it to remove screws from your existing downspout and secure the rain chain in place. A drill with variable speed control gives you better handling. Using cordless keeps your workspace free from tangled cords and trip hazards. It’s one of those tools that makes DIY projects feel smooth from start to finish.
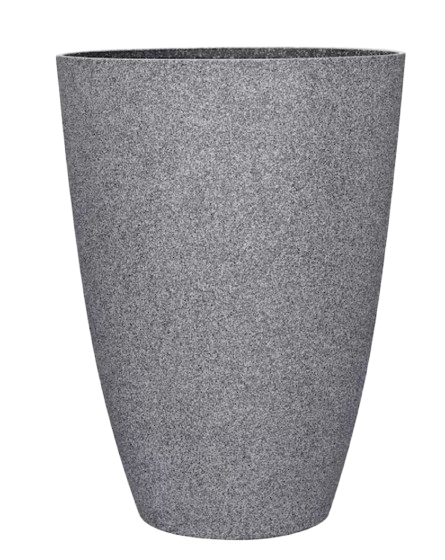
The outdoor planter serves as the base for your rain chain’s drainage. It’s decorative and functional, catching and slowing the water before it soaks into the ground. By choosing a planter that matches your home’s style, you create a cohesive look that ties the rain chain into your landscaping. It also allows you to control exactly where the water ends up, reducing the risk of erosion or muddy spots.
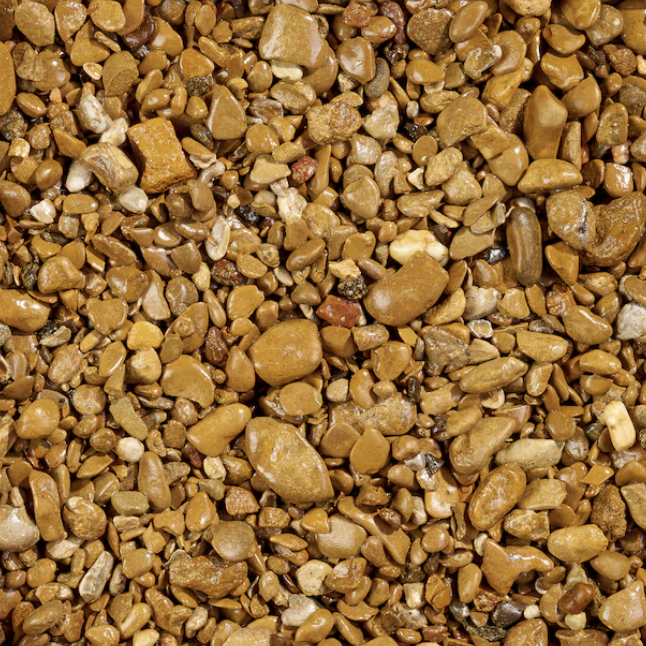
River rocks are placed inside the planter to help disperse and filter the water as it collects at the bottom of the rain chain. They create a natural look and prevent water from splashing back onto your home or patio. The rocks also help weigh down the planter so it stays secure during heavy rain or wind. Over time, they minimize soil erosion and keep the planter’s drainage consistent.
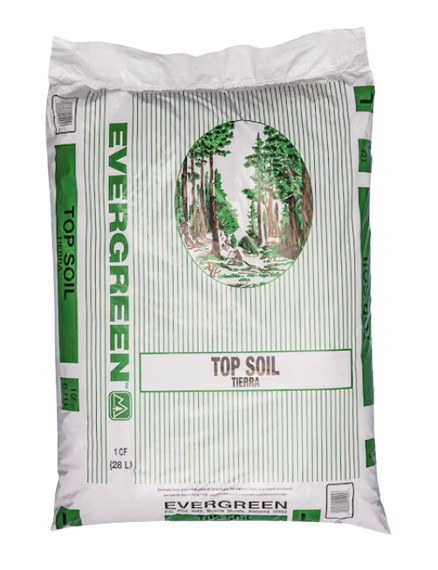
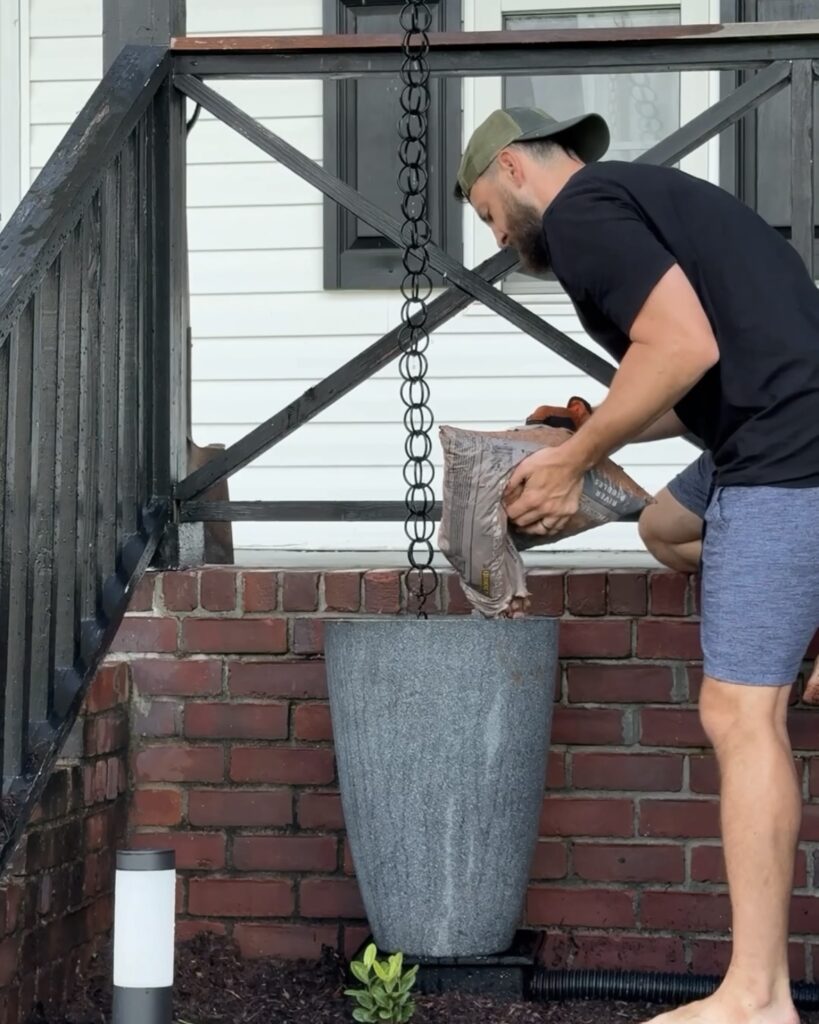
Top soil forms the base layer inside your planter, providing a foundation for the river rocks while also improving drainage. It helps hold the rocks in place so they don’t shift around when water flows in. If you decide to plant greenery in your planter, the soil will give roots a place to grow. It also absorbs some of the water, preventing overflow during a downpour. This small step creates a cleaner, more stable look for your rain chain base.

A level ensures that your rain chain hangs straight and that your planter base sits evenly on the ground. A tilted setup can cause water to splash unevenly or miss the intended drainage spot. By taking the extra minute to check for level placement, you’ll improve both the appearance and function of your project. It’s especially useful if your yard slopes or has uneven terrain. Using a level now prevents future adjustments and keeps the whole feature looking polished.
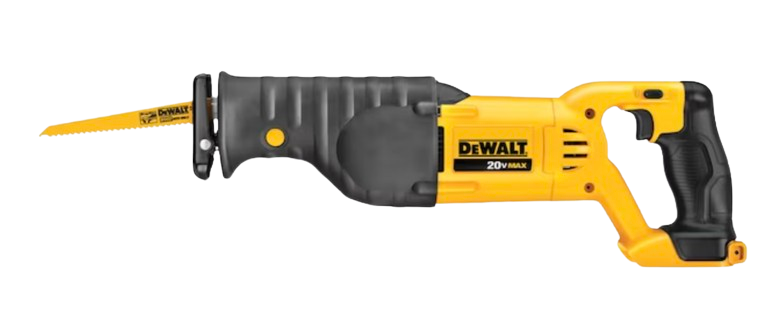
A reciprocating saw is useful if you need to cut through the old downspout or trim any existing gutter pieces to fit the rain chain. Its back-and-forth motion makes quick work of metal or plastic materials. This tool is especially handy when space is tight, like when working near your home’s siding or under an overhang. With the right blade, it cuts smoothly and minimizes sharp edges. It’s one of those “power tools in your back pocket” that makes tricky jobs much easier.
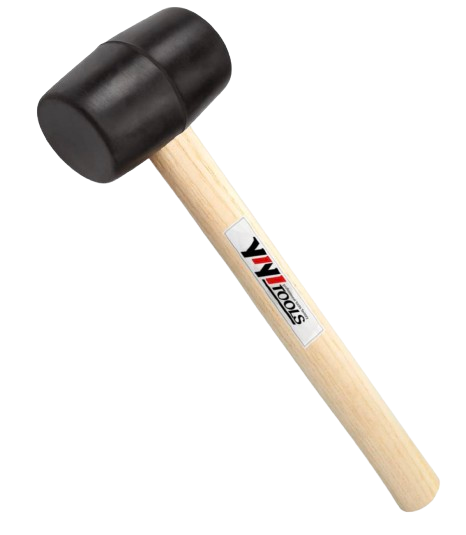
A mallet hammer is great for gently tapping parts into place without damaging them. You can use it to adjust the fit of the planter, secure edging, or lightly position the rain chain cup links. Unlike a standard hammer, a mallet’s softer head won’t scratch or dent your materials. It’s also helpful for compacting soil or mulch in tight spaces. This tool is all about finesse—small nudges that keep your project looking neat.
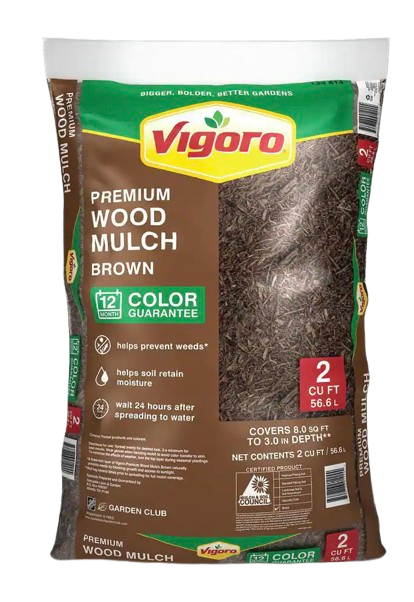
Mulch finishes the project by covering the soil around your planter, blending it seamlessly into the rest of your landscaping. It helps retain moisture in the soil, which is especially helpful if you’ve planted greenery in the base. Mulch also acts as a natural weed barrier, keeping the area low-maintenance. Choosing a mulch color that matches your yard’s aesthetic ties the rain chain feature into your outdoor space. Beyond looks, it also prevents soil erosion around the drainage area.
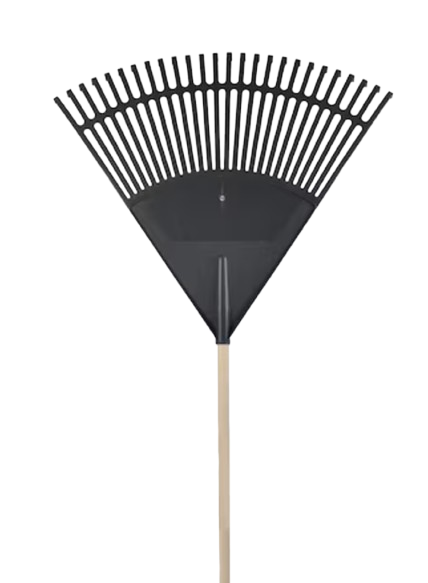
A rake helps prep the area by smoothing the soil before placing your planter and spreading mulch after installation. It ensures you start with a clean, even surface for better stability. During the project, you can use it to clear away debris that might block water flow. A rake also helps evenly distribute mulch so it looks fresh and uniform. This finishing touch keeps the project area tidy and professional-looking. Plus, it’s a simple tool that makes the whole process faster and less physically demanding.
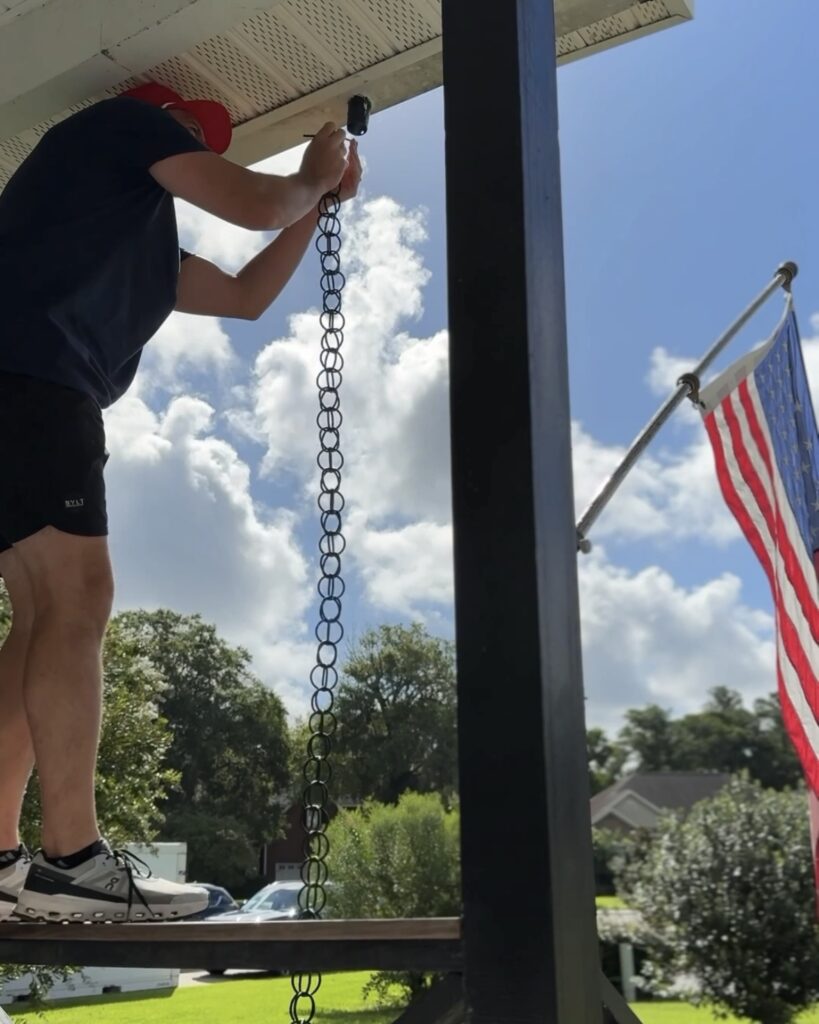
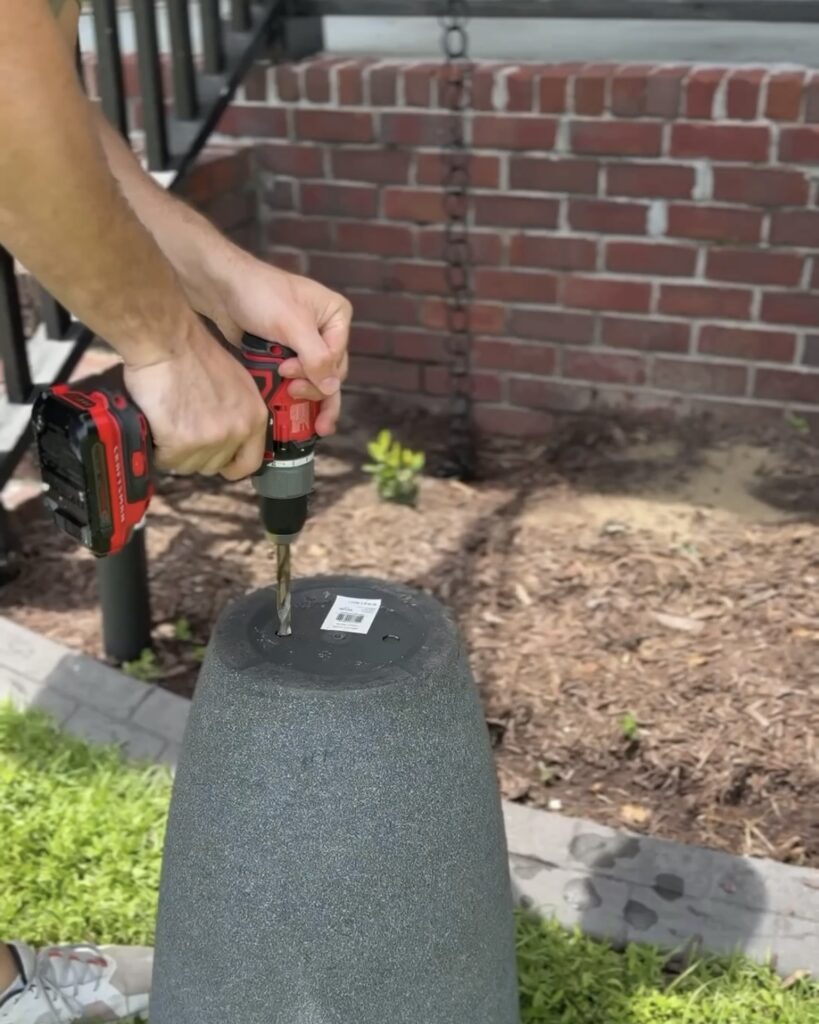
Step 1: Install the Rain Chain
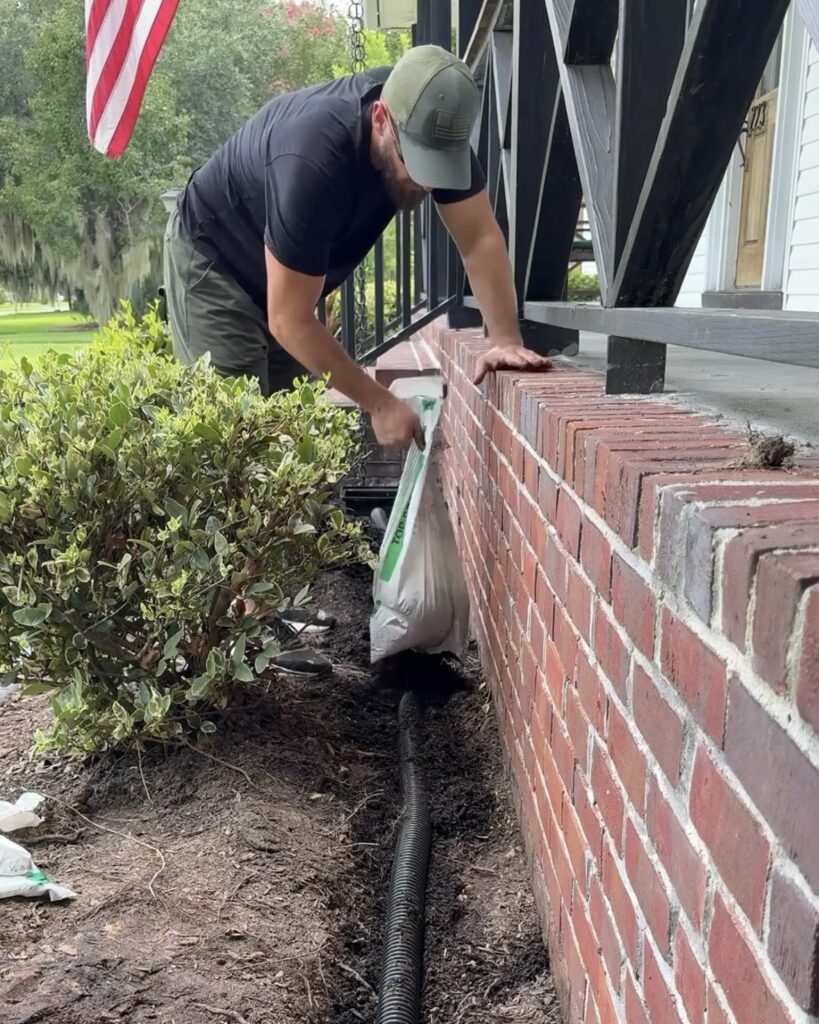
Start by removing the existing downspout. Use your cordless drill to unscrew any brackets or screws holding it in place. Then, hang your rain chain from the gutter opening.
Let the chain hang freely to the ground, making sure it’s the right length to reach your planter or base.
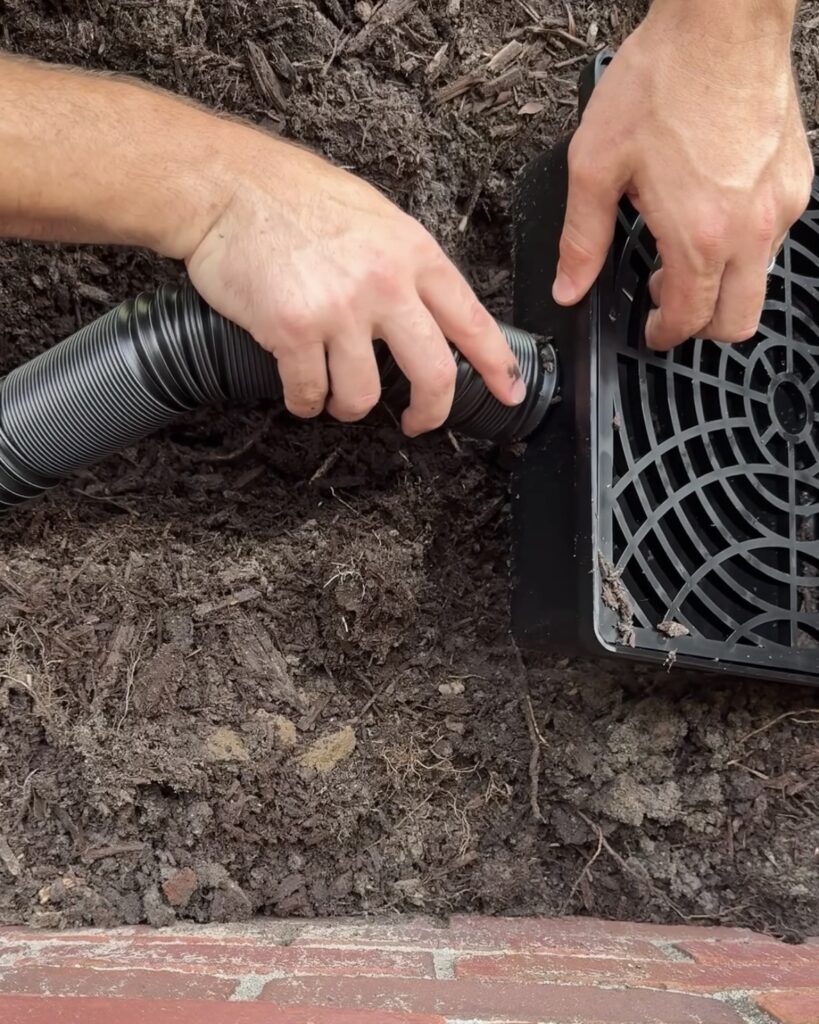
Step 2: Add the Gutter Downspout Extender
To direct overflow or heavy rain away from the foundation, install a gutter downspout extender just below or behind where your rain chain ends. This helps manage excess water, especially in storms, and keeps things tidy around your landscaping.
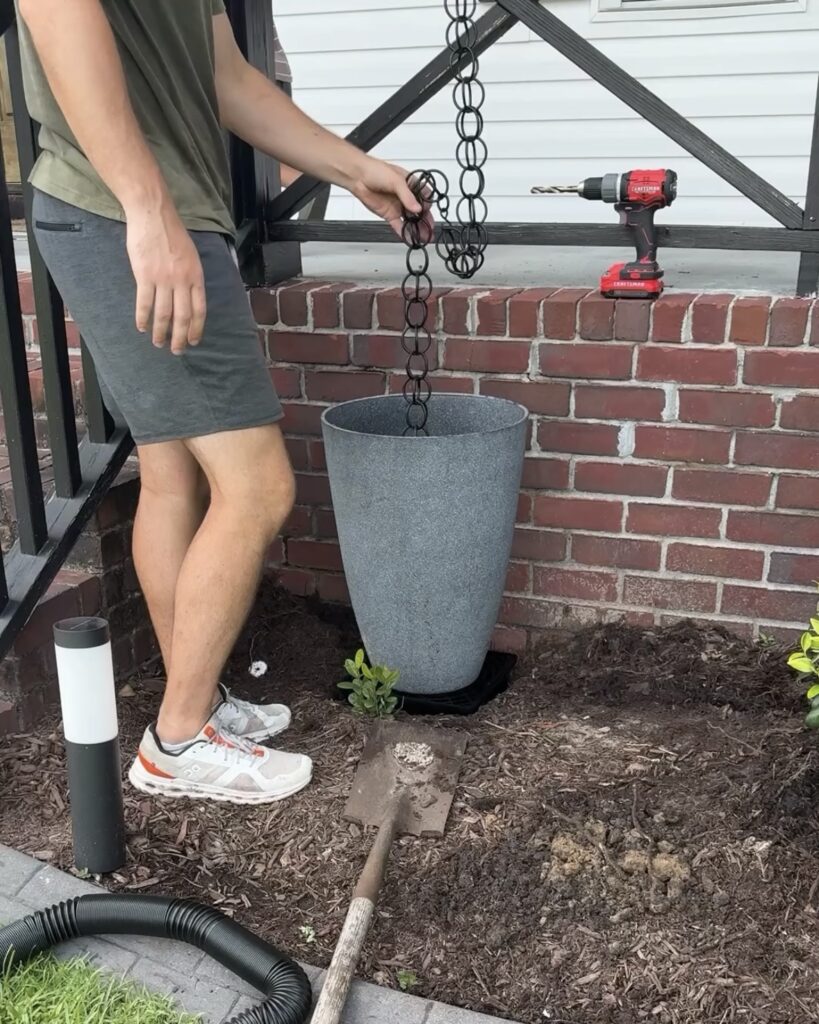
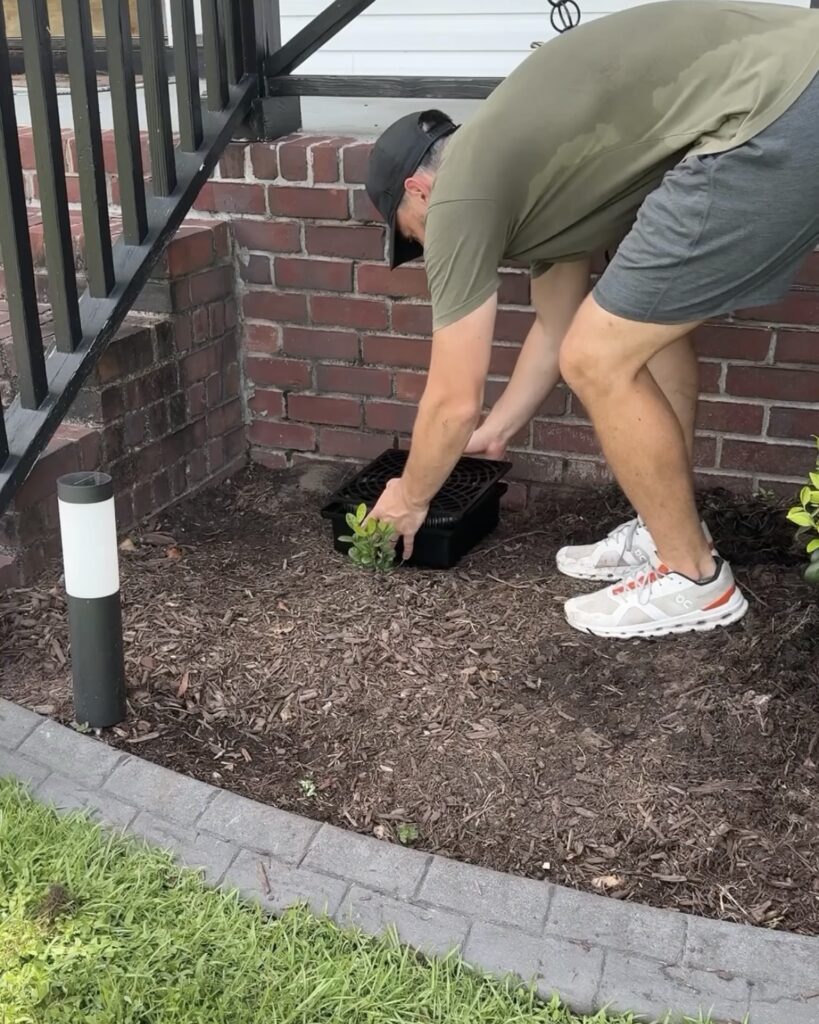
Step 3: Position the Outdoor Planter
Now place your outdoor planter under the rain chain. This will be your catch basin. Choose something deep enough to handle rainfall but wide enough to make a visual impact.
Make sure the chain hangs into the center of the planter.
Step 4: Add Top Soil and Level
Fill and level the base of the planter with top soil to create a sturdy foundation and improve drainage. Leveling the soil ensures even water flow and helps hold the rocks in place later.
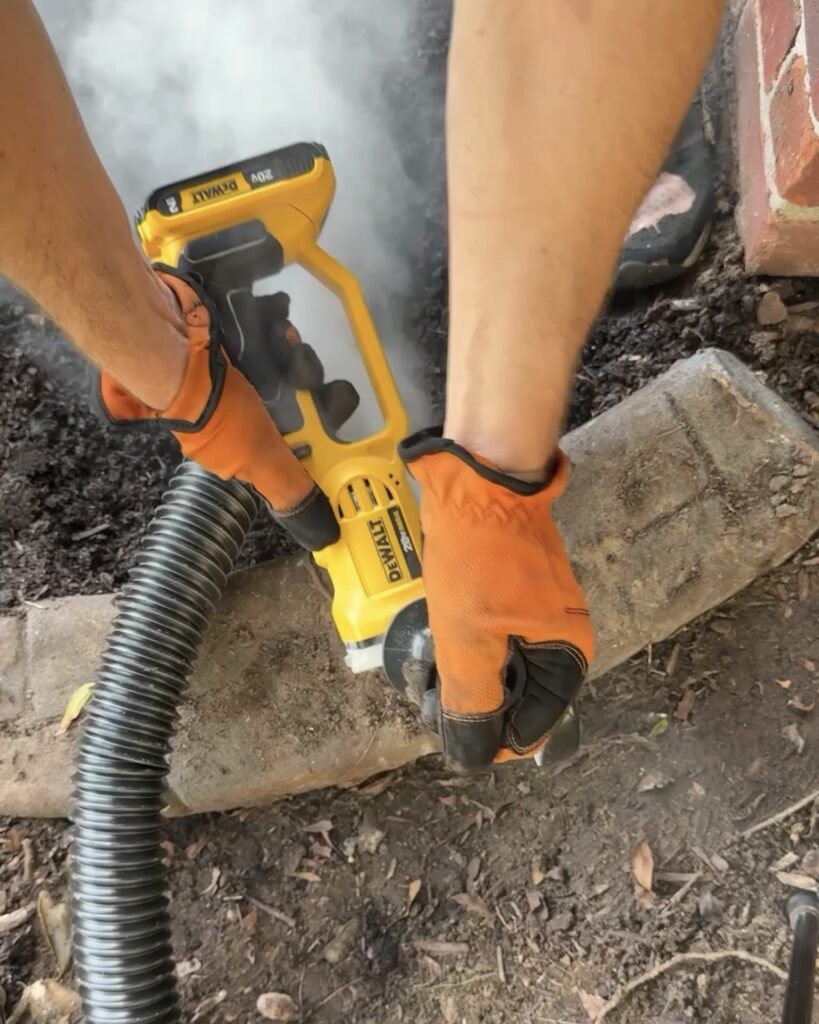
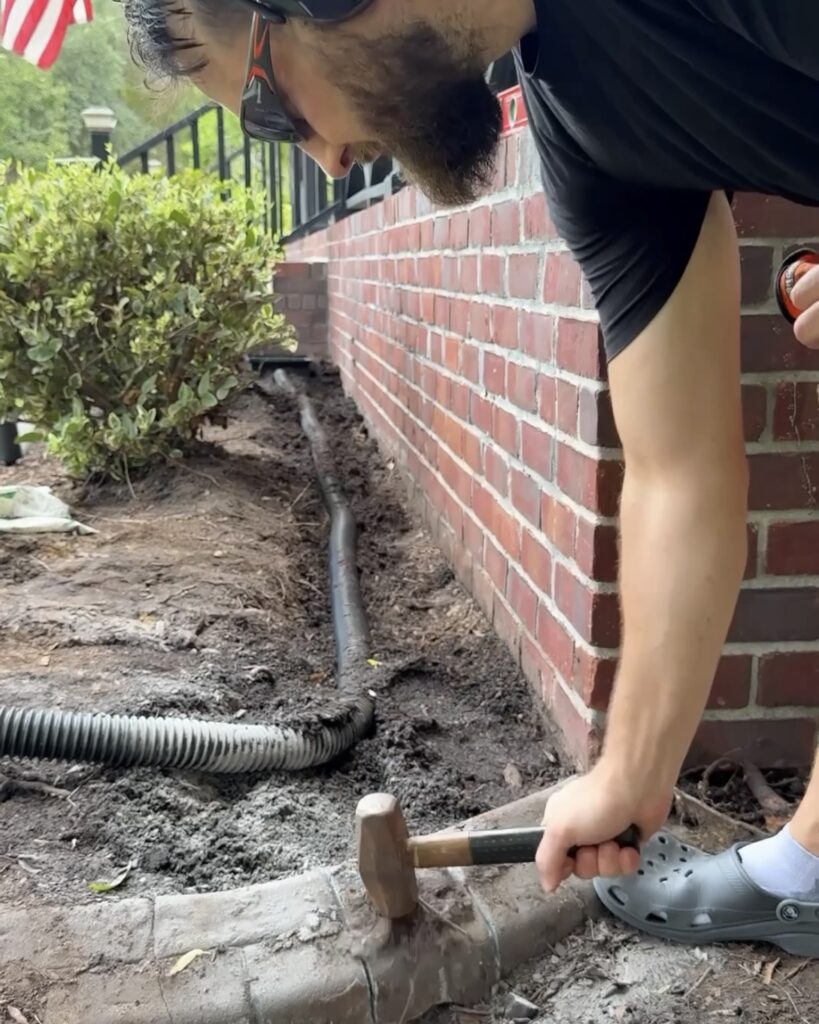
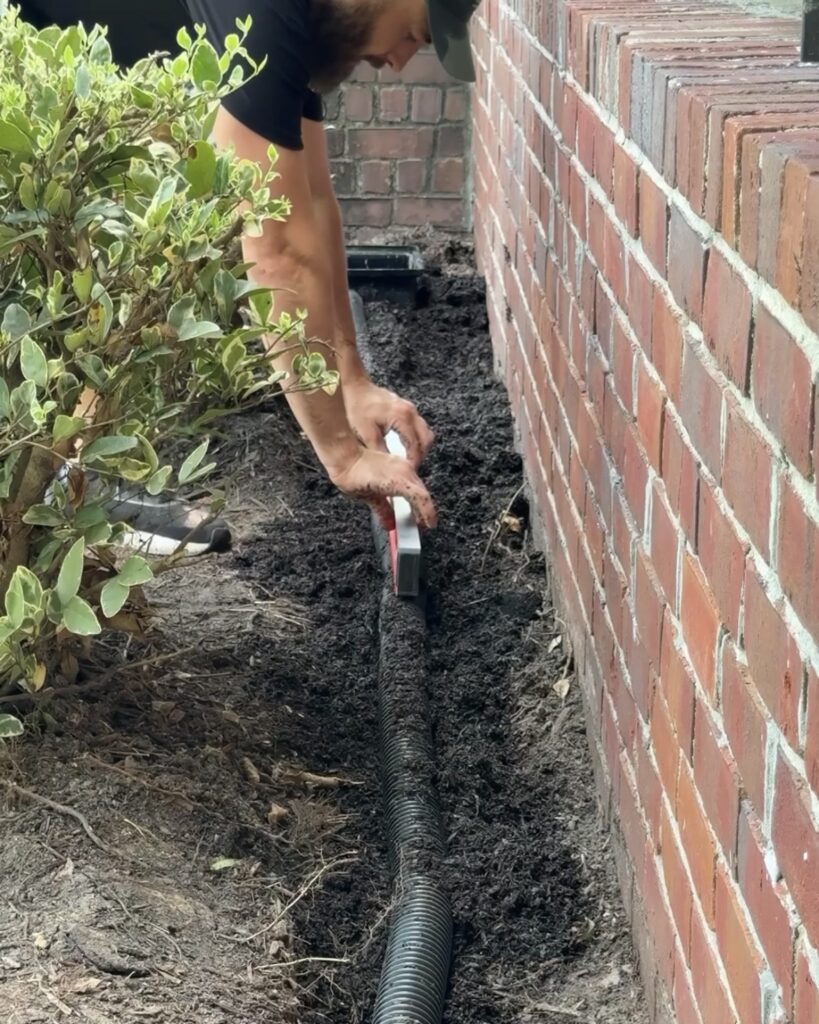
Step 5: Cut Framing Stone for Water Flow
Using a reciprocating saw, carefully cut your framing stone to make a channel where water can naturally flow out from the planter or extend toward a garden bed. This helps prevent overflow or puddling.
Tap the stones into place using a mallet hammer for a secure fit.

Step 6: Add River Rocks to the Planter
Next, fill the top of the planter with river rocks. These look beautiful, cushion the impact of falling water, and help disperse it more evenly.
You can also layer the rocks to encourage water to trickle out in the direction of your stone path.

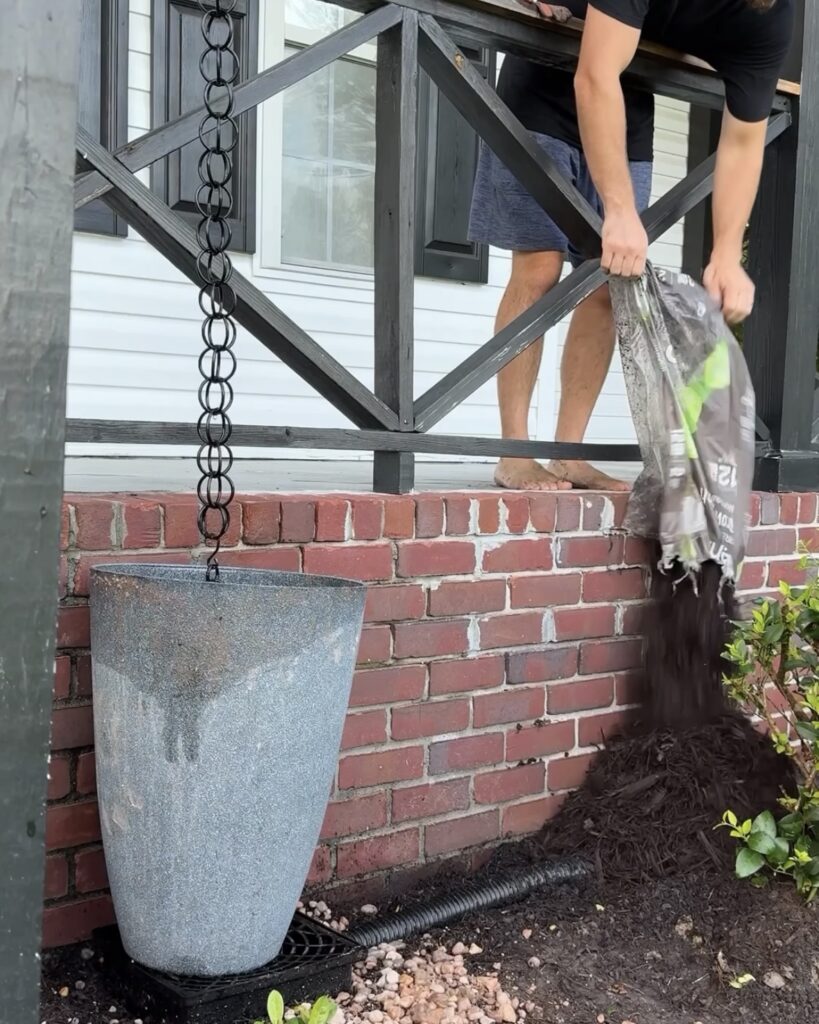
Step 7: Mulch the Garden Bed
Finish by cleaning up the surrounding space. Use your rake to smooth out any soil, then spread mulch around the planter and garden bed to give it a clean, finished look. This also helps with water retention and weed prevention.

The Final Look
What you get is more than just a functional downspout alternative. You’ve added texture, sound, and a touch of design to your home’s exterior. When it rains, water gently flows from chain to stone, making it one of those small upgrades that feels like a big win.

Comments will load here