

Join me on my journey to transform my workspace into the ultimate dream garage, starting with hanging shelves!
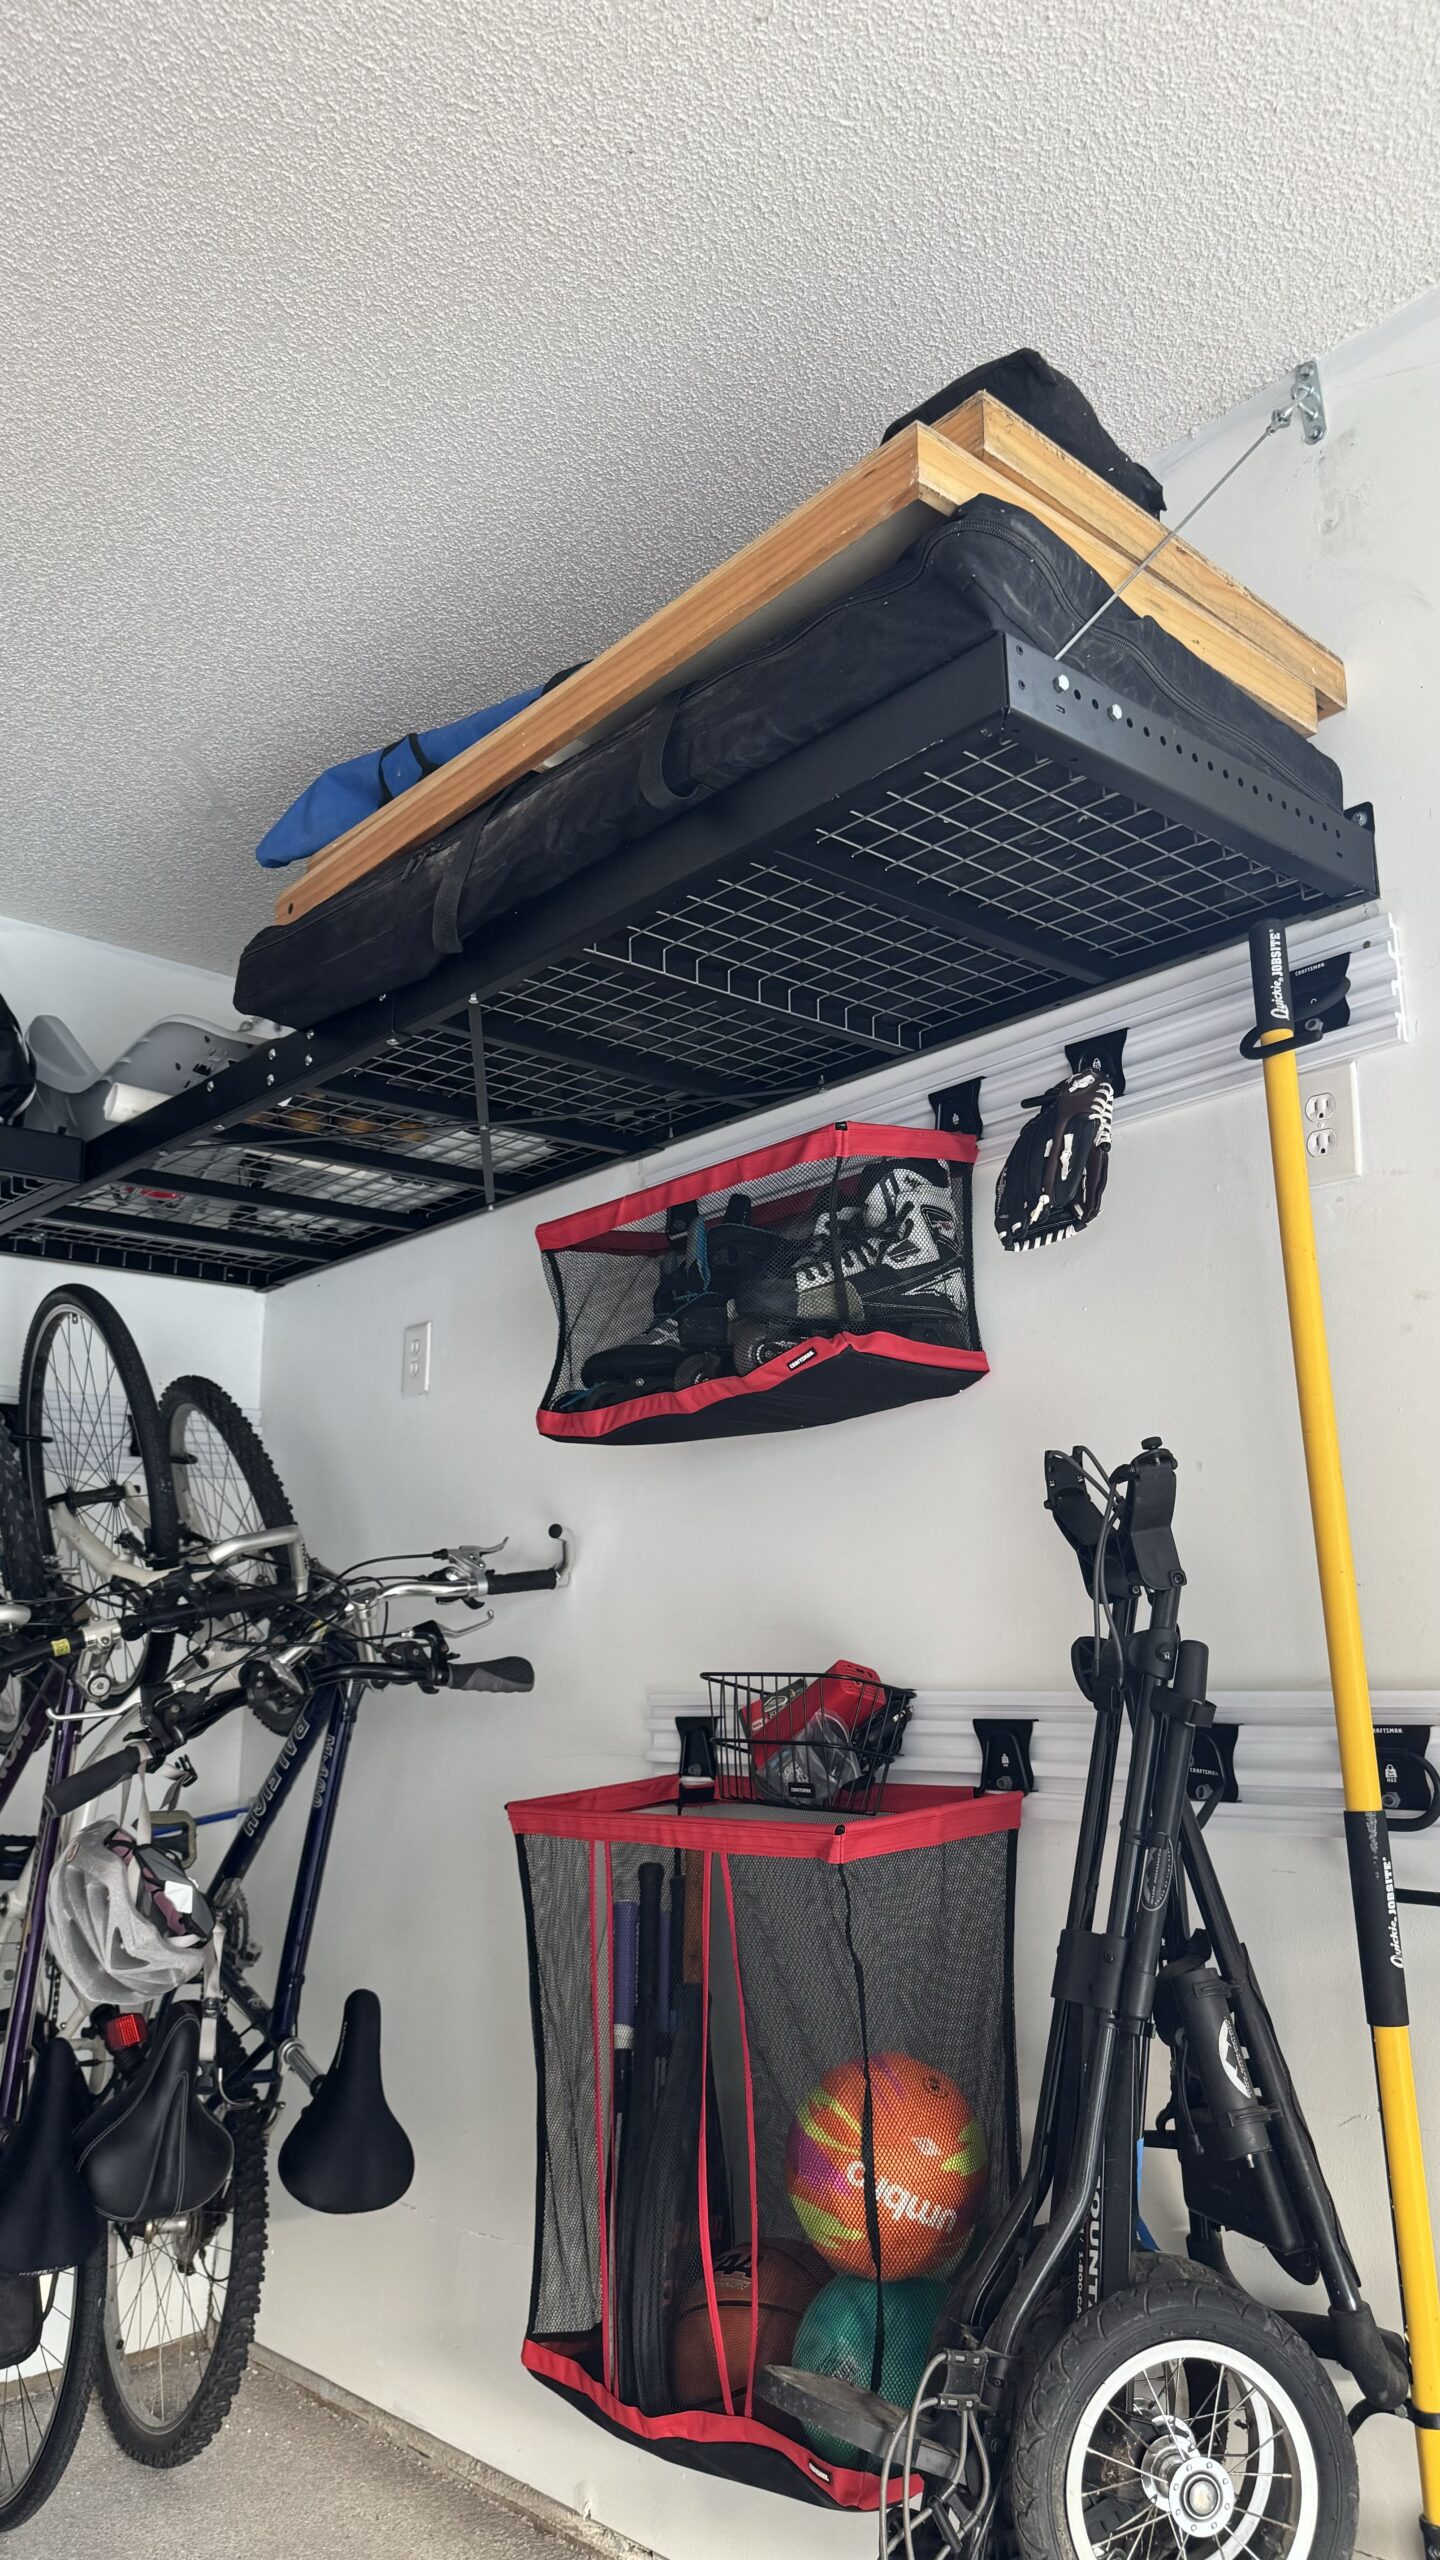
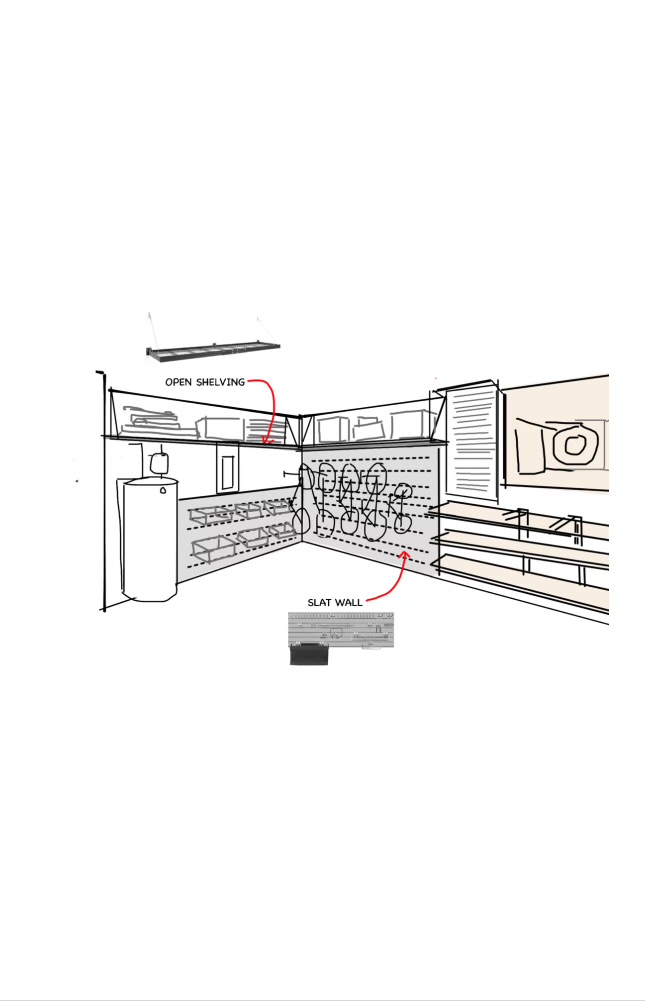
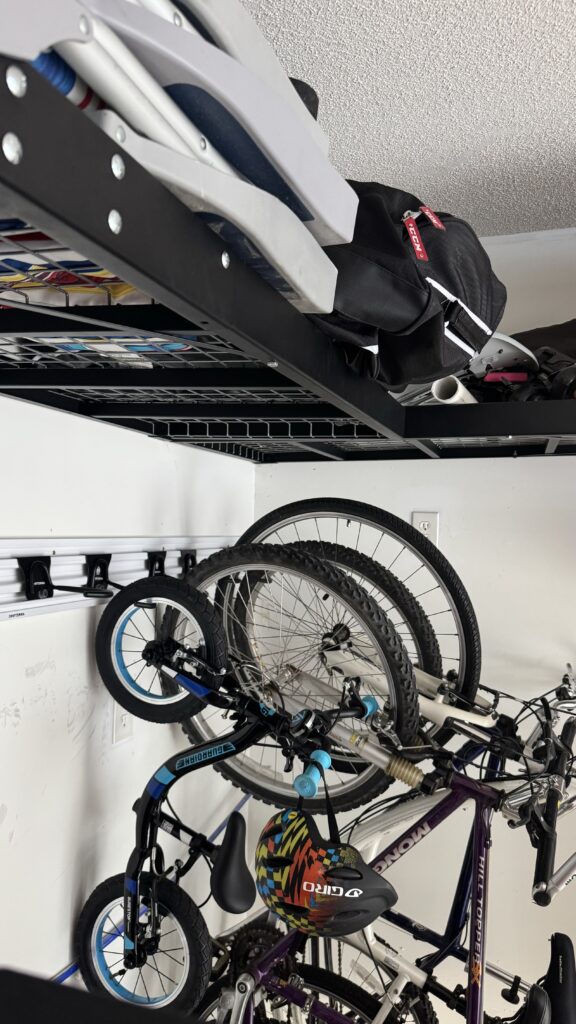
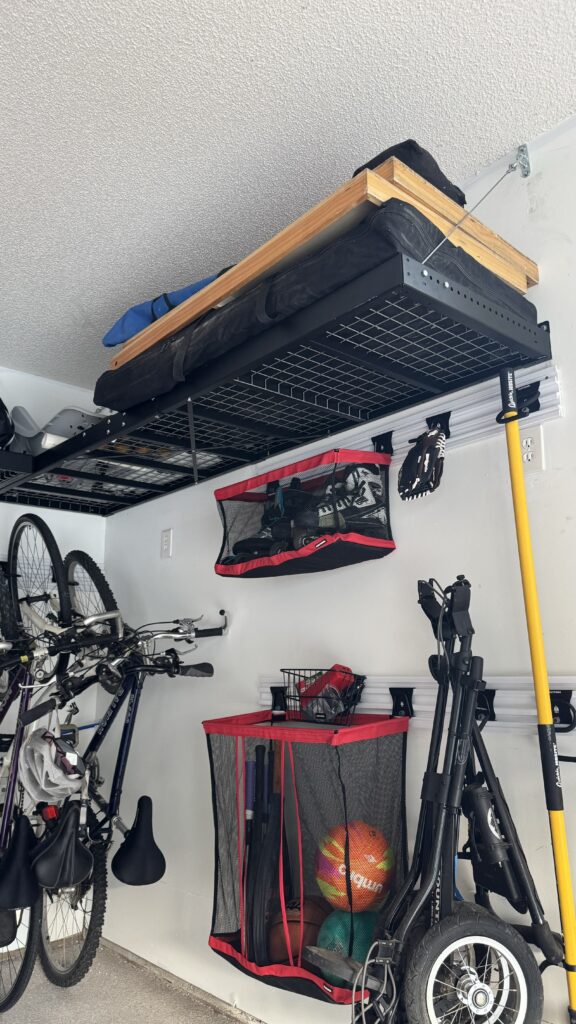
I can’t believe I am finally saying it but I am starting to create my Ultimate Dream Garage! I just completed step 1 of installing hanging shelves. These shelves have been on my Pinterest board for ages. They hang up high to hold and organize my built-up clutter. I can already envision how great this space is going to look. Next, I’m planning to add all new storage units that will become my creative hub for all my DIY projects. I’m also excited to paint my stairs a fresh color to really bring the garage together cohesively. With each step, my dream garage feels closer to becoming a reality!
Tip: it’s a good idea to have a friend help you out with the setup being that the assembly is a bit tricky with the long steel pieces.
Step 1: Choose Your Location
Measure and Mark
Pick a wall that could use some organization. These shelves are great for storing bins, pots, or whatever clutter you need to clear. Just make sure there’s enough space above for whatever you plan to put on them.
Using your measuring tape, mark where you want your shelves to go. A level is key here—nothing worse than wonky shelves! Measure twice, mark once, and make sure everything is straight.

Step 2: Find the Studs
with a Stud Finder
Using your stud finder, locate the studs in the wall. This is crucial for stability. If your shelves are going to hold heavier items, anchoring them into the studs is a must.
Step 3: Install of the Shelves
and Using a Drill
Follow the instructions that come with the shelves to attach the brackets with a cordless drill. It’s pretty straightforward. Once the brackets are secure, hang the shelves. Make sure they’re level as you go!


Step 4: Style and Organize
The Fun Part!
Load up your new shelves. These shelves can hold up to 3,000 lbs so don’t be concerned with the amount you store. The extra storage is a game changer! If you’re on the fence about it, just go for it. You won’t regret the upgrade.
Stay tuned on my Instagram as I share more updates on my garage transformation!

Comments will load here