
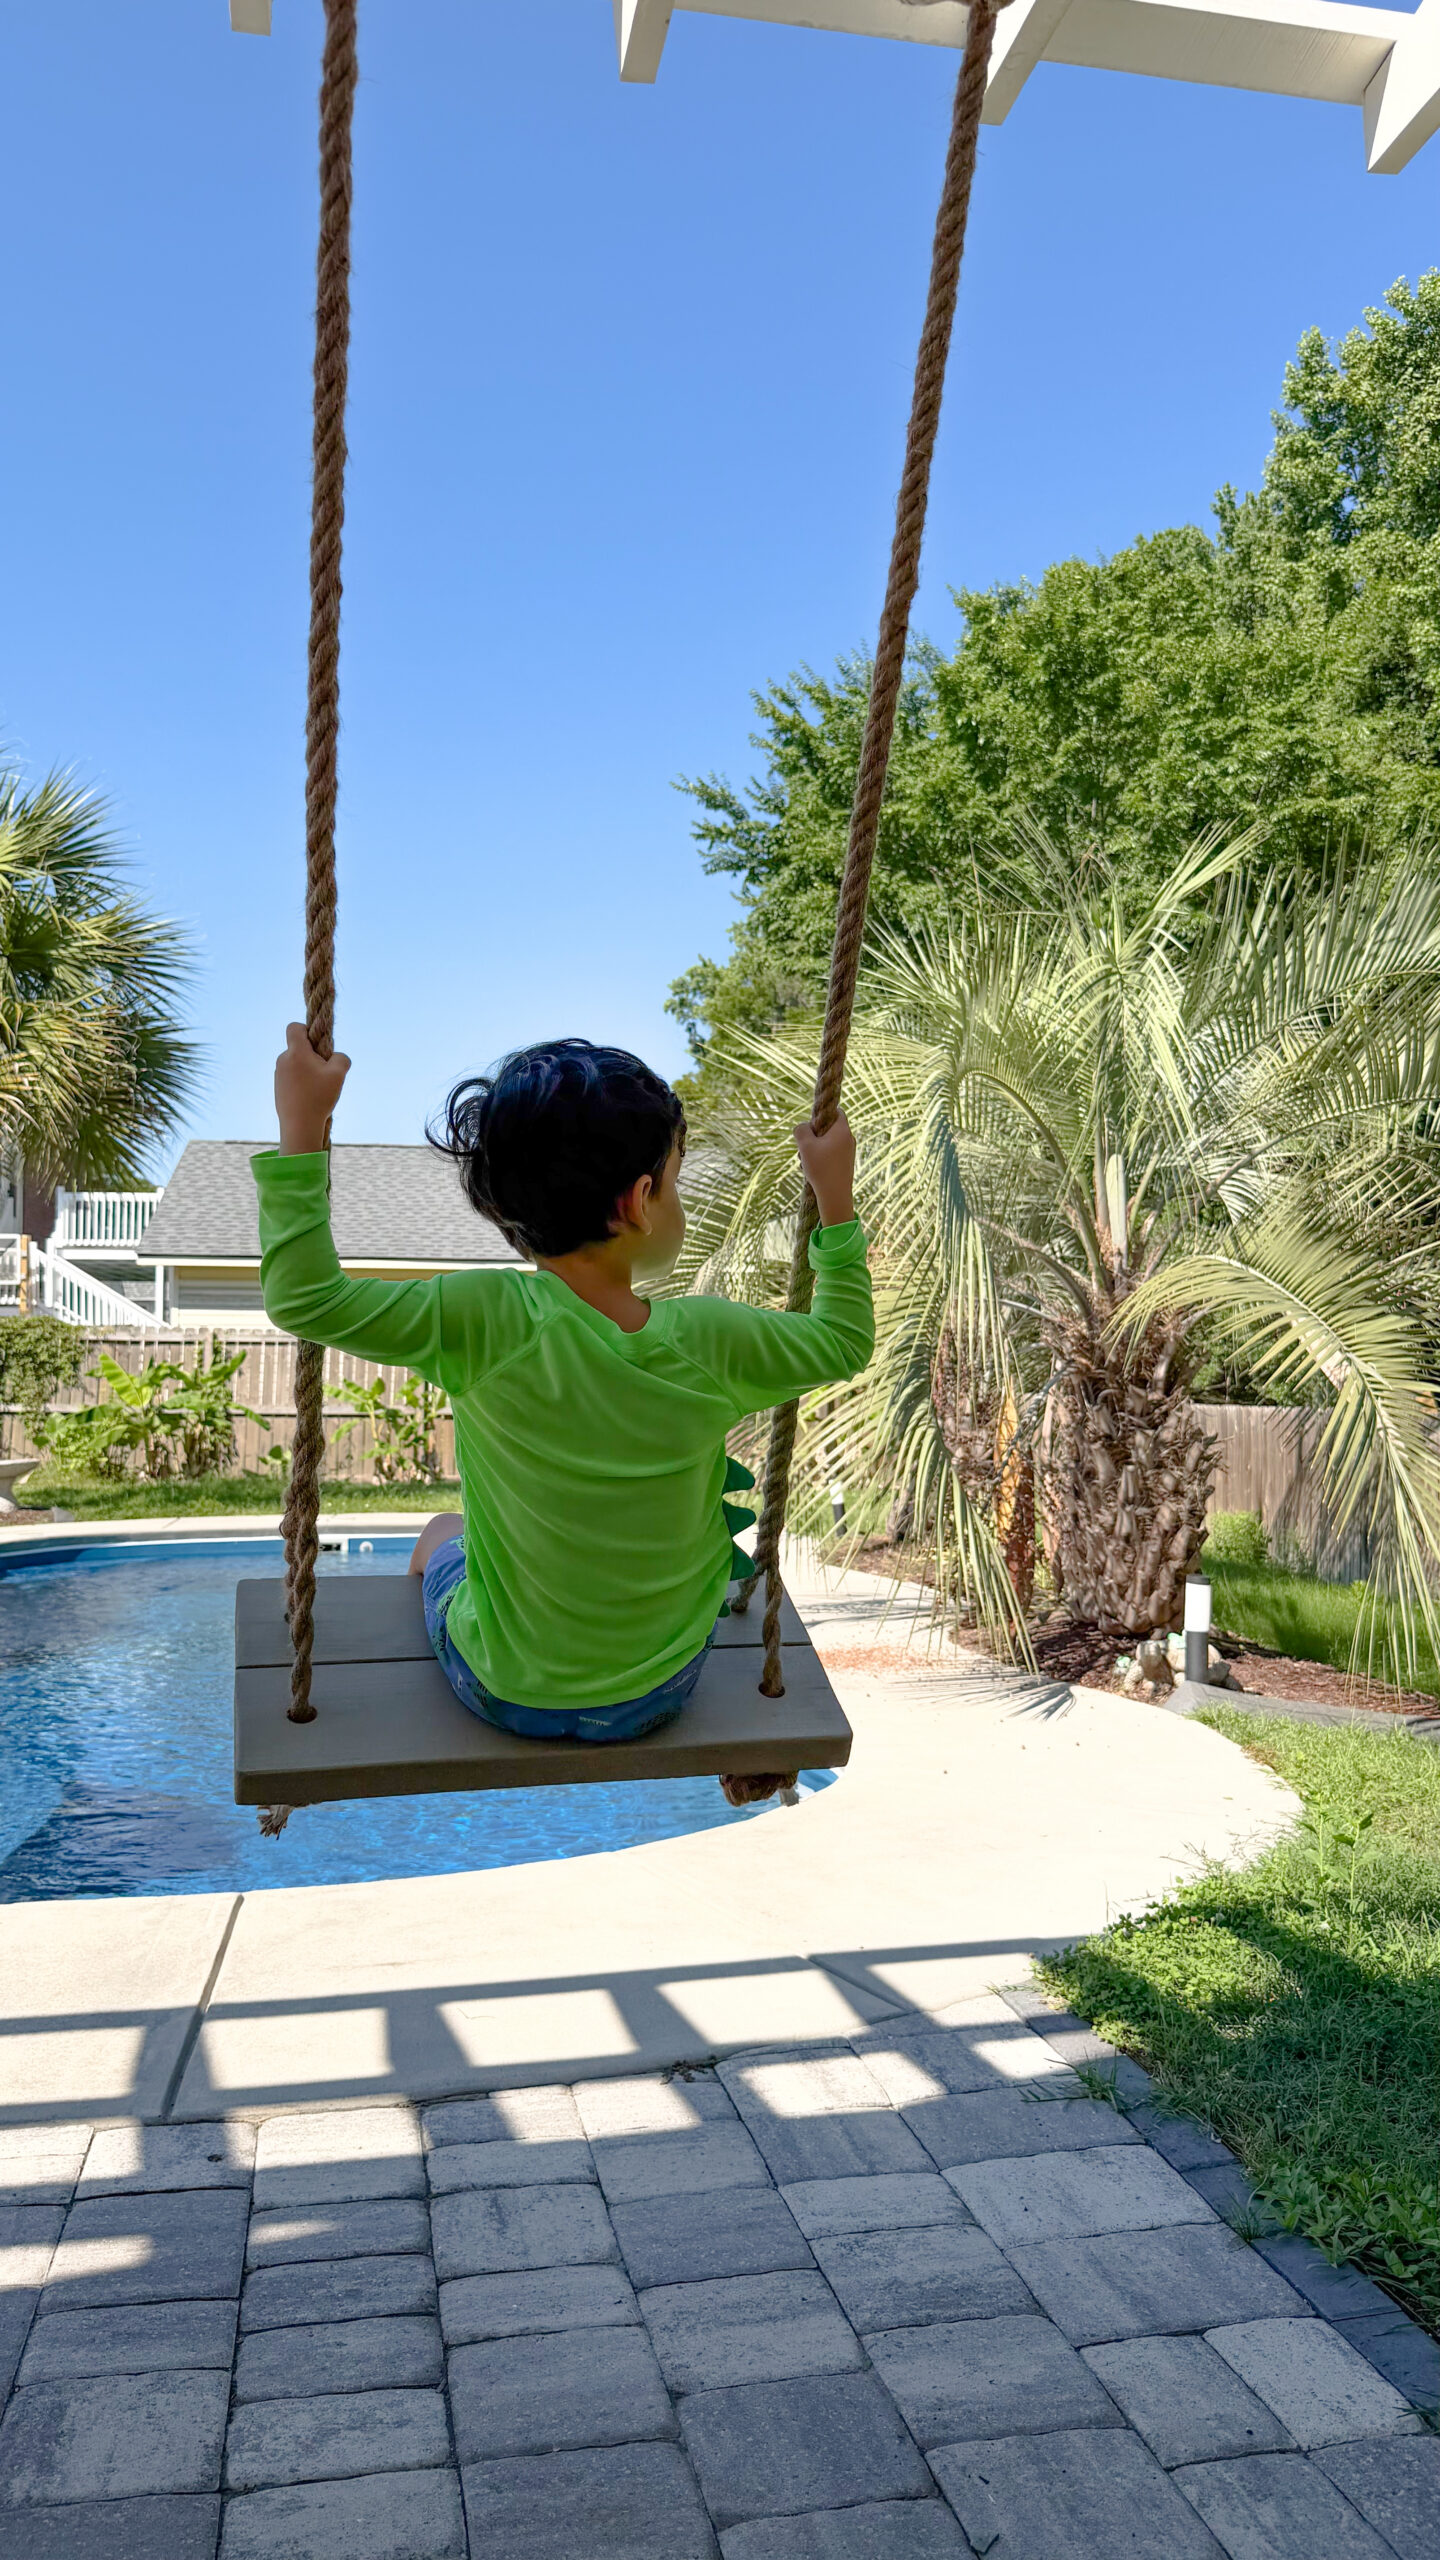

How I Built a DIY Rope Swing for Our Backyard Pergola
There’s just something classic about a rope swing.
We originally bought one from Amazon thinking it would be an easy solution, but honestly… it was terrible. It felt lightweight, barely sealed for outdoor weather, and definitely didn’t feel sturdy enough for both parents to sit on comfortably with our son.
So instead of buying another one online, I decided to build one myself.
I wanted something that:
- actually felt solid
- looked good in our backyard
- could stay outside
- fit the coastal style we’ve been slowly creating around our home
- and could double as a casual poolside seat for adults too
I didn’t want one of those tiny flimsy swings that only works for toddlers. I wanted something sturdy enough where an adult could comfortably sit with a coffee by the pool or hang out with the kids outside.
The best part is this project was way easier than I expected and only took a few hours to make.
Even better, almost everything used for this build was scrap material I already had sitting around from previous projects.
The only thing I actually needed to buy was the 1” manila rope.
Materials
- 2×6 Pressure-Treated Lumber
- 2×4 Pressure-Treated Lumber (for the support frame underneath)
- Semi-Solid Stain
- 1” Manila Rope
- Wood Glue
- Gorilla White Duct Tape
- Paint Brush
- Plastic Gloves
- 80-Grit Sandpaper
- 220-Grit Sandpaper
Tools Used
- Telescoping Sawhorse
- Palm Sander
- 7 in Rafter Square
- 25-ft Tape Measure
- Circular Saw
- Woodworking Clamps
- Cordless Drill
- Utility Knife
Step 1: Figure Out the Size
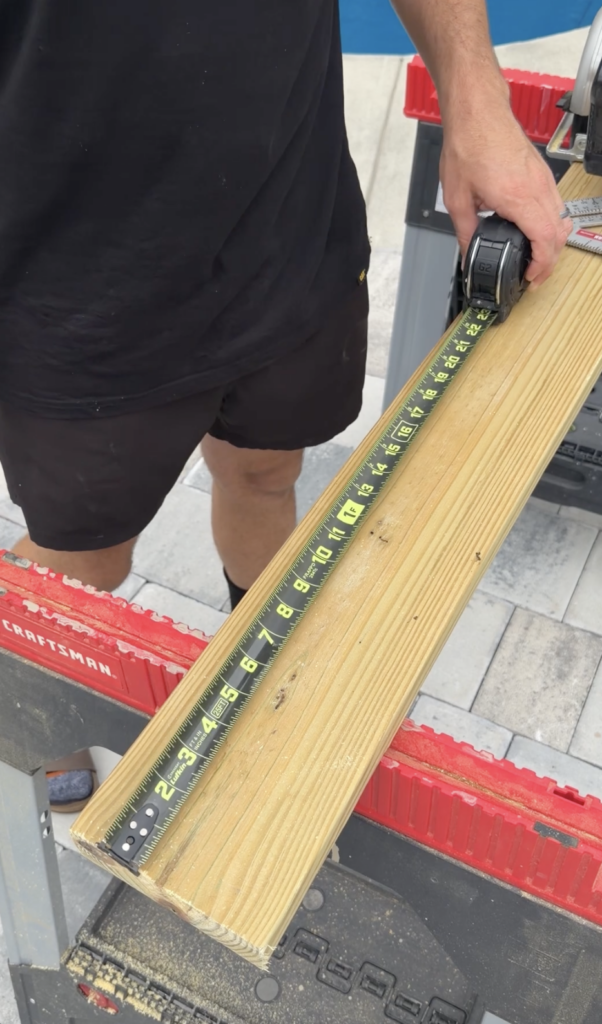
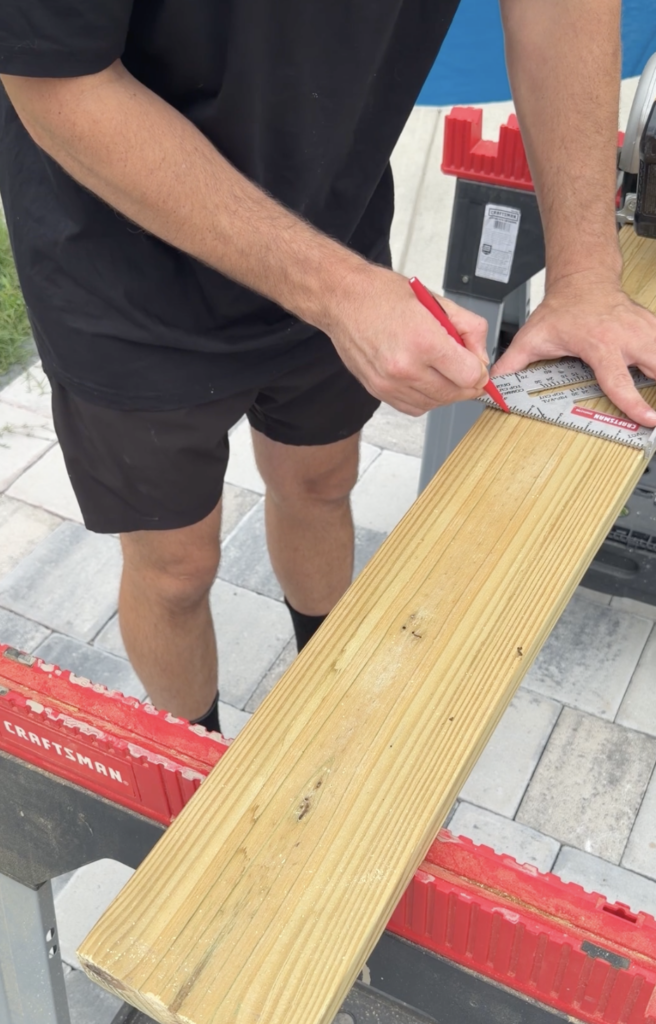
Instead of searching online for the “perfect” dimensions, I literally just measured my son sitting comfortably and added a few extra inches on each side using a measuring tape.
That brought the swing seat to about 22 inches wide, which ended up feeling perfect for a toddler/kids swing while still being wide enough for an adult to casually sit in comfortably too.
Step 2: Cut the Wood
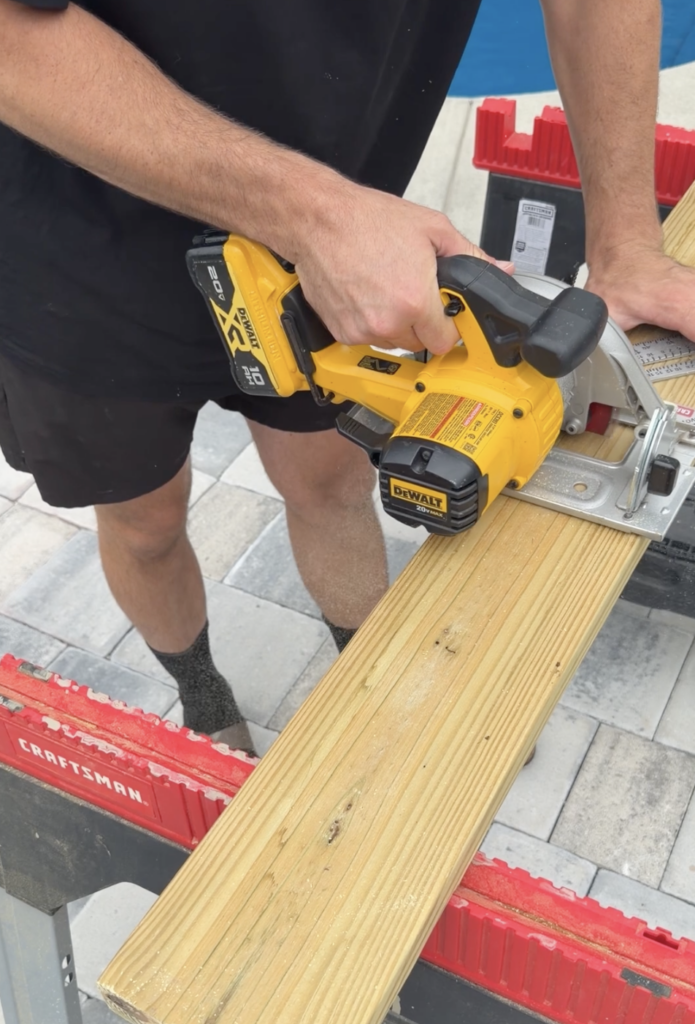
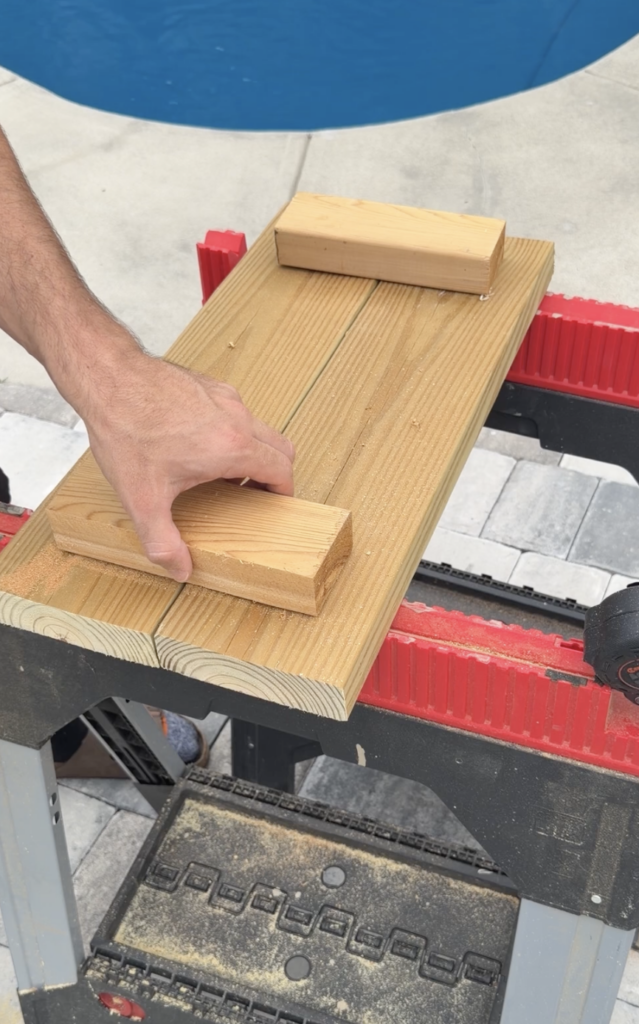
Once I had my dimensions figured out, I cut the boards down to size for the seat using my miter saw.
For the bottom support frame, I used leftover 2×4 pressure-treated wood underneath the seat to help stiffen everything up and make the swing feel more solid overall.
I cut the scrap pieces down using a circular saw, which made it easy to quickly size everything without overcomplicating the build.
I kept the design really simple because I wanted the rope and stain color to stand out more than the actual construction.
After cutting everything, I lightly rounded over the corners and edges to soften it up a bit.
Step 3: Glue and Clamp the Boards
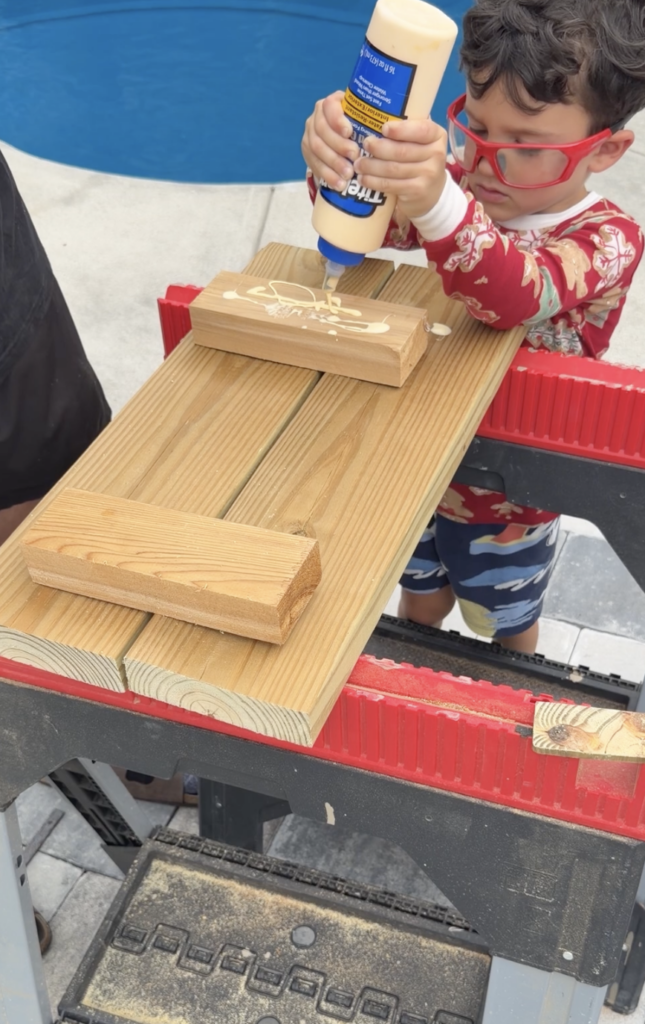
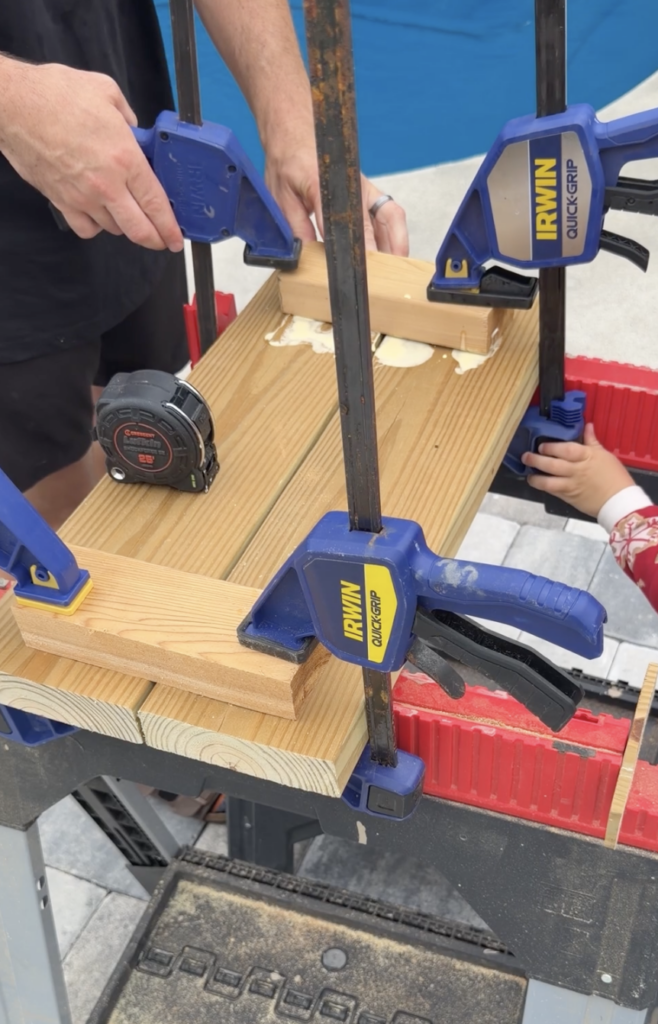
Before sanding and staining, I used wood glue to glue the seat boards together and clamped everything tightly using wood clamps.
I let the boards dry for about 1–2 hours before moving on to the next step.
This helped the seat feel much more solid overall and kept the boards aligned while building.
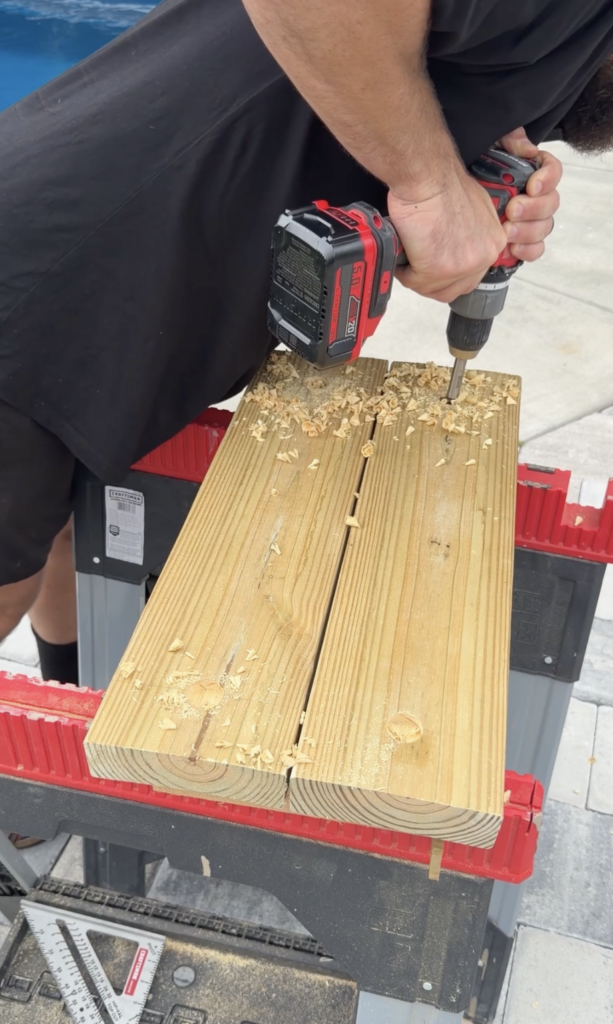
Step 4: Drill the Rope Holes
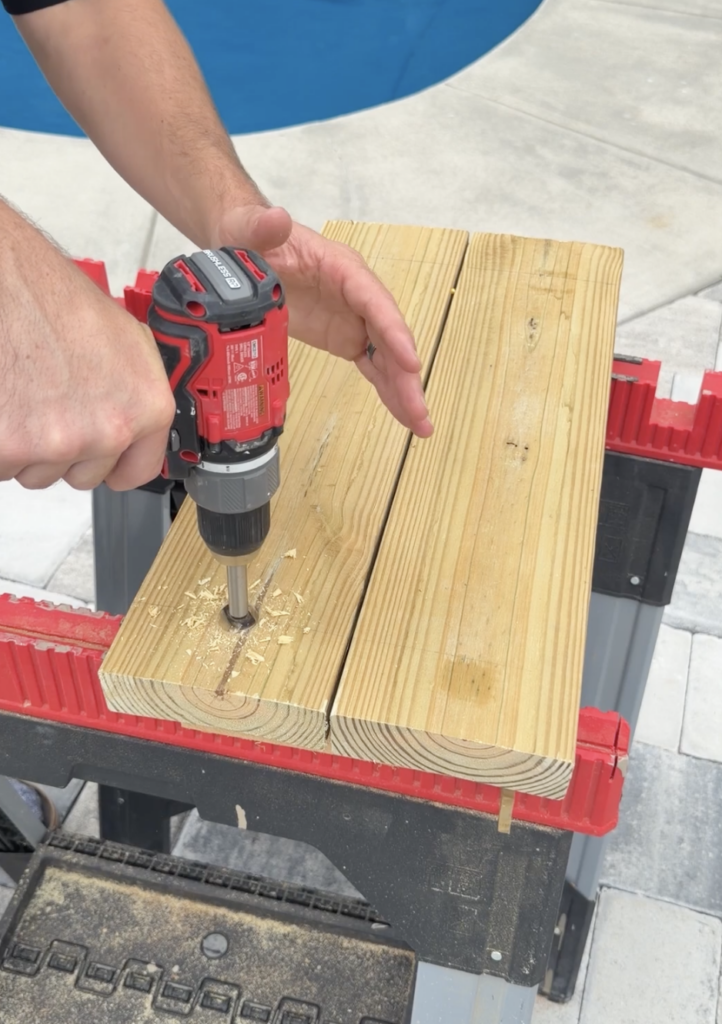
Before sanding, I used a cordless drill to create four holes near the corners of the seat using a drill and a large Forstner bit for the rope.
One thing I learned:
Make the holes slightly bigger than the rope itself so it can move naturally without twisting or binding up.
A large spade bit would work too, but I liked the cleaner finish the Forstner bit gave me.
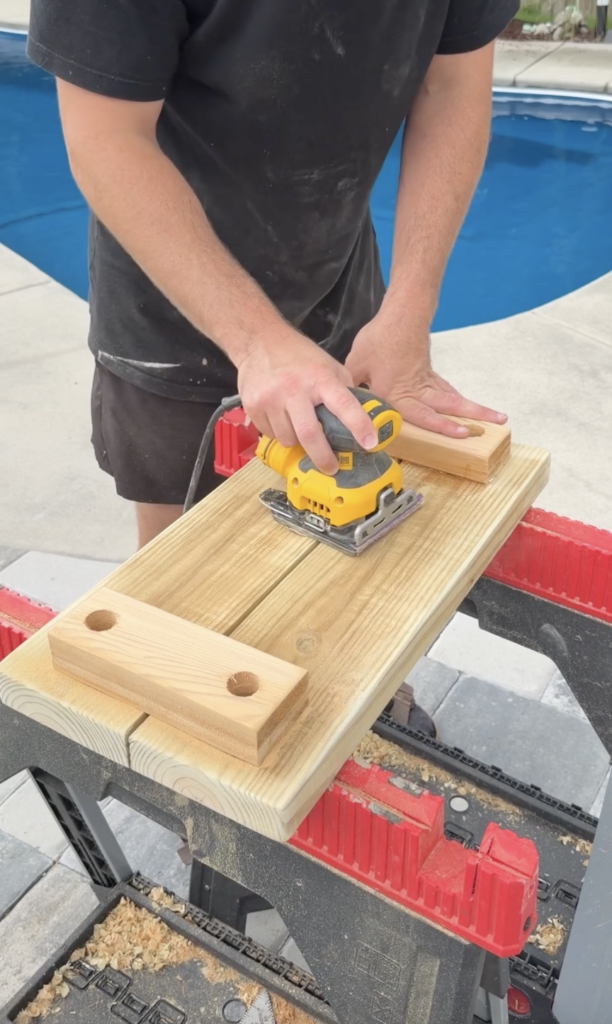
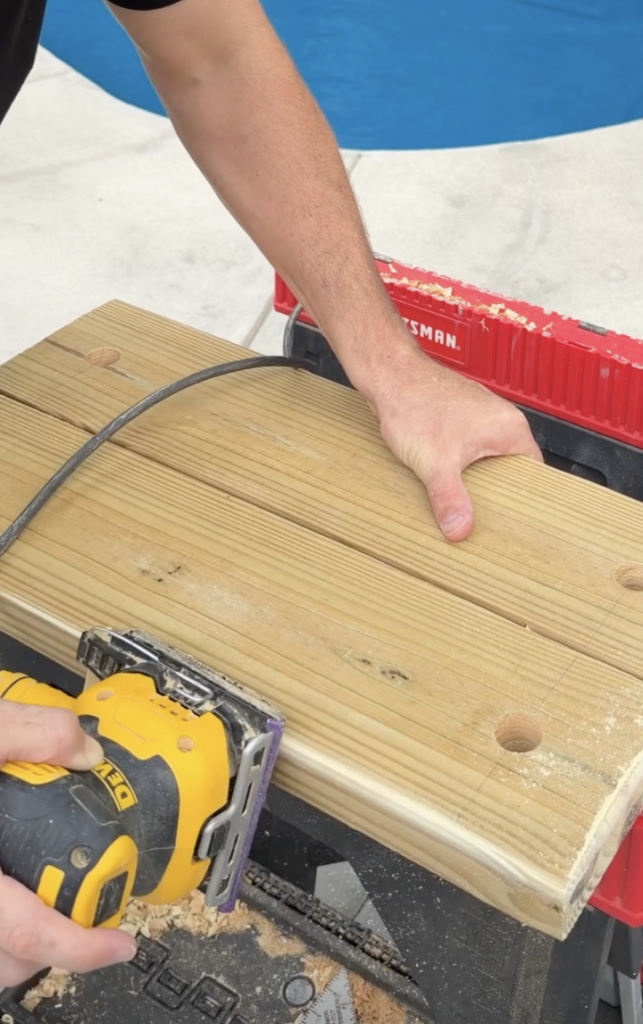
After drilling the holes, I moved on to sanding everything smooth, including lightly sanding the inside edges of the rope holes to help reduce friction on the rope over time.
Step 5: Sand Everything
Since this is for kids, I didn’t want anything rough or splintered.
I used a palm sander
- 80 grit sandpaper first
- then 220 grit sandpaper after for a smoother finish
I only did a light sanding overall, but focused mostly on:
- the edges
- corners
- top surface
- and inside the rope holes
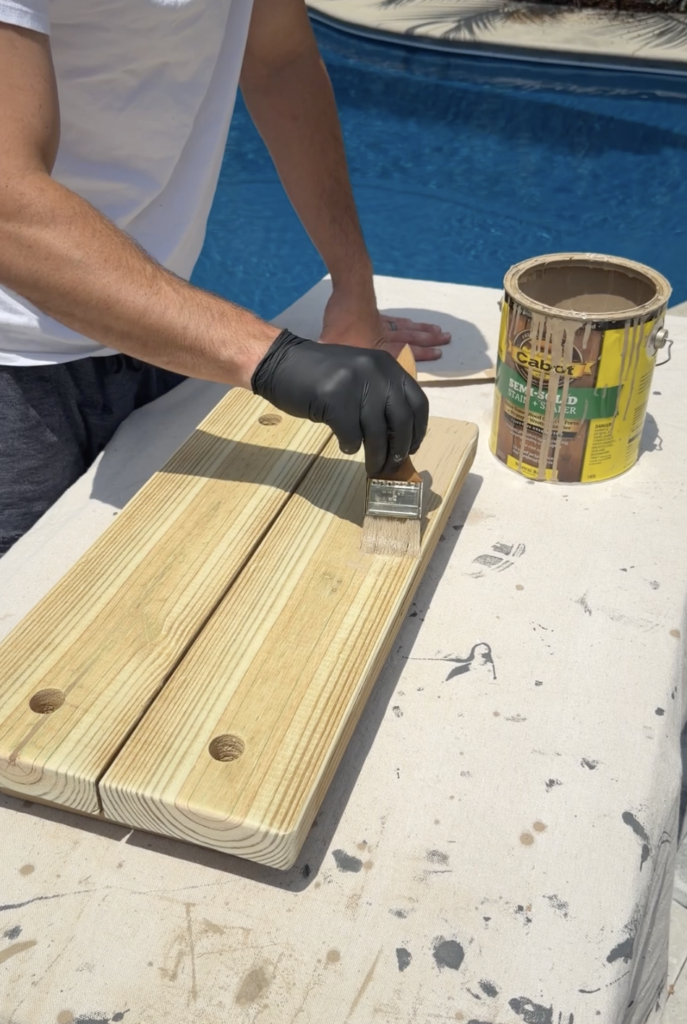
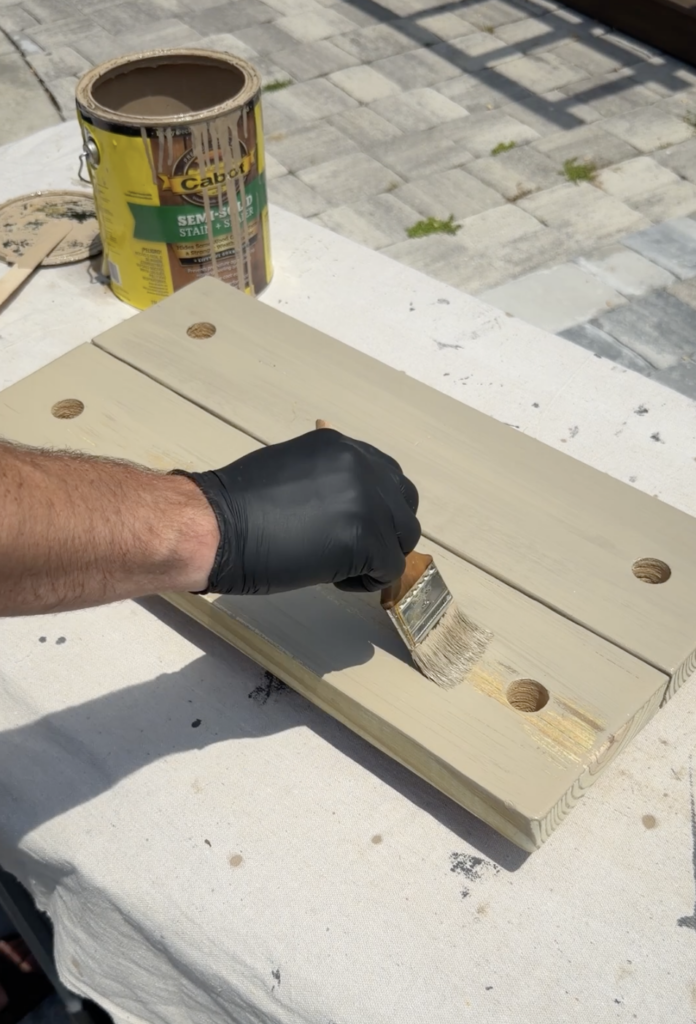
Step 6: Stain the Swing
I used Cabot semi-solid stain in the color Acorn and honestly it ended up being the perfect color for this project.
It has a warm earthy tone that works really well with the manila rope and fits the whole backyard vibe we’re going for.
Definitely use an exterior-rated stain or paint if your swing will stay outside year-round.
Step 7: Add the Rope
For the rope, I used thick 1” manila rope because I wanted it to feel more natural and coastal instead of using shiny synthetic rope.
I started by cutting each side of the rope to about 10 feet long so I had extra room for knots and leveling adjustments.
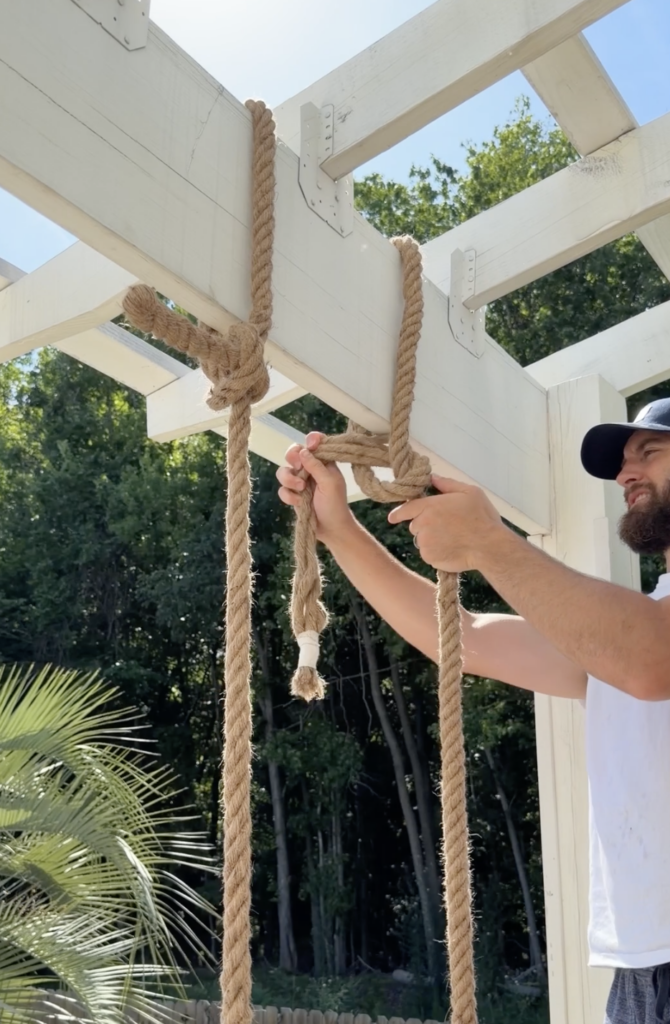
The first thing I’d recommend is hanging the ropes from the beam before worrying about leveling the seat. Getting the top knots fully positioned first makes the rest of the process way easier.
To hang it:
- Loop the rope over the pergola beam
- Tie a swing hitch around the 2×12
- Let both sides hang evenly first
I used this YouTube video as a reference for tying the swing hitch knot:
It gave the cleanest look without needing visible hardware.
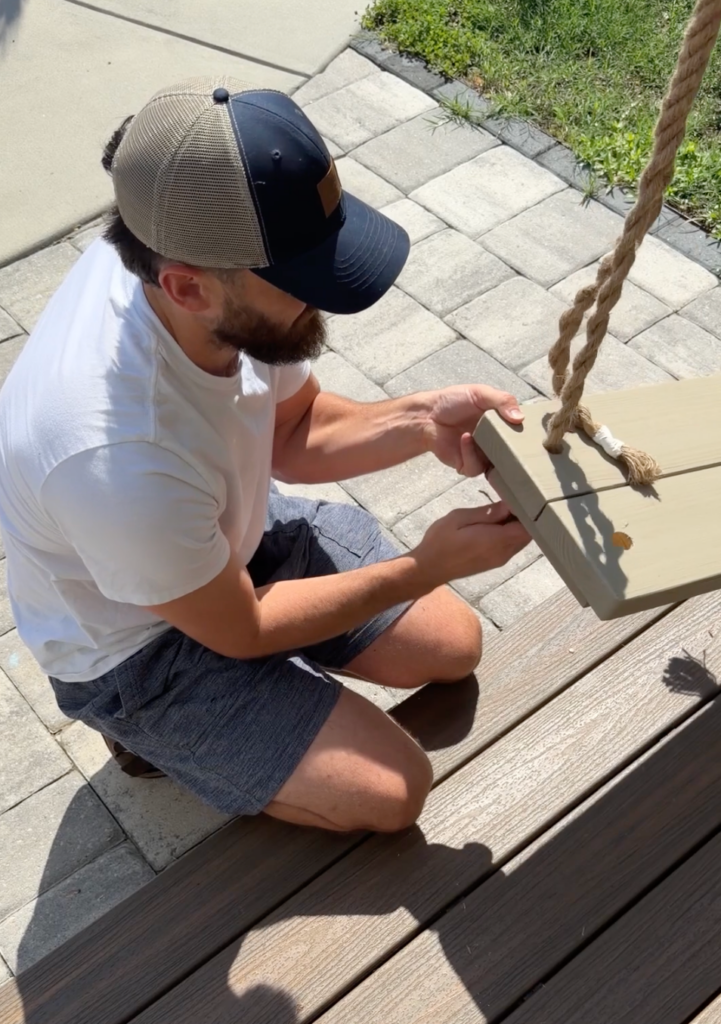
From there, I fed the rope through the seat holes and tied everything off underneath.
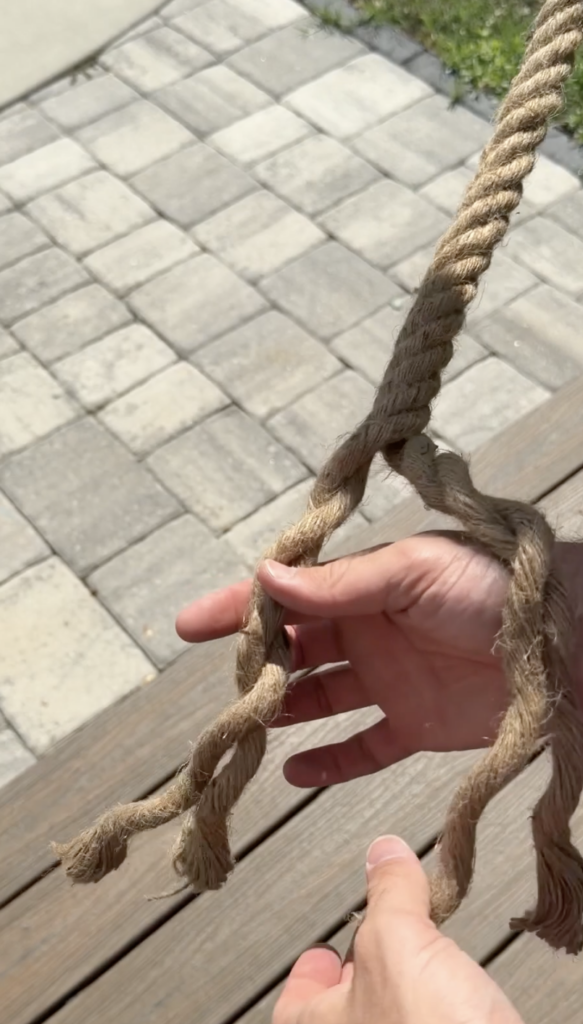
The rope I used was made up of 4 twisted strands, so I unwound it and separated it into two groups before feeding it through the seat holes.
Then I:
- grouped 2 strands together
- taped the ends temporarily
- fed them through the holes
- tied everything off underneath
Once everything was hanging, I adjusted the seat height one side at a time until it sat level.
Step 8: Level Everything
This honestly took the longest part of the project.
Before cutting any rope:
- hang the swing
- put weight on it
- adjust one side at a time until it sits level
I used a utility knife once everything was finalized to trim the rope cleanly.
Final Thoughts
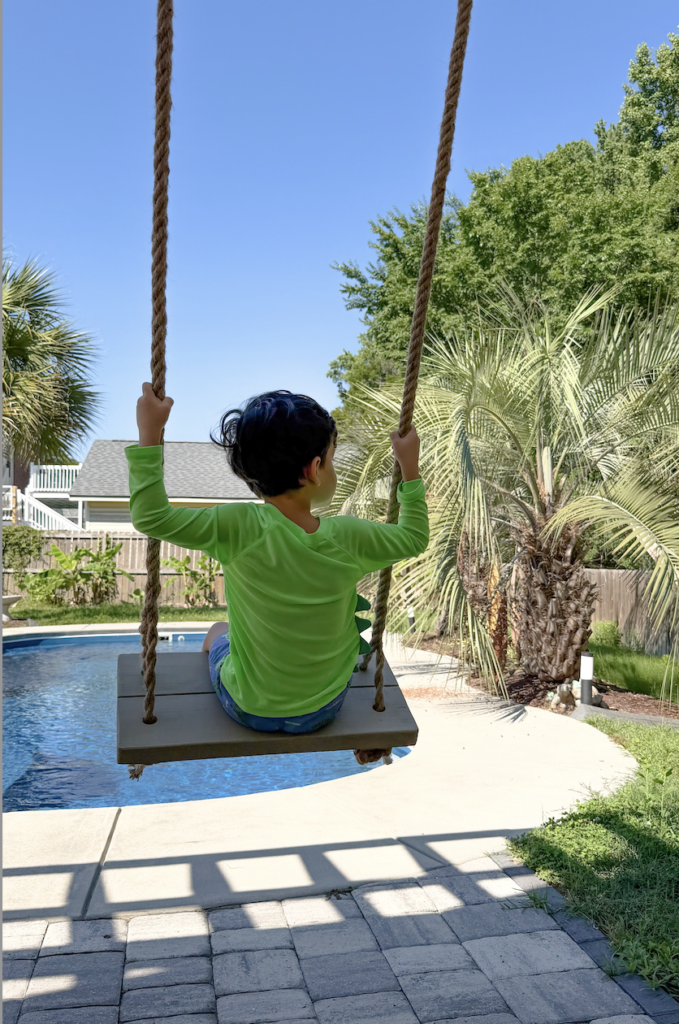
This ended up being one of those projects that turned out way better than expected.
It feels sturdier, looks better, and honestly cost less than some of the cheaper outdoor swings we originally looked at online.
Most importantly, it’s something our kids will actually use and hopefully remember one day.
And unlike the flimsy store-bought version we originally bought, this one actually feels solid, durable, and built to last outdoors.
If you’ve been wanting to add something simple and fun to your backyard, this is definitely a DIY worth trying.

Comments will load here