

This DIY outdoor dining bench is designed to be clean, modern, and functional—perfect for pairing with a large outdoor table and seating multiple people comfortably. The dimensions shared here reflect my personal preference, but the design can easily be modified to fit your space.
These drawings and steps represent how I built the bench, along with a few adjustments I made during the process to improve the overall build. As always: measure twice, cut once—and enjoy the process.
Materials
• 2 x 4 x 10 Cedar Board (Qty. 11)
• 2 x 4 x 8 Cedar Board (Qty. 1)
• 6 x 4 x 10 Cedar Board (Qty. 1)
• Clamps
• Wood Chisel Set
• Stain Pad + Extension Pole
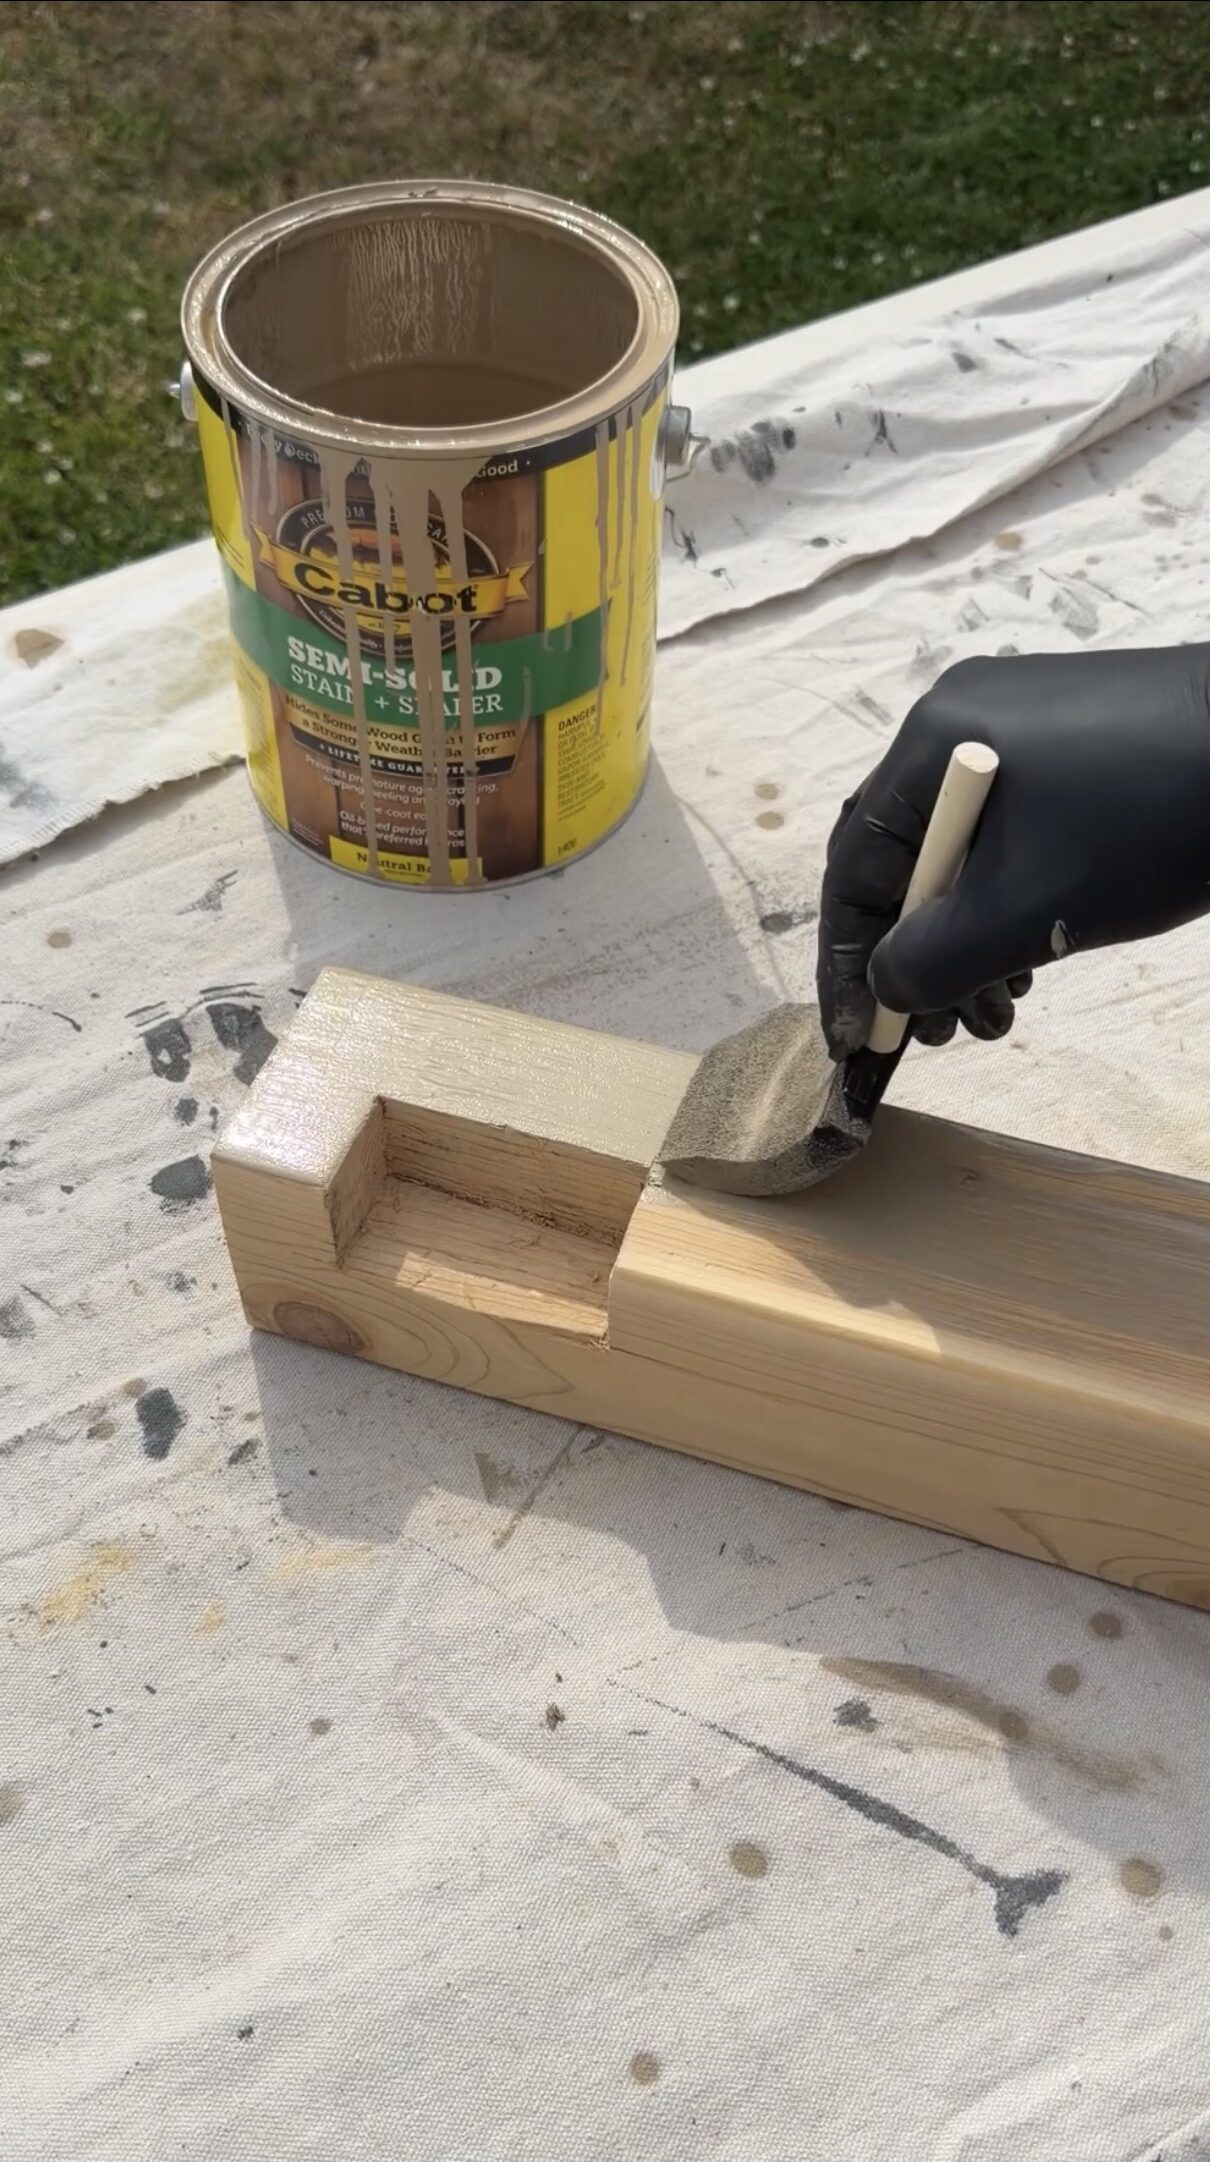
• Exterior Wood Stain (I used Cabot – Acorn)
• Wood Glue
• Wood Screws
• Sandpaper (80, 120, 150, 220 grit)
Power Tools
• Cordless Drill
• Miter Saw
• Circular Saw
• Palm Sander
• Oscillating Tool
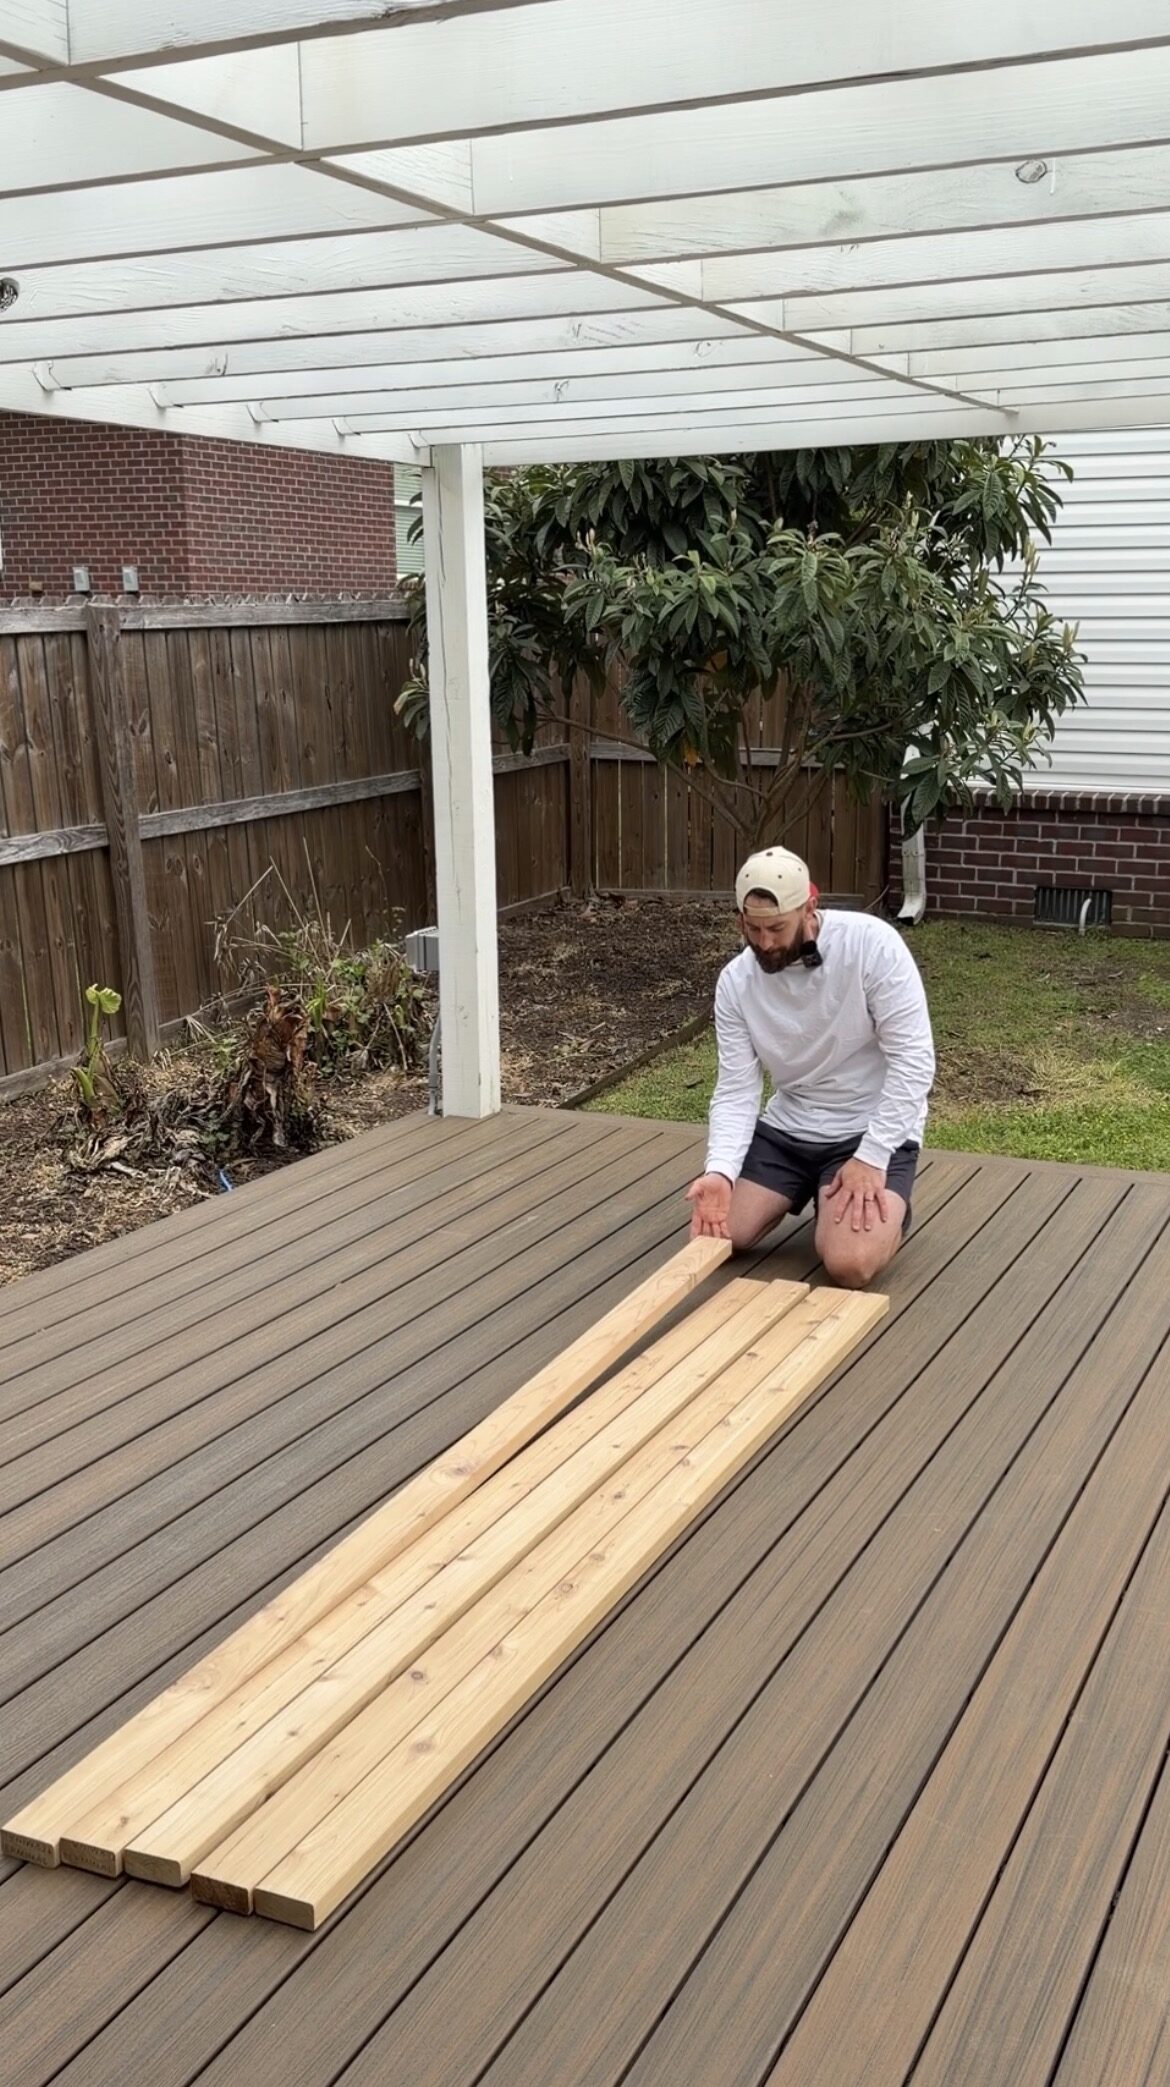
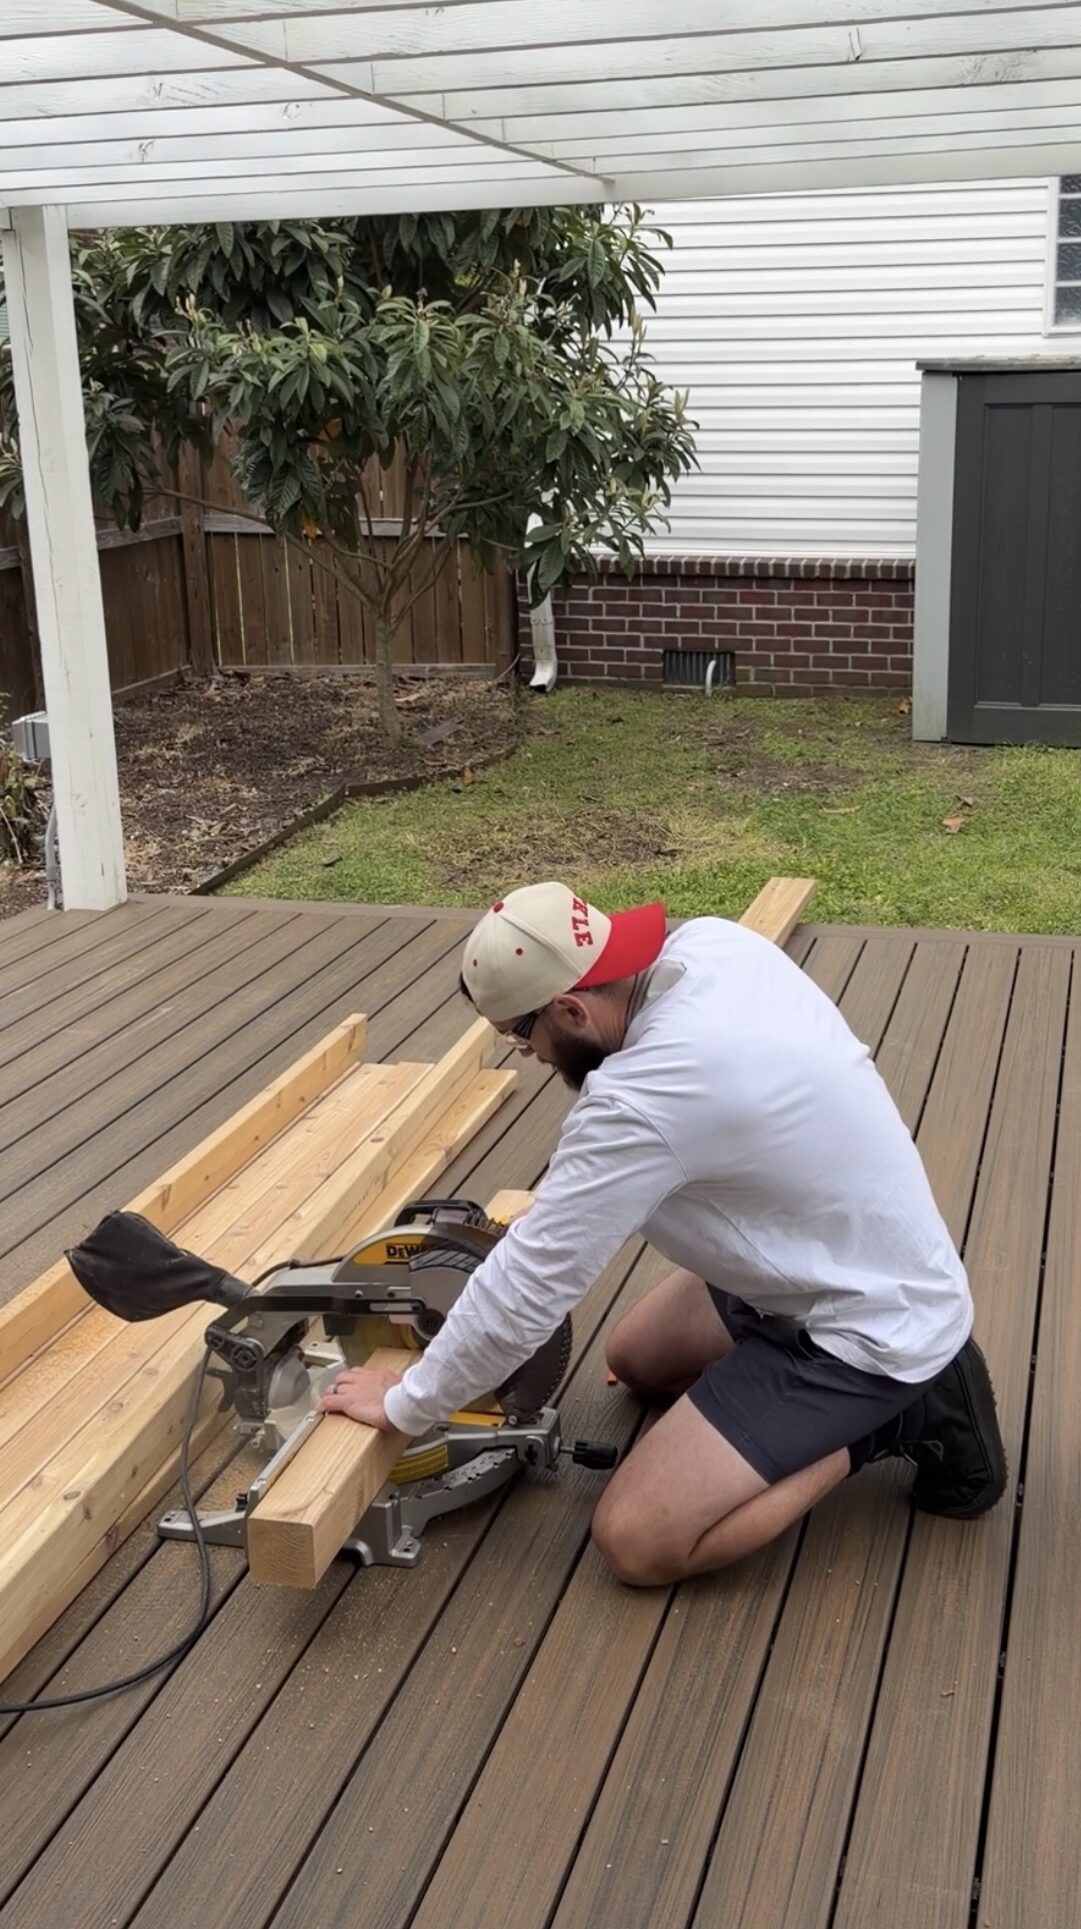
Step 1: Cut Bench Top Boards
- Cut all bench top boards to your desired length.
- Trim ends slightly to clean up rough edges.
- Keep proportions in mind—match the bench length to your table.
- Tip: Cut boards together for consistency.
Step 2: Build the Frame
- Construct a rectangular frame using 2×6 boards.
- Attach legs at each corner using wood glue and screws.
- Countersink screws using a Forstner bit.
- Insert dowels for a clean, finished appearance.
Step 3: Assemble the Bench Top
- Lay boards upside down.
- Alternate grain direction (smile/frown pattern) to reduce warping.
- Use 3/16″ spacers between boards for even gaps.
- Secure boards to the frame using L-brackets (about 4 per board).
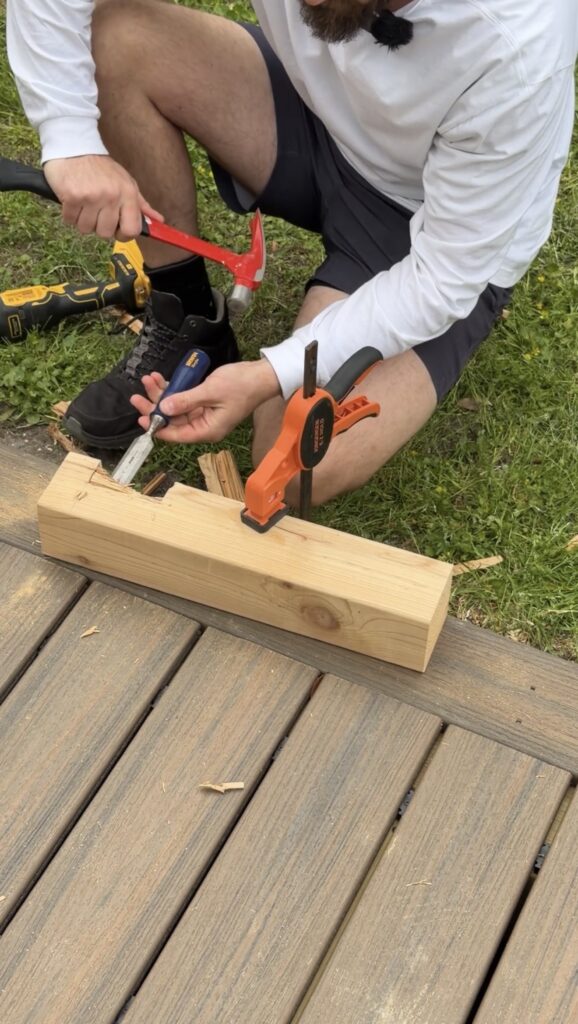
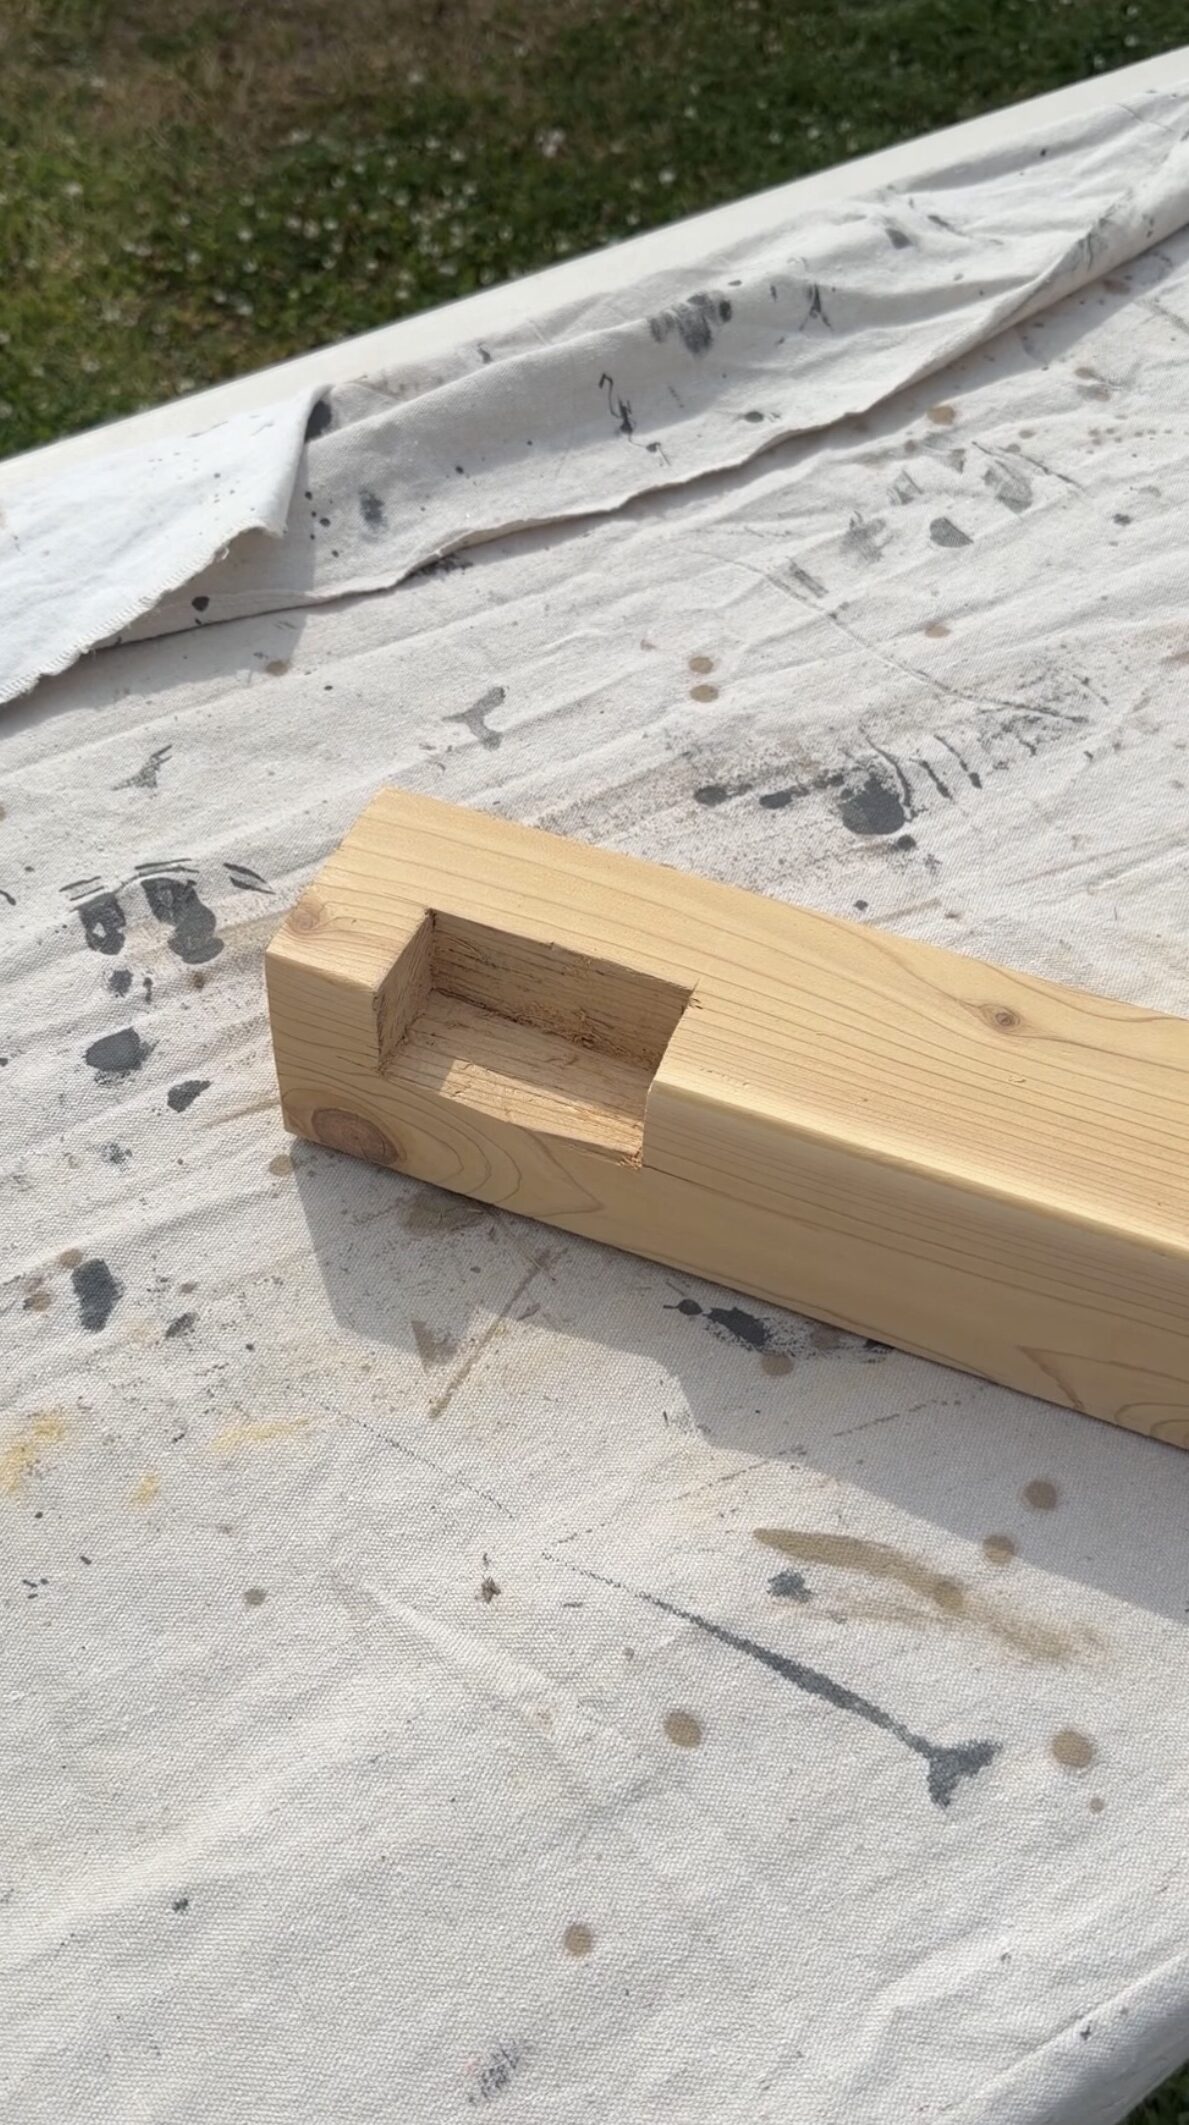
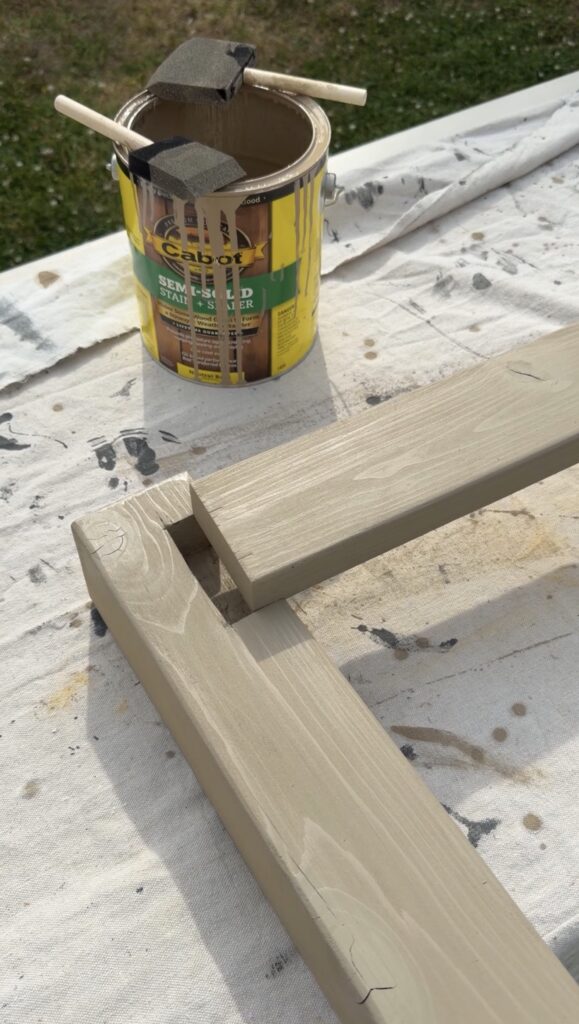
Step 4: Prepare the Legs
- Cut each leg to approximately 18 inches (or your preferred height).
- Notch the top of each leg so the frame sits flush.
- Use a chisel and oscillating tool for clean, precise cuts.
- Take your time—this step ensures overall stability.
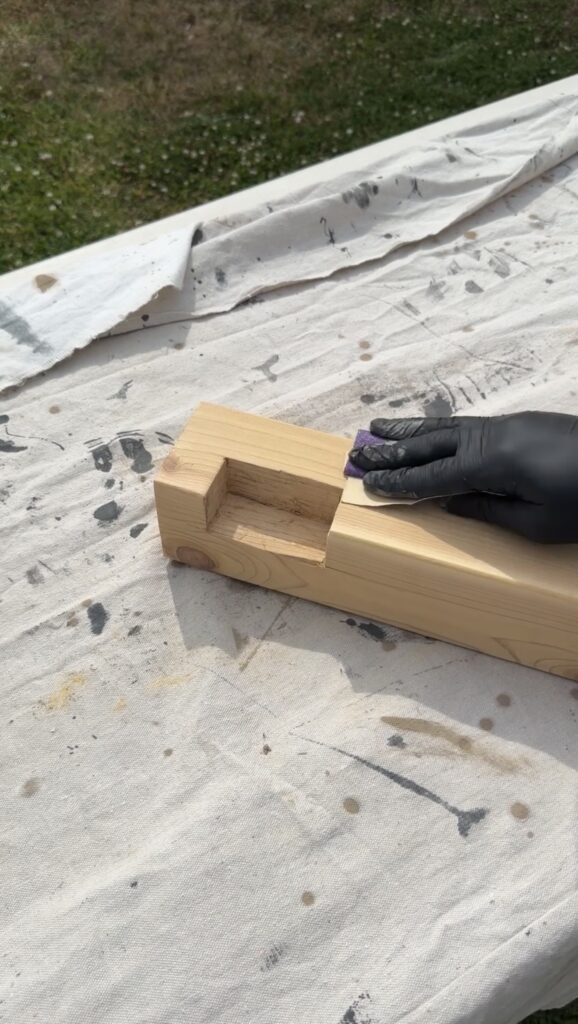
Step 5: Sand & Finish
- Sand all surfaces with 150 grit, then 220 grit.
- Apply stain evenly across all sides.
- Seal thoroughly for outdoor protection.
- Important: Do not skip sealing the underside.
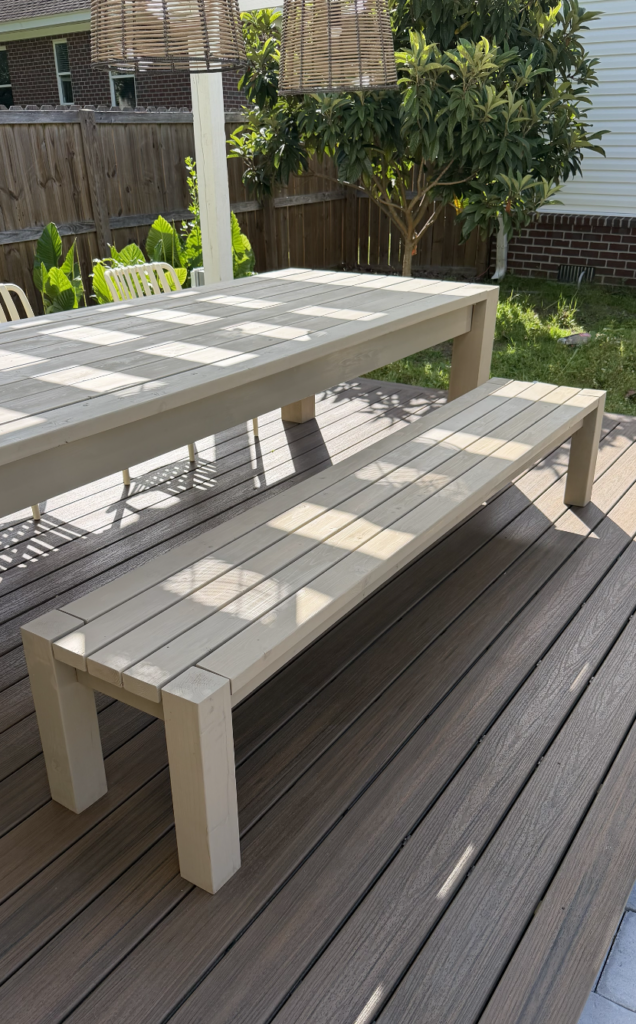
Final Thoughts
This bench is designed to be both durable and visually clean, with flexibility to adjust sizing based on your needs. Cedar construction and proper sealing will help it stand up to outdoor conditions for years.
For more projects and updates, follow along @thebuchaus.

Comments will load here